You must have created the required custom pages and templates.
Go to Build > Develop > Custom Settings and click Approvals Custom Config.
From the Custom Setting Definition Detail section, click Manage to display the current objects associated with Approvals.
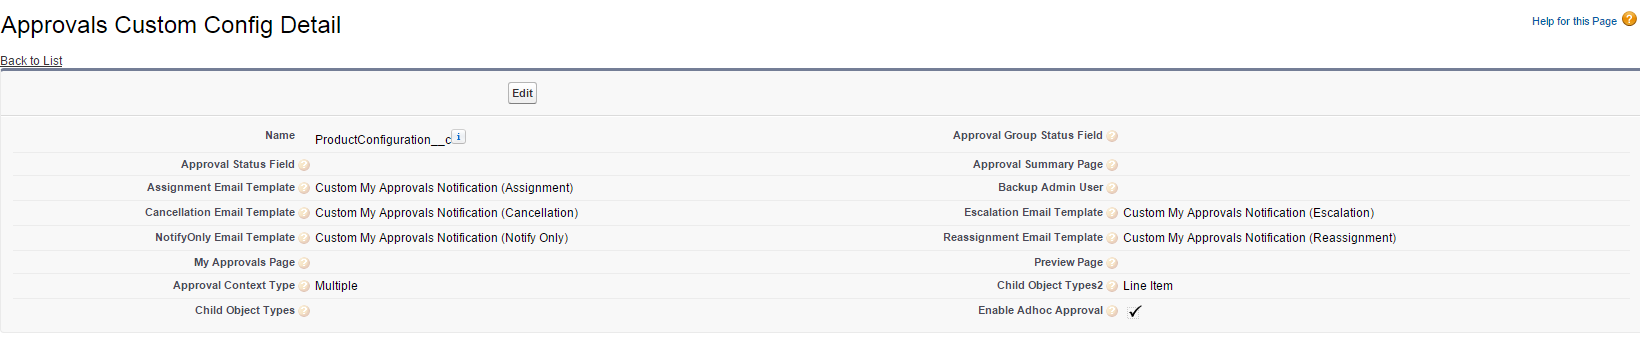
If it does not already exist, click New and enter ProductConfiguration__cin the Name field, which is the API name for the object to be used with approvals.
The custom summary page and templates you created should be entered in theApproval Summary Page and various email template fields. If you do not enter values, the default system values are used.
Specify the Approval Context Type asSingle or Multiple. To use header and line-item approvals, set the approval context type to Multiple. For header-only approvals, set the context type to Single.
Specify the child object type. The child object type is associated with the approval process for a parent object.
You can enable ad hoc approvals for a custom object by selecting Enable Ad Hoc Approvals.
Click Save.
The page and templates are used by default for the next approval process created for the custom context object.
When creating an approval process you can override these templates if necessary.