Download PDF
Download page Application Manager.
Application Manager
The Application Manager module allows you to create, manage, and customize applications. You can rearrange apps as icons in the global navigation and control their accessibility based on permission groups.
This module has two main sections:
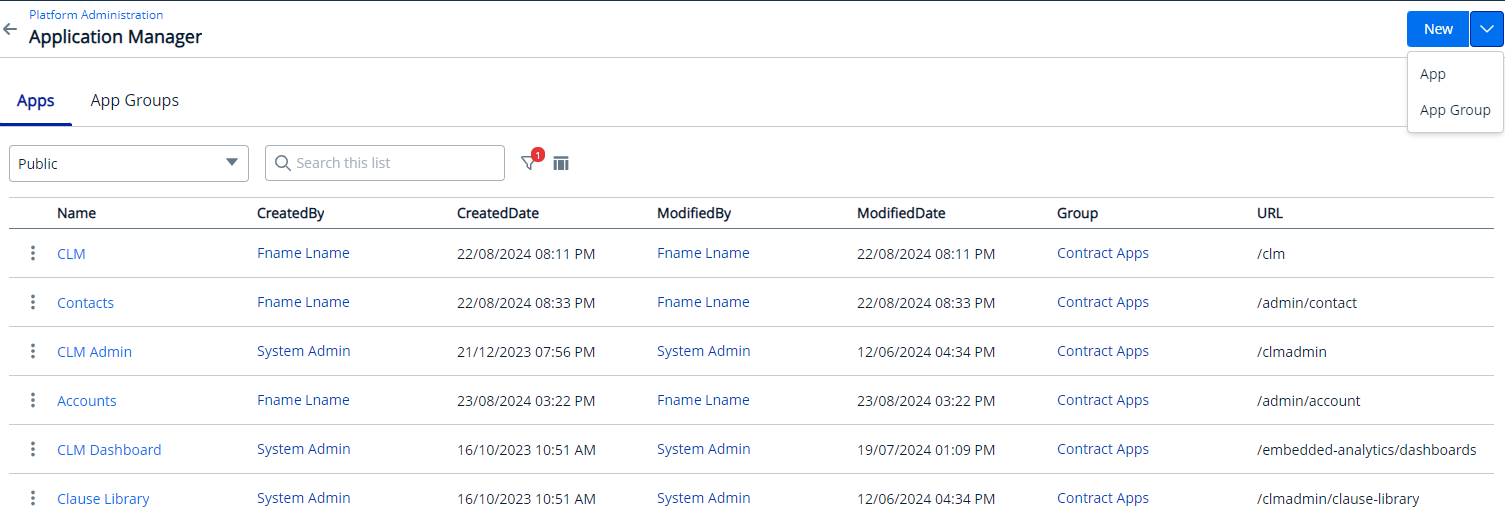
- Apps: Displays a list of available apps within the system. You can create individual apps such as Accounts, Contracts, or Approvals. Apps can be associated with an App Group. This is also knows as related apps.
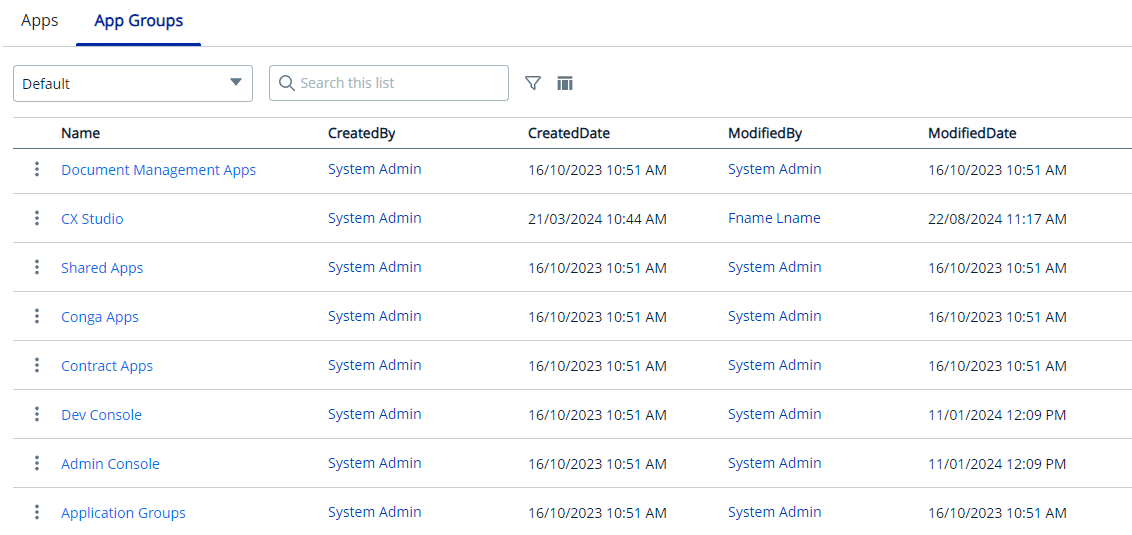
- App Groups: Displays a list of app groups within the system. You can create app groups like Revenue Apps, Admin Apps, or CX Studio. You can also rearrange the apps associated with these groups in the global navigation.
For example, you can create a Contract Apps as an App Group and then add related apps like CLM, CLM Admin, Contracts, Account, and Clause Library. When creating an app, you will be asked to select a group to associate it with. These associated apps are called Related Apps. The Contract App will appear as the main app, and CLM, CLM Admin, Contract, Account, and Clause Library will appear in the global navigation when you access the Contract Apps.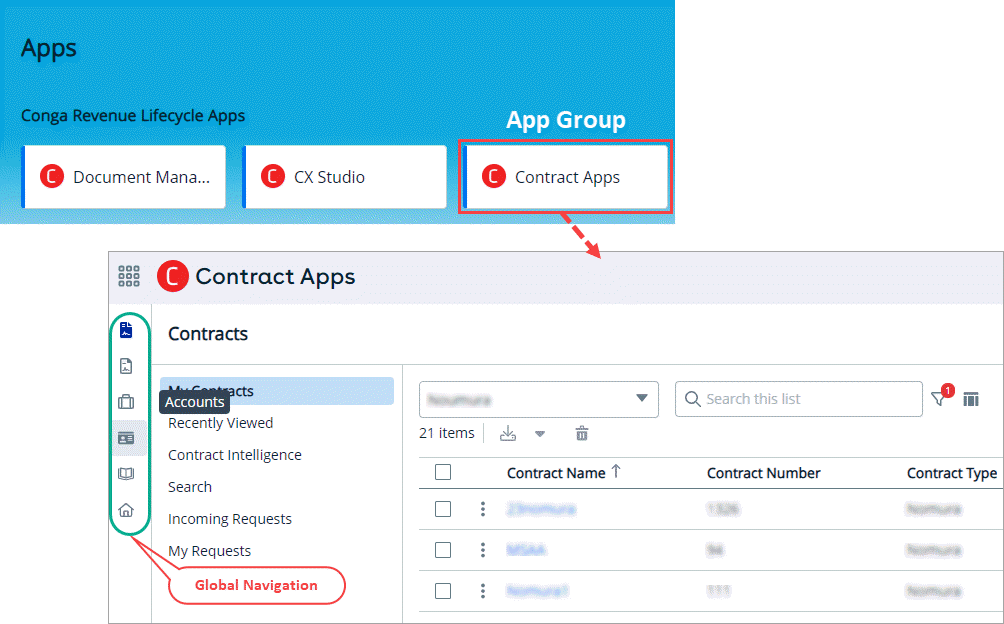
This section explains how to create an app, create an app group, remove an app from a group, and rearrange associated apps. The steps provided use the example scenario above for better understanding.
To create an app group
- Log in to the Conga Platform as an admin user.
- Click the App Launcher (
 ) icon from the top-left corner, then go to Admin Console and click Application Manager.
 - Click the New dropdown menu in the top right corner and select App Group option. The New App Group window appears.
- Enter or select values for the following:
Field Description Name Enter a name for the App Group such as Contract Apps. Permission Group Select permission group(s) from the list. Permission groups determine a given user's access to applications, objects, records, and permissions to perform actions on the Conga Revenue Lifecycle Platform. For more information on permission groups, see Creating Permission Groups. Home URL Enter the application home URL.
Format:/<path after the domain name>Sample:/cx-studio - Click Save. The success message appears.
The newly created app group is now listed under the App Groups tab. You can now create a new app and associate it with the app group.
If the Home URL is left blank, the system will automatically add the newly created app group under "Apps" in the App Launcher once the app is associated with the group.
To create an app
- Log in to the Conga Platform as an admin user.
- Click the App Launcher () icon from the top-left corner, then go to Admin Console and click Application Manager.
- Click the New dropdown menu in the top right corner and select App option. The New App window appears.
- Enter or select values for the following:
Field Description Name Enter a name for the App such as CLM, CPQ, etc. Icon Enter the icon name. The application currently supports the Font Awesome icon library.
Format: fa-<icon name>For example: fa-gearURL Enter the URL of the app where you want to redirect the user.
For example: /clmGroup Search for and select the App Group you want to link the app to, such as "Contract Apps". Permission Group Select permission group(s) from the list. Permission groups determine a given user's access to applications, objects, records, and permissions to perform actions on the Conga Revenue Lifecycle Platform. For more information on permission groups, see Creating Permission Groups.

When a user tries to access the app, App Group level permissions take priority. If these permissions are not defined, the system will use App level permissions instead. If neither App Group level permissions nor App level permissions are set, only platform admin users will see the app icon in the global navigation.
Is In Menu Turn on this toggle to display the app icon in the global navigation.
- Click Save. The success message appears.
The new app is now listed under the Apps tab and is also linked to the App Group as a relative app.
To rearrange app icons in global navigation
- Log in to the Conga Platform as an admin user.
- Click the App Launcher () icon from the top-left corner, then go to Admin Console and click Application Manager.
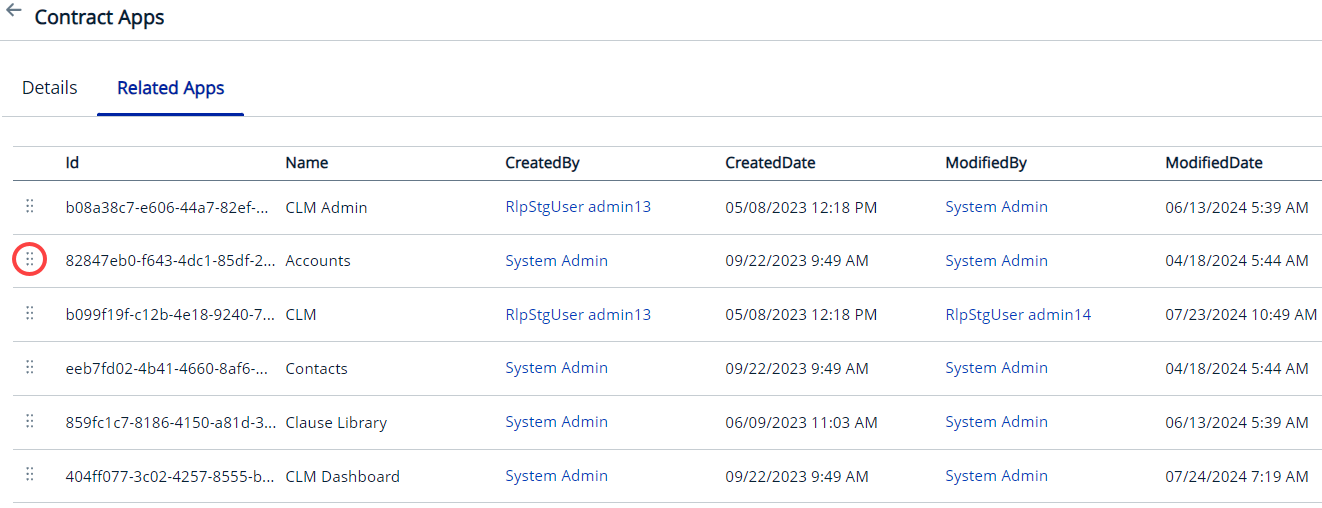
- Go to the App Groups tab, search for the desired group (e.g., "Contract Apps"), and select it. The App Group details page appears.
- Go to the Related Apps tab. It lists all the apps linked to the selected App Group such as CLM, CLM Admin, Accounts, etc.
- Click and hold the Grab Handle icon next to the app Id, then drag and drop it to rearrange the app's position above or below other apps.