Download PDF
Download page Importing Documents and Files.
Importing Documents and Files
To import single files and bulk (ZIP) files
Users can import files for extraction according to import rules established by the administrator.
From the Home screen or the Project Dashboard, click the Import Document button and select Single Document from the dropdown menu or click Intelligent Document Import from the Conga Contracts, Contracts for Salesforce, or Conga CLM user interface. This may be a dropdown menu item or a button on a tile. See your product's guide for details.
These actions raise the Import Document screen to the "Upload a file" step.

Caution
If you enter the import flow from an agreement page, note the document type (i.e., DOCX, PDF, etc.) before proceeding. This value is not persistent across all products and mismatching an existing document type with the selected search will result in an error.
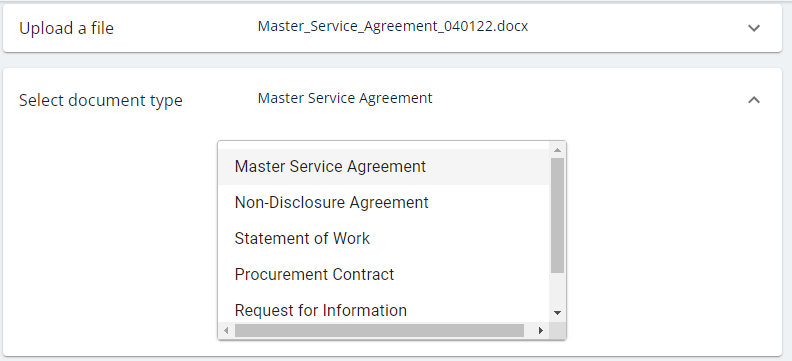
Upload a file through the browser or drag and drop it from the desktop.

Note
You can upload single files of the DOC, DOCX, and PDF file types for direct import, or you can upload ZIP files containing files in those formats. Make sure the files are of the same document type (see step 3) before bulk uploading.
Select the document type from the list of available document types.
- Choose the processing option. You can select:
- OCR to import the document as searchable text
- Automated Extraction to submit the document for AI-only extraction, or
- Verified Extraction to submit the document for AI extraction with attorney review.
Review the advisory messages concerning your import carefully. OCR-only imports are quick and cheap, but no fields or clauses are extracted. Automated Extraction offers AI-only processing of documents, may cost more, but is fairly quick. Verified processing, on the other hand, is high-value and can take a considerable amount of time (possibly days) but provides very high accuracy.
Note
Verified Extraction is only available for a limited set of terms. If you receive an error after selecting Verified Extraction, try again using Automated Extraction.
Click the IMPORT button.
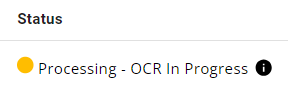
A message appears, confirming the submission and advising that you will receive email confirmation when document processing is complete and the document is ready for review.
To import projects
A Contract Intelligence user can import large quantities of files from established contract management connections.
- From the Dashboard, click the file icon in the left navigation bar, raising the Project Dashboard window.
- Click the Import Document > button and select Import Project from the resulting drop-down menu choices.
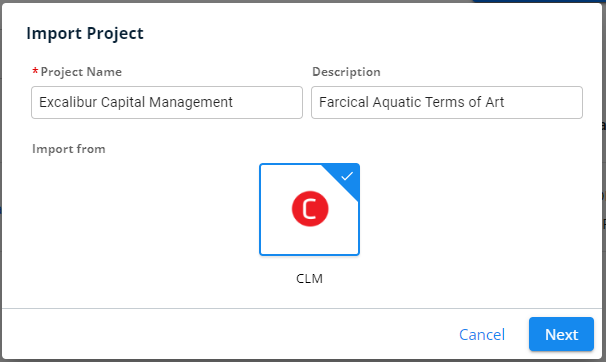
- Enter a project name and description, and select the source from which you will import the project. Click the Next button.
- Select the documents you will import from the list of documents in the Document Selection screen. You can select any document, all documents, or filter by the contract name or contract type to gather a subset of available documents.
- When you are satisfied with your selection, click 2. Choose Processing Options to select contract types, worksheets, and extraction types. Contract Intelligence may pre-select some of these values.
- Click the Create button. Contract Intelligence raises a success window.
Contract Intelligence imports the documents for processing. You will receive email confirmation when document processing is complete and the document is ready for review. Depending on the volume of documents and the extraction method you requested, the extraction can take a long time. Verified Extraction, which involves attorneys validating the machine learning extraction, can take hours to days to complete. Plan accordingly.
Error Reprocessing
During bulk imports, some files may have errors or may hang in the processing state for more than 24 hours. Rather than having these issues spoil the entire upload, you can reprocess a bulk upload during upload, OCR, or verification before the upload is ready for review.
To resubmit a bulk upload for error reprocessing
- Go to the Product Dashboard.
- Select the bulk import you will resubmit.
- Click the Bulk Resubmit (
 ) button.
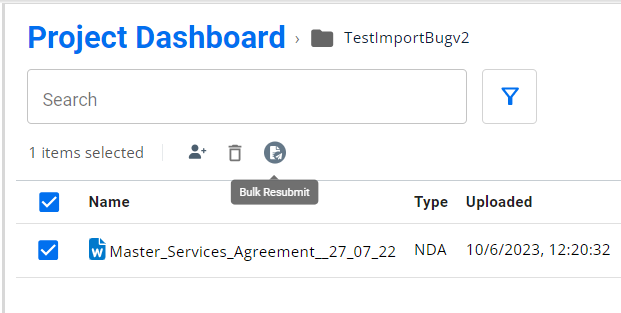
- Click CONFIRM.
- Bulk processing is reinitiated.