To add a user
See Roles and Permissions to learn about role and permission settings.
- Click Users & Groups (
 ) under Admin in the left navbar.
 - Click the add user button (
 ) in the top-right corner to raise the Add User dialog.
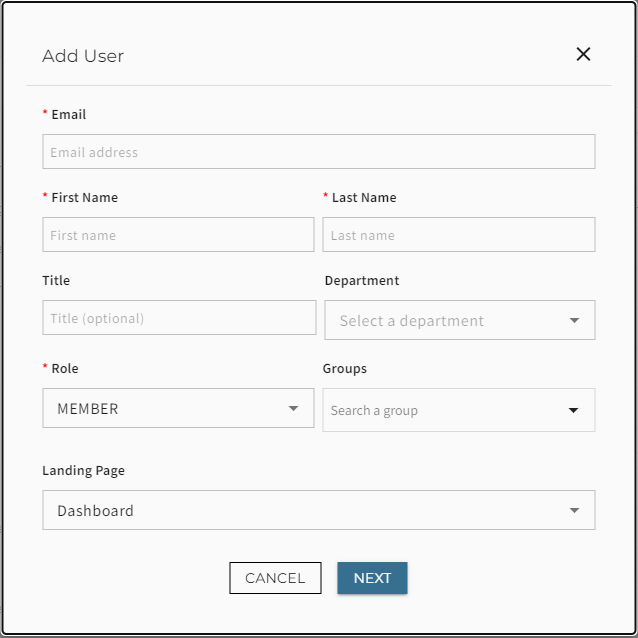
- Enter all required information and desired optional information, and click NEXT.
- The Share Folder (Optional) pop-up displays. Review the folders to which the new user will have access and set the role (Viewer, Collaborator, or Editor) they will play on those folders.
- Click CONFIRM.
- Contract Intelligence (Standalone) adds the user with an inactive/pending status and returns to the Users & Groups view.
- The new user is emailed invitations reflecting the role and folders to which you invited them.
New User Invitation Expiry
A new user invite link is valid for 72 hours before expiring. If a user invitation expires, you can re-send it. To re-send an invitation:
- Open the Access Control window as described in To add a user.
- Click the check box adjacent to a new user invitation with an "Expired Invite" user status.
- Click the More (vertical ellipsis) button and select Resend Invite.
- Open Users & Groups () from the left navbar.
- Select the user whose information you will edit by checking the box to the left of their name. When a user is selected, the More button (
 ) appears above the Users table to the right.
 - Without leaving the Users view, you can use the embedded pull-down menus to change the selected user or users' settings, including their role, Clause Library access, and ability to upload and extract documents.
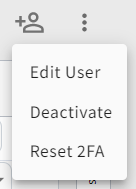
- To change user information, click the More button and select Edit User.
- Modify the user's name, email address, title, department, or address information, or change their default portal home page.
- Click OK.
To deactivate a user
- Open Users & Groups () from the left navbar.
- Select the user you will deactivate by checking the box to the left of their name. When a user is selected, the More button () appears above the Users table to the right.
- Click the More button and select Deactivate.
- In the Deactivation pop-up, verify the account name you want to deactivate and confirm by entering
DEACTIVATE (all caps) where prompted. - Click YES.
Deactivated users are not deleted; they remain available in the system, but have an "Inactive" status.
To reactivate a user
- Open Users & Groups () from the left navbar.
- Select the user you will reactivate by checking the box to the left of their name. When a user is selected, the More button () appears above the Users table to the right.
- Click the More button and select Activate.
The user is immediately reactivated.
This is a good time to review that user's permissions, groups, and settings.
To reset a user's two-factor authentication
From time to time, users lose or retire devices used to access the Contract Intelligence (Standalone) product's two-factor authentication (2FA).
You can reset a user's 2FA by selecting that user from Users & Groups, clicking the More button, and selecting Reset 2FA from the dropdown menu.
The user is shown a new 2FA prompt on their next login attempt.