Download PDF
Download page Navigating the Product Page.
Navigating the Product Page
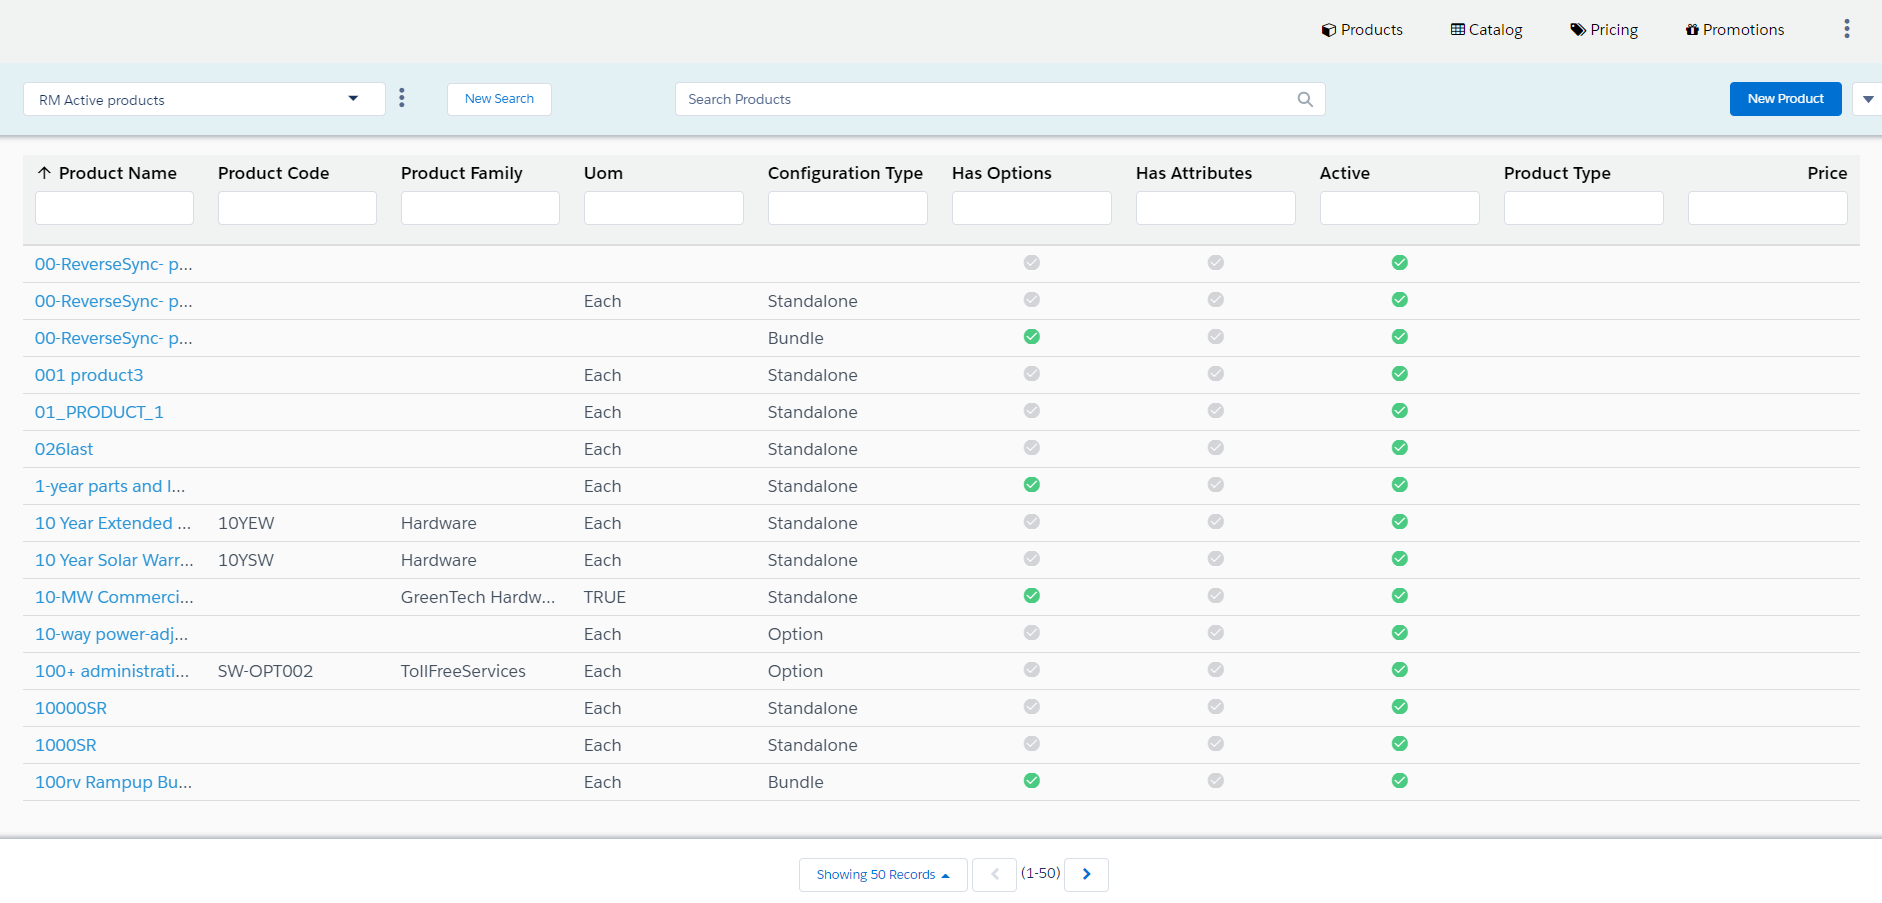
When you launch the CPQ Admin console, Manage Product page is displayed. All the existing products are listed on this page along with their details. You can configure the columns displayed on the Manage Product Page. There are various functionalities available for you to manage the products.
Product Search
Search for the product to narrow down the product list using the Search Products box. Enter a keyword related to your product details like Product Name, Product Code, Configuration type, description. Search Product box returns all the products that contain that keyword in the product details.
There are two types of search available on the products homepage. Saved Search and Product search query.
Either of the search filters is applicable at a time.
Saved Search provides you with various options to search, sort, and filter products. You can either define search criteria to search for a range of products or use the product search option. The search query uses options provided in the Field, Operator, and value and displays a search result that matches the criteria. Saved Search functionality lets you save a set of filters you define that narrows down the list of products according to your requirement.
Perform the following steps to view and search configured products in the Saved Search:
- Click View All to view all products that are configured in CPQ on the dashboard. If you have queried a filter or a product, then a select View All to disable the existing search filter.
- Click New Search. A window that consists of various fields, operators, and values are displayed.
- Field: All product Fields are available in the drop-down list such as Text, Checkbox, Date, Date/Time, Number, Percent, Picklist, Multi-Select Picklist, Currency.
- Operator: Operators that are available for selection helps create the filter expression. Operators are displayed based on the field types. For example, a picklist value will display equal to and not equal operators and a text field will display equal to, not equal to, starts with, contain, does not contain operators. If it is a multi-value picklist, the application displays include and does not include operators.
- Value: Enter a value.
- Click one of the following options to execute the search:
- Click Save As to save the search filter and use the filter criteria.
- Click Apply to enable the search filter.
- Click Cancel to cancel the search criteria.
- To search a product in the Product Search, enter the name of the product that you want to search in the search field. Products that match the search are displayed.
- Click field headers in the product's dashboard to sort dashboard based on the field.
You can simply click the saved search record you created and the system filters the search results. You can see the saved searches dropdown list in alphabetical order for better accessibility of your list of saved searches. If you have configured a customized view, click the menu icon (![]() ) next to the New Search button. The following options are displayed.
) next to the New Search button. The following options are displayed.
- Edit View: Displays a new search window.
- Save View As: Displays options to Save the edit view.
- Remove View: Removes the filter.
You can also narrow down the list using the column search (inline search). Enter a keyword related to the column in space under the column name. Unlike the Search Product field, column search matches the keyword in that particular column. Use the keywords True and False for the checkbox type columns. You can enter keywords in multiple columns at the same time, the result displayed contains the products with details matching to all keywords you entered in different columns.
Refresh the page to clear all the filters.
Sorting and Adjusting the Columns
You can sort the product by clicking the column names. The products are sorted alphabetically, every time you click the column name the sorting switched between ascending and descending order. You can adjust the column width by dragging the columns. Hover near the column boundaries till two-way arrow appear. Click when the arrow appears and drag left or right to adjust the column width. At the bottom of the page, you can control the number of products to be displayed on each page. You can select the number of products from a pre-defined list. You cannot configure this list. By default, you see 50 records on each page.
Product Details
Product details hold the information about the product. You can view them on the Manage Product page or the product details page. When you click the product name displayed in blue color, the DETAILS tab is displayed. All the primary details of the products are displayed on this page. Other tabs on the secondary toolbar hold additional information like options information, price list associated with the product, rules associated with the products. You can edit the details on this page.
You can use the Mini Display functionality to view the details without leaving the Manage Product page. Click the information in any column other than the product name for the respective product. A panel on the right-hand side displays the details of the product. You cannot edit any details on the mini display. Click the edit icon to go to the DETAILS tab, to edit the details.
You can see a list of all the existing products displayed in a panel on the left. When you hover the cursor over the product name, product details are displayed in a pop-up. You can configure the pop-up to display other fields. For more information, refer to Configuring the Tooltips.