Download page Translating Standard and Custom Field Labels.
Translating Standard and Custom Field Labels
You can configure translation for out-of-the-box field names, picklist values, button labels, and error messages directly in the Translation Workbench. For custom label translation, you must upload Salesforce Translation File. Follow the steps below to configure the translation of content.
To configure Translation Workbench for translating the label data
Go to Setup > Administration Setup > Translation Workbench > Translation Language Settings.
Click Add button.
Select language in the Language dropdown.
Select Active to activate the language.
Under Identify Translators for this Language, you must define User who can be the translators. Select a User from Available List and click Add.
Click Save.
To change the language at the profile level
Go to Setup > Manage Users > Users.
Click Edit next to the desired profile.
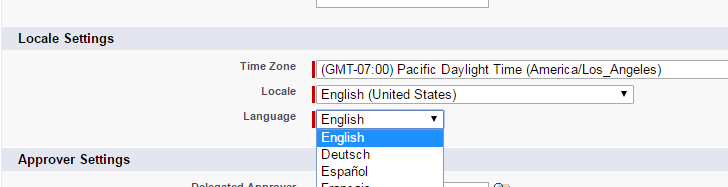
Under the Locale Settings, change the value in the Language field and click Save.
You must modify the Language field to match the Language field in the Product Translation and Category Translation records. CPQ only displays the translated details when the Language field matches in both the records. However, the Locale itself is not a criterion.
To mass upload translations for custom labels
You need to upload a new Salesforce Translation File (STF) through the Translation Workbench to translate customer labels
Go to Setup > Administration Setup > Translation Workbench > Export
Select Bilingual.
Click Export as STF
Translate the STF (non-translated items will show up in English).
Go to Setup > Translation Workbench > Import
Click Choose File.
Select the translated STF file.
Click Import.
You can translate the field labels to the desired language.
To translate an individual custom label
Go to Setup > Create > Custom Labels.
Search and open the label you want to translate. The system displays the Custom Label Detail page.
Click the button, New Local Translations/Overrides in the Local Translations/Overrides section. The system displays the New Translation page.
Select the appropriate language from the drop-down.
Enter the Translation Text as an Add-on in the text box.