The Retention Policy object contains the policy details. The policy specifications are contained in an XML format and maintained using a Visualforce page. The policy header information is maintained using a standard Salesforce page. For details on the Retention Policy XML schema, refer to Retention Policy Schema.
A Retention Policy contains several fields (see table), which store information about the policy specifications to support agreements and business objects.
Field Name
Description
Values/Notes
Policy Name
Policy name
Required – user entered
Description
Description of the policy
Optional
Business Object
Indicates the business object governed by the policy
Required – Apttus__APTS_Agreement__c
Policy Spec
The policy specification
Maintained by a VF page
Sequence
The policy sequence
Required
Active
Indicates whether the policy is active
Inactive policies are ignored. This is selected by default
The policy specification is maintained using a Visualforce page. The policy header fields such as Name, Description, Sequence, Active indicator and so on, can be maintained using a standard Salesforce page.
To create a retention policy
User Permissions Needed
To create and edit retention policies:
Retention Policy: Create, Edit.
Agreement: Edit.
Click Retention Policies > New.
Enter details in one or more required fields and click Save. Optionally, you can click Save & New to save and create a new retention policy.
Name: Policy for NDA, CDA contracts
Sequence: 2
Business Object: APTS_Agreement__c
A retention policy is created and added to the Recent Retention Policies list.
To edit a retention policy
A retention policy must have been already created.
Click Retention Policies and select the policy which you need to edit by clicking on the policy name link.
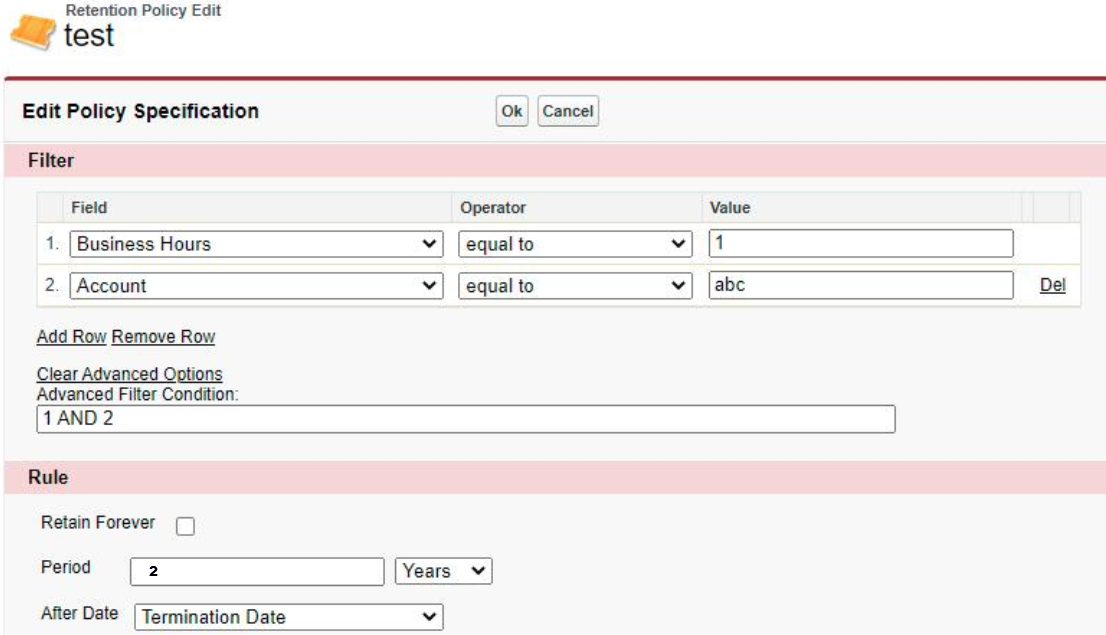
To edit the retention policy specifications, click Edit Spec in the policy detail page to open the Edit Policy Specification page.
In the Filter section, select the following options.
From the Field dropdown, select a field, select an operator, and enter a value for the field.
(Optional) If required, add more filters.
(Optional) Click Add Row to add more rows.
Click Advanced Options to add advanced filter conditions. For example, (1 OR 2) AND 3 AND NOT 4.
In the Rule section, select the following options.
Select the Retain Forever checkbox to retain the agreements matching the filter criteria forever. When you select the checkbox other options in the Rule section are not visible.
In the Period field, enter the number of years. You can also select Days or Months according to your requirement.
In the After Date dropdown, select a date after which the retention period starts.
Click Ok.
Note
The RetentionPolicyEdit Visualforce page enables the filter creation and a rule according to the Retention Policy Schema.