Download PDF
Download page Approval Flows.
Approval Flows
An approval flow serves as the framework for your approval request, providing options for setting up key objects like entry criteria. Approval flows consist of reviewers and rules that are applied in the defined order. See Approval Rules for more on these predefined criteria.
To access the approval flows
Click the App Launcher icon (
 ).
).Select Approvals from Shared Apps.
To create an approval flow
Fields marked with * are mandatory.
- On the Approval Flows tab, select Contract from the Business Object drop-down menu.
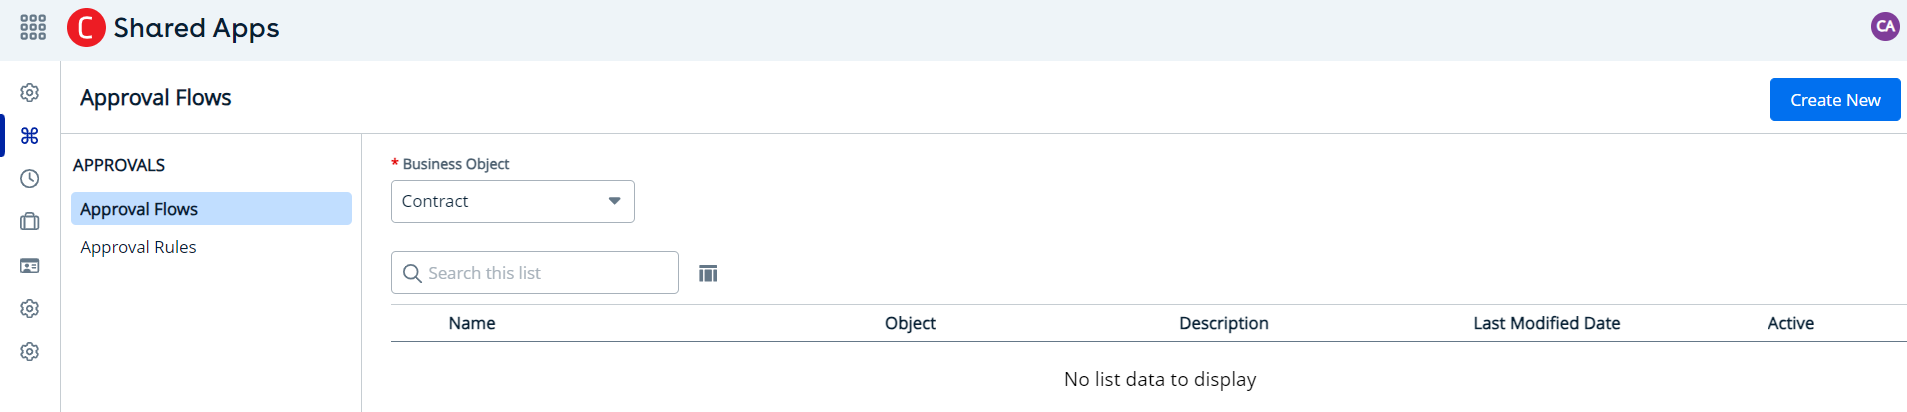
Click Create New to create a new approval request. The New Approval window appears.
Enter the following details:
Field
Description
Process Name *
Enter the process name
Object *
Select an object from the Object drop-down menu
Description
Enter the description
- Click Create to create a new approval flow in Draft status. The Approval Flows page appears. You can view the following three tabs on the Approvals Flows page.
- Setup
- Settings
- Details
- On the Setup tab, click Step Name. The UPDATE STEP window appears.
Enter the following details:
Field
Description
Step Name *
Specify the step name.
Step Description
Enter the description.
Step Type *
Select one of the following types. Depending on the type selected, different fields are displayed.
- Standard: Enter the following details to create parent objects:
- Assignee Type*: Select the assignee type from the drop-down menu.
- Assignee*: Search and select the assignee.
- Assignee Description: Enter a description of the assignee.
- Step Auto Complete: Enter values for the user when the authorization or review is presented to them.
- Send Email: Check this box to send the approver an email.
- Notify Only: Notify the recipient of the approval step with no call to action.
- Skip Unresolved Assignee: Check this box to allow the approval flow to continue when an assignee cannot be reached.
- Child Process: Child process requires a preconfigured rule to be available for inclusion before you can configure them.
- Context Object*: Select Agreement Line Item from the Context Object drop-down menu.
- Approver Rule*: Assign one approver rule. Enter the name of the rule you will apply here. Rule name auto-completion begins when you enter three characters.
- Sub Process: Sub-process requires a preconfigured rule to be available for inclusion before you can configure them.
- Approver Rule*: You must assign one approver rule. Enter the name of the rule you will apply here. Rule name auto-completion begins when you enter three characters.
Step Level Comments
Flip the Step Level Comments toggle to enable reviewers to make comments when they interact with this step in the approval flow.
Carbon Copy
You can find user names in the Carbon Copy (cc) field to nominate notification recipients.
Step Dependencies
You can shape the flow using the Step Dependencies field to select a dependency that must be fulfilled before a given step can occur. A step dependency is a step that must be completed before the present (dependent) step becomes active. If a flow is established without dependencies, all flow steps occur simultaneously. Using this logic, you can give two different steps a common dependency to make them occur at the same stage (parallel processes) in a flow.
- Standard: Enter the following details to create parent objects:
- When you have completed the flow, click Save. This displays the popup “A Standard step has been created”.
- To apply conditional logic to a step, click the More icon (
 ) and select Add Condition.
On the Settings tab, you can enter the details in the following tabs.
Tab
Description
Entry Criteria
You can specify minimum approval conditions. Entry criteria are used to define the conditions that must be met before an object record is routed through the approval flow. For example, to specify that a certain approval flow for contracts is only used when the contract value exceeds $100,000.
- Select a field to use in the filter criteria.
- Select an operator from the drop-down menu. The operator defines the relationship between the field and the value. The list of available operators varies depending on the data type of the chosen field.
- Enter the value of the field. The type of value field depends on the field selected.
- To add additional conditions, click Add Criteria and repeat steps a, b, and c.
- Click Save to save the approval criteria. This displays the popup "The (process name] process has been saved."
Notifications This tab displays the following options. Specify the notification templates that are used when an approval request is emailed to an approver or a reviewer. You can specify the following email templates or leave the fields empty to use the default templates:
- Assignment Email Template: Use this to notify users they must decide on an approval request.
- Reassignment Email Template: Use this to notify users that an approval request task initially assigned to them has been reassigned to someone else.
- Escalation Email Template: Use this when auto-escalation is enabled, and an outstanding approval task is auto-escalated.
- Cancellation Email Template: Use this to notify users when an approval process has been canceled.
- Notify Only Email Template: Use this when you select the Notify Only option in one of the steps. The recipient of this email has no action items.
- Reminder Email Template: Use this when automatic reminders are set up and awaiting action.
Comments Turn on the following settings based on the requirement.
- Submission Comments Mandatory: The user must comment when submitting the request.
- Approval Comments Mandatory: The user must comment when approving a request.
- Rejection Comments Mandatory: The user must comment when rejecting a request.
- Recall Comments Mandatory: The user must comment when recalling an approval process.
Other Settings This tab displays the following options.
- Consolidate Approvals
- Consolidate Notifications
- Continue Pending Approvals on Reject
- Backup Admin User
Update Actions This tab displays the following sections.
- Initial Submission Actions: An action performed on a contract when submitted for approval.
- Select a field name to use in the filter criteria.
- Enter the value of the field. The type of value field depends on the field selected.
- Enter the description in the description field.
- To add additional conditions, click Add Action and repeat steps a, b, and c.
- Click Save.
Final actions enable you to update contract fields in the object according to whether the approval process was completed or rejected.
- Final Approval Actions
- Select a field name to use in the filter criteria.
Enter the value of the field. The type of value depends on the field selected.

The value of the Approval Indicator field must be set to Approved.
- Enter the description in the description field.
- To add additional conditions, click Add Action and repeat steps a, b, and c.
- Click Save.
- Final Rejection Actions
- Select a field name to use in the filter criteria.
Enter the value of the field. The type of value depends on the field selected.
The value of the Approval Indicator field must be set to Rejected.
- Enter the description in the description text box.
- To add more conditions, click Add Action and repeat steps a, b, and c.
- Click Save.
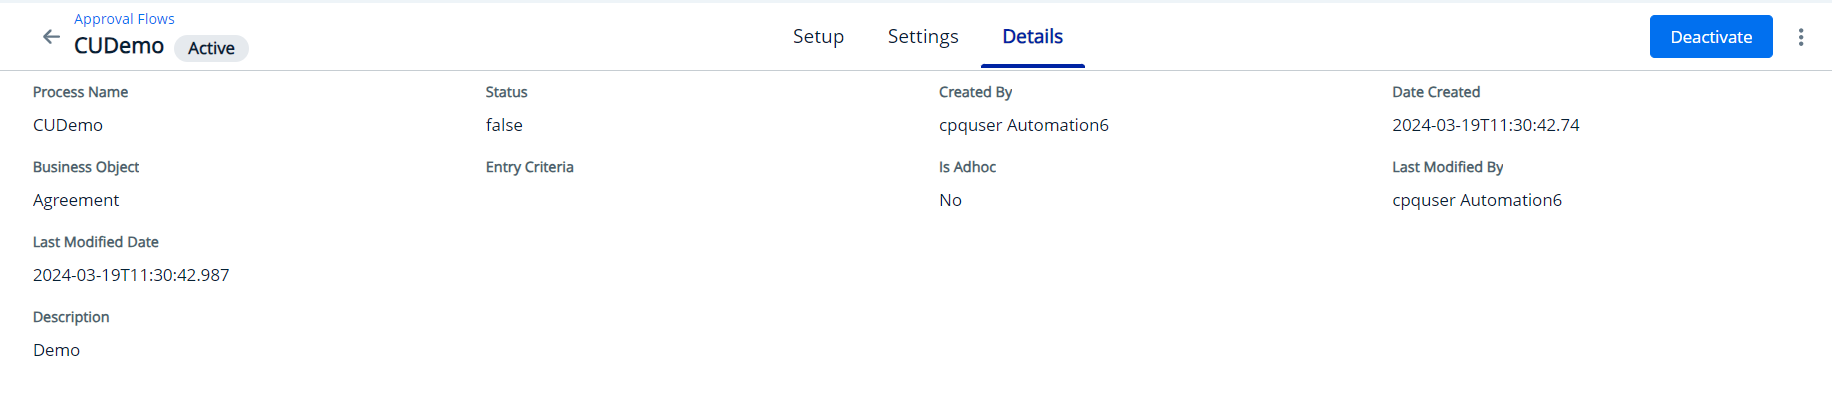
- On the Details tab, you can view the details you entered.
- Click Activate to activate the approval criteria. This displays the popup "The (process name) process has been activated". The process is now Active.
You can now preview and submit the approval request. For more information, see Preview and Submit.