Download PDF
Download page Generating on a Custom Object.
Generating on a Custom Object
Conga CLM provides a solution for configuring document generation on Custom Objects. Configuration for this feature creates a slightly different flow than for Agreements and utilizes a separate Visualforce page and class to facilitate document generation. Follow the steps in this section to configure your custom object for document generation. In this section, the Custom Object "Invoice" is considered in the examples.
Setting up Template: Object Type
Before you can generate on any object, it must first be associated with the Template object.
- Go to Setup > Create > Objects
- Click on the link for the Template object.
- Under "Custom Fields & Relationships", click on Type.
- Under "Picklist Value Set", click New.
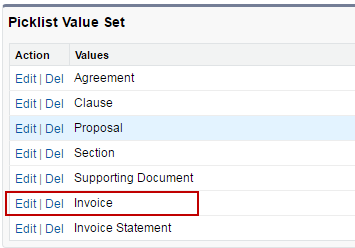
- Enter the label name of the custom business object you want to associate with the template (e.g., "Invoice").
- Click Save. On the next page, check the picklist values to verify your entries were saved.
Setting up Template: Agreement Type
The next step requires you to create record types for your custom object.
- Go to Setup > Create > Objects.
- Click on the link for the Template object.
- Under "Custom Fields & Relationships", click on Agreement Types.
- Under "Picklist Value Set", click New.
- Enter record types for your custom object templates, with each entry on a separate line. In this example, consider 3 record types for Invoice (Pro Forma, Credit Memo, and Debit Memo).
- Click Save. On the next page, check the picklist values to verify your entries were saved.

Setting up Template: Business Object
Complete template setup by finalizing the association of your custom object with the template.
- Go to Setup > Create > Objects.
- Click on the link for the Template object.
- Under "Custom Fields & Relationships", click on Business Object.
- Under "Picklist Value Set", click New.
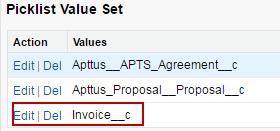
- Enter the API name of your custom object as a new picklist entry. (e.g., "Invoice__c")
- Click Save. On the next page, check the picklist values to verify your entries were saved.
- Next, create associations between your new Business Object and template Types using dependent picklists. Go back to the Template object and click on the Type field.
- Under "Field Dependencies," click Edit next to the "Business Object" dependent field.

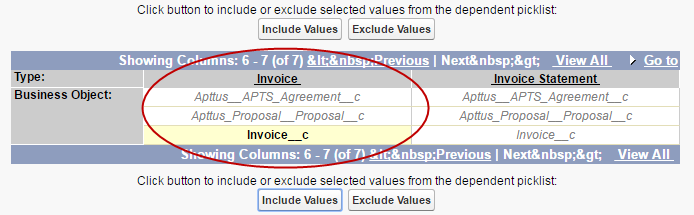
- Create a dependency between the Template Type for your custom object and the Business Object you defined in Step 5. Click on the Business Object API name in the list under your custom object type and click Include Values. In the below example, "Invoice__c" is included in the "Invoice" dependent picklist.
- If you intend to define clauses to use in your custom object templates, you also need to add your custom business object to the Clause dependent picklist. Click on the Business Object API name in the list under "Clause" and click Include Values. In the below example, "Invoice__c" is included in the "Clause" dependent picklist.

- Click Save to save your dependencies.
Setting up Custom Object: Generate Action
The final step required to configure your custom object for document generation is to create the field or button on your custom object and add it to the object layout. Custom objects use a specific Visualforce page and controller class for generating documents. Pay attention to the format in the steps below. In the following example, a custom "Generate" field is created for the Invoice object. You can also make this a button or a link if you want–the action is controlled by a formula in every case.
- Go to Setup > Create > Object > Your Custom Object. (this example is for "Invoice")
- Under "Custom Fields & Relationships," click New.
- For "Data Type," select Formula. Click Next.
- Enter the label you want to use for your Generate action ("Generate Invoice" is used here). For "Formula Return Type," choose Text. Click Next.

- Enter the formula for your custom Generate action. In your formula, define the template type as the label for your custom object (e.g., "Invoice"). Be sure to check your syntax. The following is an example:
HYPERLINK("/apex/Apttus__DocumentGenerate?id="&Id & "&action=Generate_Document&templateType=Invoice", IMAGE("/resource/Apttus__Button_Generate", "Generate"),"_self")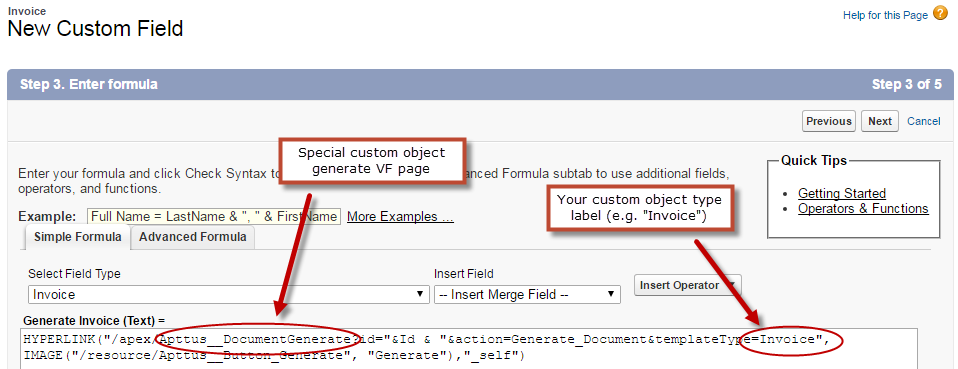
Click Next when you are satisfied with your formula. - On the next page, specify field-level security for profiles to use the Generate action. Click Next.
- Specify which page layouts should include this field. You can always add the field to new layouts as you need to in the future.
- Click Save. You are finished!
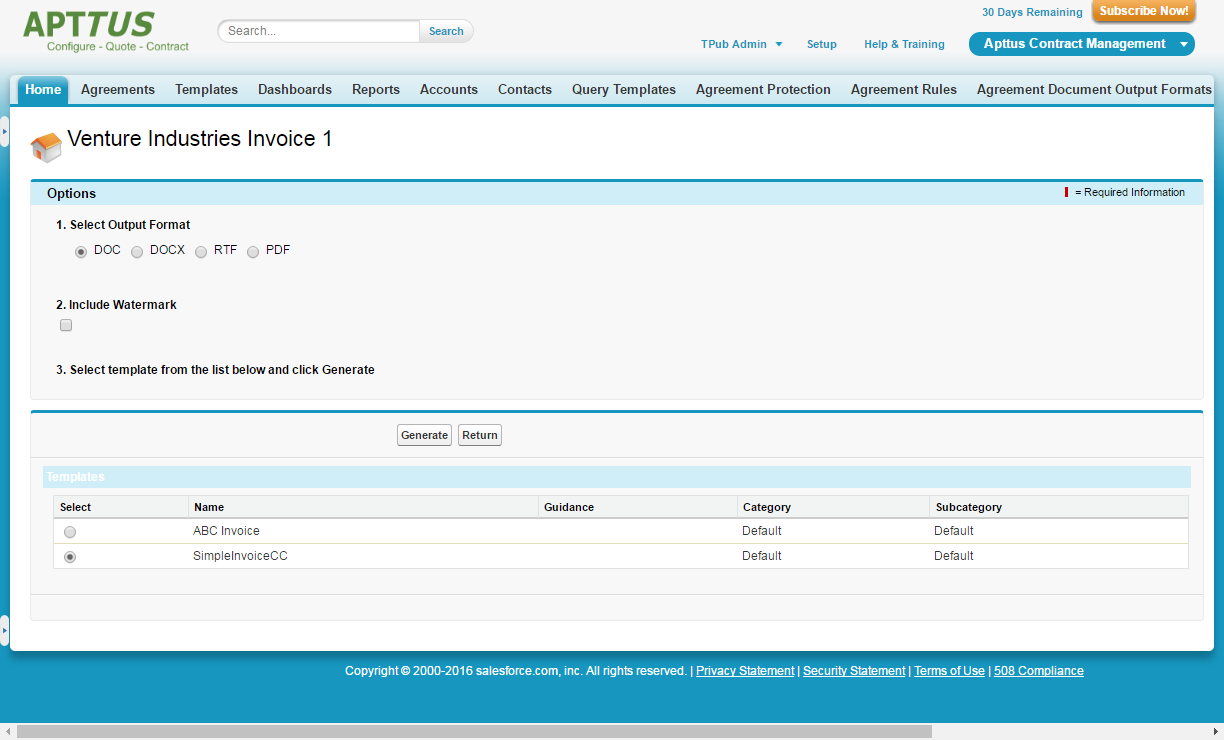
Creating Templates for your Custom Object
Follow the same instructions found in the X-Author for Contracts documentation to create and check-in your custom object templates for document generation. Remember that Rules and Document Protection are not supported for any object other than Agreements. The Generate flow for your custom objects will have a single step and resemble the page displayed in the below image.