Download PDF
Download page Setting Up Microsoft 365 Review.
Setting Up Microsoft 365 Review
This section tells you how to set up Microsoft 365 review by configuring remote site settings, the Azure app, and Microsoft 365 settings.
Prerequisites
- Microsoft 365 E3 or E5 subscription.
- Azure Client ID, Client Secret, and Active Directory. Contact your IT administrator for these.
- Use of Microsoft 365 is allowed. For more information, see Prerequisites for Parallel Review.
- To share agreement documents with external stakeholders, configure a SharePoint site with external sharing settings enabled. For more information, see Microsoft Documentation.
- To use site.selected permission, there is a pre-configuration needed from SharePoint admin where Azure app should be given the right access to the configured SharePoint site. For more information, see Develop Applications that use SitesSelected permissions for SPO sites.
The following email templates are configured according to your requirements for Microsoft 365 review:
- Agreement Office365 External Review Notification
- Agreement Office365 Internal Review Notification
- End Review Office 365
- Office365 Review Cycle Cancel Notification
- The following comply system properties are configured:
Enable Parallel Review
XAJS End Point
Enable Document Versioning
- The following admin entries are configured:
- APTS_Protection
- APTS_Password
- APTS_RetainFileNameForParallelReviewMergedDocument
Restriction
Users can end Microsoft 365 review via email when you configure application permission flow but not delegated permission flow.
To configure remote site settings
- Go to Setup > Security > Remote Site Settings.
- Click New Remote Site.
- Enter a remote site name in the Remote Site Name field.
- Enter
https://login.microsoftonline.com/in the Remote Site URL field for the Microsoft 365 login. - Select the Active checkbox.
- Click Save & New.
- Enter a remote site name in the Remote Site Name field.
- Enter
https://graph.microsoft.com/in the Remote Site URL field for the MS Graph URL. - Select the Active checkbox.
- Click Save & New.
- Enter a remote site name in the Remote Site Name field.
Enter a remote site URL in the Remote Site URL field for the SharePoint URL.

The SharePoint URL is specific to your domain and Microsoft license.
- Select the Active checkbox.
- Click Save.
To collect the Azure client ID and client secret from the Azure portal
Log in to the Azure portal as an administrator.
Select Azure Active Directory.
Select App registrations.
Select New registration and enter
Conga CLM Application.Click Register.
- From the left navigation, select Overview.
- Copy the Application (Client) ID.
- From the left navigation, select Certificates & secrets.
- Click New client secret.
- Add a description, select the validity duration, and select Add.
- Copy the value.
Configure one of the following flows in the Azure app
To configure delegated permission flow
- In the authentication tab from the Azure app that you had created in the previous configuration, add URI with the instance URL of the org and with the suffix as /apex/apttus__MSAuthorize.
Sample value:https://test–tbox.my.salesforce.com/apex/apttus__MSAuthorize - Select API permission under API Permission > Add permission > Microsoft Graph > Delegated Permission.
- Provide the following permissions for Microsoft Graph APIs:
Directory.Read.All
Files.ReadWrite.All
- Sites.Read.All
Note
If you want to use more restricted Microsoft permission for delegated flow, then configure the below permissions:
- Directory.Read.All
- Sites.Read.All
- On the API Permissions page, click Grant admin consent for the permissions where Admin consent required is marked as Yes.
To configure application permission flow
- Select API permission under API Permission > Add permission > Microsoft Graph > Application Permission.
- Provide the following permissions for Microsoft Graph APIs:
- Directory.Read.All
- Files.ReadWrite.All
- Sites.Read.All
- Sites.Selected
Note
If you want to use more restricted Microsoft permission for application flow, then configure below permissions:
If SharePoint Site is used If SharePoint Site is not used Directory.Read.All
Directory.Read.All
Sites.Read.All Sites.Read.All Sites.Selected
- On the API Permissions page, click Grant admin consent for the permissions where Admin consent required is marked as Yes.
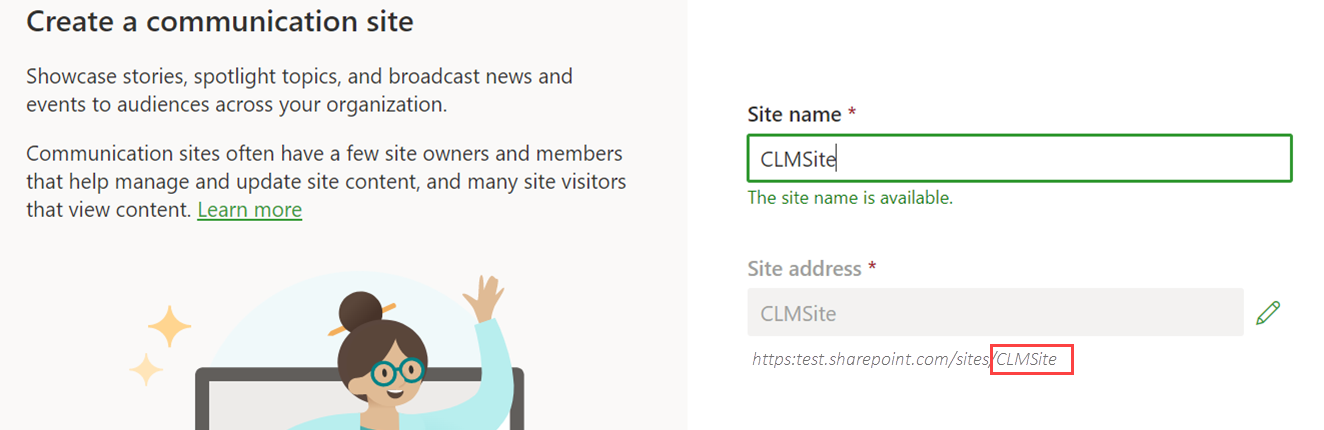
(Optional) To configure a specific SharePoint site
Create a SharePoint Communication Site. For more information, see Create a Site in SharePoint.
You must use the site name from the URI as shown in the screenshot when you are configuring SharePoint Site Microsoft 365 Setting in CLM.
To configure the Microsoft 365 custom settings
Restriction
You can add multiple Microsoft 365 settings but activate only one Microsoft 365 setting at a time.
- Click the App Launcher (
 ) icon in the upper left-hand corner of the Home screen.
 - From the App Launcher, search and select Microsoft 365 Settings.
- Click New.
- Enter the following details to connect to Microsoft 365:
Name: Microsoft365
MS Login URL: Enter the Microsoft 365 login URL to connect to the service. To find Tenant Id, see How to find your Azure Active Directory tenant ID.
Sample value:https://login.microsoftonline.com/<TenantID>/oauth2/v2.0/MS Graph URL: Enter the Microsoft 365 URL to connect to the service.
Value:https://graph.microsoft.com/v1.0/Scope: Enter the scope to be used in the Microsoft 365 Graph API.
Ensure you add appropriate values per the configured authentication flow.
For application flow (Permit Delegation is disabled in the Microsoft 365 setting):https://graph.microsoft.com/.default
For delegated flow (Permit Delegation is enabled in the Microsoft 365 setting):offline_access Files.ReadWrite.AllClient Id: Enter the client ID. (Refer to step 7 in the previous configuration)
Sample value:8m7r4**d-****-4c**-b4d8-e4a6b***79bClient Secret: Enter the client secret. (Refer to step 11 in the previous configuration)
Sample value:taiLWUY*****38&7B%400$5234c***UY%Show Client Secret: Select the checkbox to expose the Client Secret field value.
SharePoint Site: Enter the Microsoft SharePoint Site you use for Microsoft 365 review. (Ensure you do not enter the site URL. For more information, see SharePoint Site Configuration.)
Sample value:CLMsite
If no SharePoint site is configured then the system uses the organization's default site.
Folder Path: Enter the folder path to upload documents to SharePoint.
Sample value:ContractDocuments
If the folder path is blank, the system creates a folder named "Conga CLM Temp Folder" to store the documents to be reviewed.
Permit Delegation: After you log in to Microsoft, select the Permit Delegation checkbox, enabling users to grant delegate access.
Select the Permit Delegation checkbox only if you configured your Azure app for delegated flow.
- Active: Select the Active checkbox to activate the Microsoft 365 setting.
- Click Test Connection when the setting is active to check if all the entered values are correct.
- Click Save.