Download PDF
Download page Configuring Conga Trigger with Salesforce Flow.
Configuring Conga Trigger with Salesforce Flow
Flow is an automation tool provided by Salesforce that can be used to perform various tasks like Sending an Email, Posting a chatter, Sending custom Notifications, etc. It can be triggered for record insert, update and record delete and it can be run for both after and before events. For more information, see Salesforce Flow.
If you’re new to Flow Builder or process automation and want to learn about it and discover how they work, refer to the following Salesforce documentation:
To create an Outbound Message action for Salesforce Flow
On the Salesforce homepage, click the gear icon (
 ) in the right corner and select Setup.
Enter
Outbound Messagesin the Quick Find box, then select Outbound Messages.- Click New Outbound Message.
- Select the Object. It must be the same as the Master Object from your Composer solution (the same object on which you created the Conga Trigger formula field).
- Click Next.
Enter the Name. We recommend setting the Name of the outbound message as “Conga Trigger [Name of Composer solution] [Output Mode]” (ex: “Conga Trigger Invoice Email"). Optionally, include a description as well.
Add the following Endpoint URL:
https://workflow.congamerge.com/OBMListener.ashxThe Endpoint URL is different for integrating Conga Trigger with the Conga Invoice Generation solution. The Conga Trigger Endpoint URL for Conga Invoice Generation is https://workflow.congamerge.com/sfb/obmlistener.ashxUser to Send As is the user under whose authority Conga Trigger will run. The User to Send As should have a custom or standard System Administrator profile and a Composer license. Ensure that this user is active and has access to all of the components used in the Conga Trigger solution (ex: reports, queries, objects, fields, email privileges, eSignature privileges) as well as access to the Conga Trigger formula field.
Important
The User to send as overwrites the EmailFromId parameter when you add the EmailFromId parameter to your solution.
- Send Session ID must be enabled.
- Selected Fields must include the Master Object ID (id) and the Conga Trigger formula field.
Click Save.
To configure Conga Trigger with Salesforce Flow
On the Salesforce homepage, click the gear icon (
 ) in the right corner and select Setup.
Enter
Flowsin the Quick Find box, then select Flows.- Click New Flow.
- Select the Flow Type as Record-Triggered Flow.
- Select Freeform or Auto-Layout, depending on how you want to build your flow.
Complete the following steps using the information below:
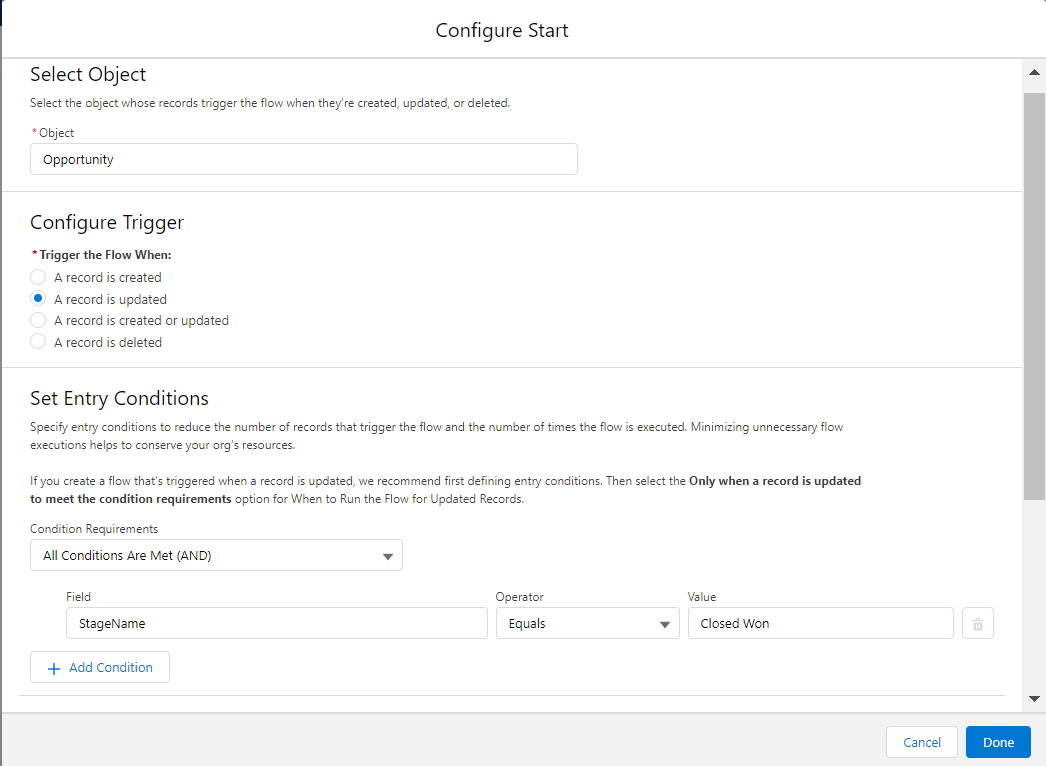
Select Object: It must be the same as the Master Object from your Composer solution (the same object on which you created the Conga Trigger formula field).
Configure Trigger: We recommend triggering the Flow when created, and any time it’s edited to subsequently meet the criteria. However, you may select another option depending on your requirements. See the warning below for more details.
Set Entry Conditions: You may create a new field (for example, a checkbox named Conga Trigger) or leverage an existing field (such as Opportunity Stage) in the criteria of your Conga Trigger flow.
Select the option depending on how you want to run the Flow for updated records.Important
If you create a flow that’s triggered when a record is updated, it is recommended to first define entry conditions. Then select the Only when a record is updated to meet the condition requirements option for When to Run the Flow for Updated Records.
Optimize the Flow for: Select the option depending on how you want to optimize the flow.
The ability to merge and send a document without user oversight or intervention potentially poses a great risk. Remember that every time the Salesforce Flow fires, the Conga Trigger process runs as well, meaning the merged output file will be generated, which can have far-reaching implications, such as an infinite loop.
For example, assume your Salesforce Flow is set to evaluate every time a record is edited and you’re using a checkbox field as the rule criteria (e.g. “Conga Trigger equals true”). If you don’t include an additional field update flow action to disable the checkbox field after Conga Trigger fires, then a document will be generated every time the record is edited.
Thoroughly test your solution and confirm it’s working correctly before deploying it fully.
- Click Done. The Flow is created with the start element.
Freeform option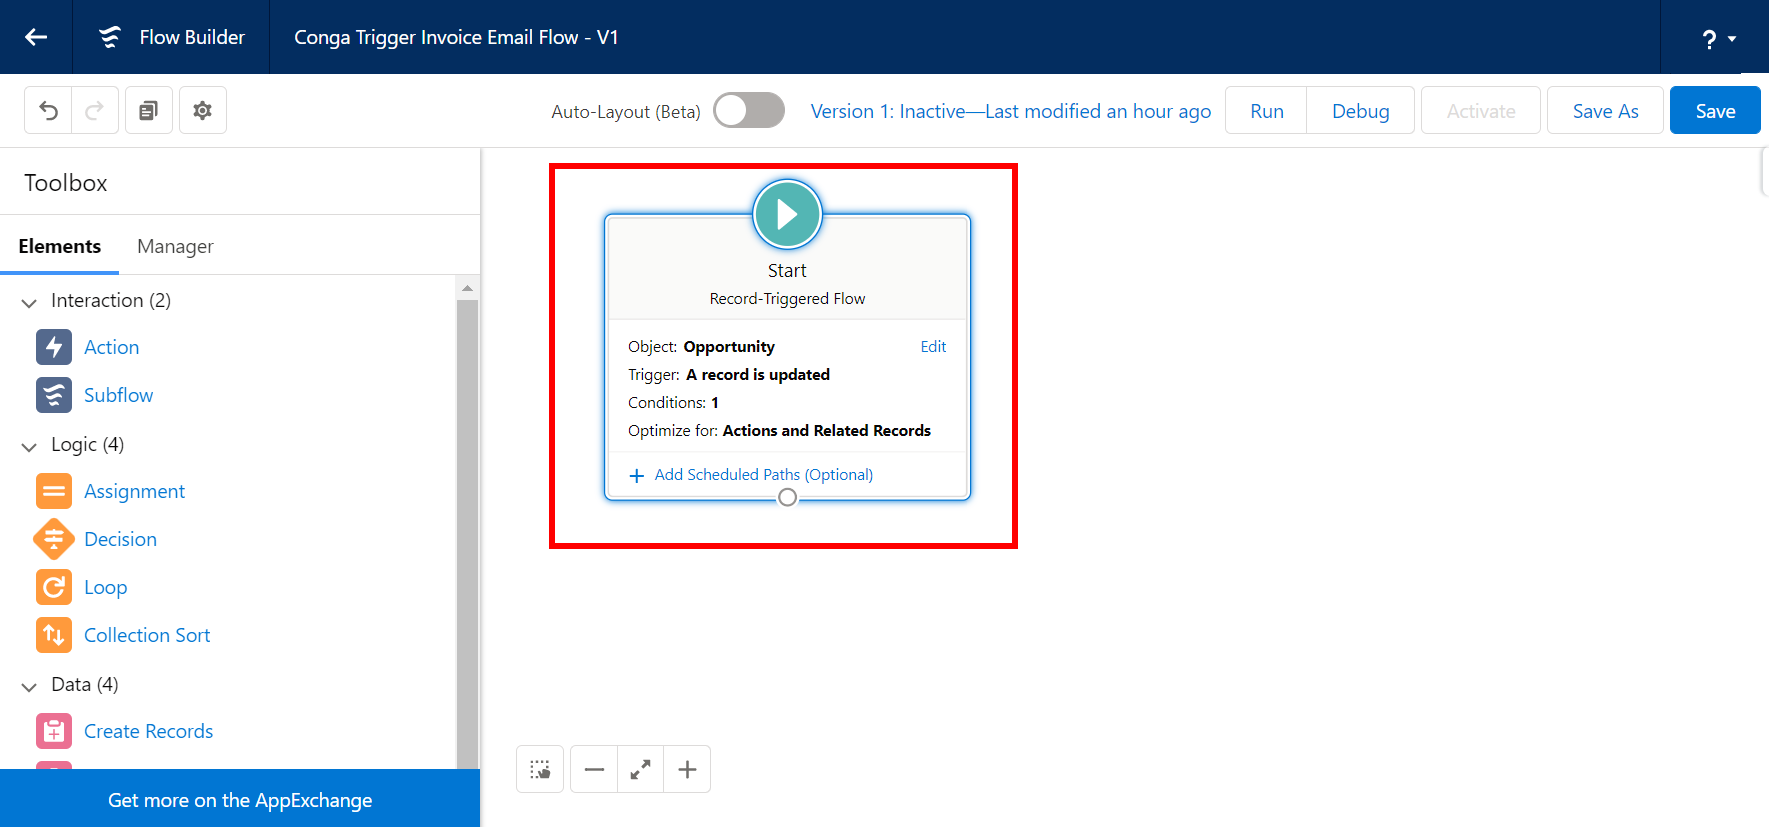
Auto-Layout option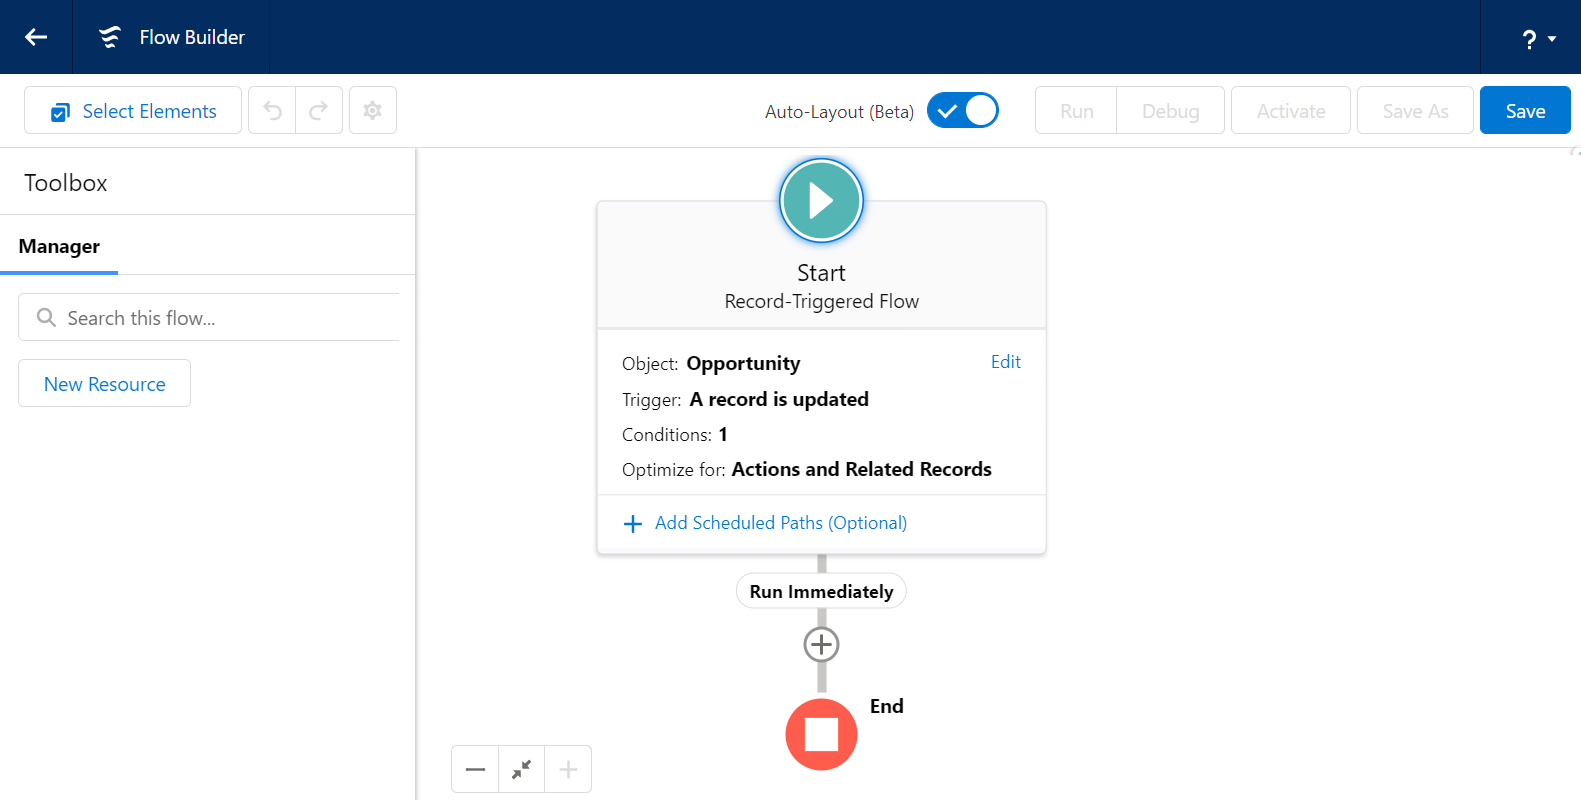
If building the flow in free form, drag the Action element onto the canvas.
-or-
If building the flow in auto-layout, click the add element ( ) icon and select the Action element.
Each element represents an action that the flow can execute. Examples of such actions include reading or writing Salesforce data, displaying information and collecting data from flow users, executing business logic, or manipulating data.
The New Action screen appears to set the action for this flow.
- From the left side Filter By options, select the Outbound Message option.
- In the Action field, Search and select the outbound message action that you created for this flow (ex: Conga Trigger Invoice Email).
- Enter the Lable for this action. Optionally, include a description as well.
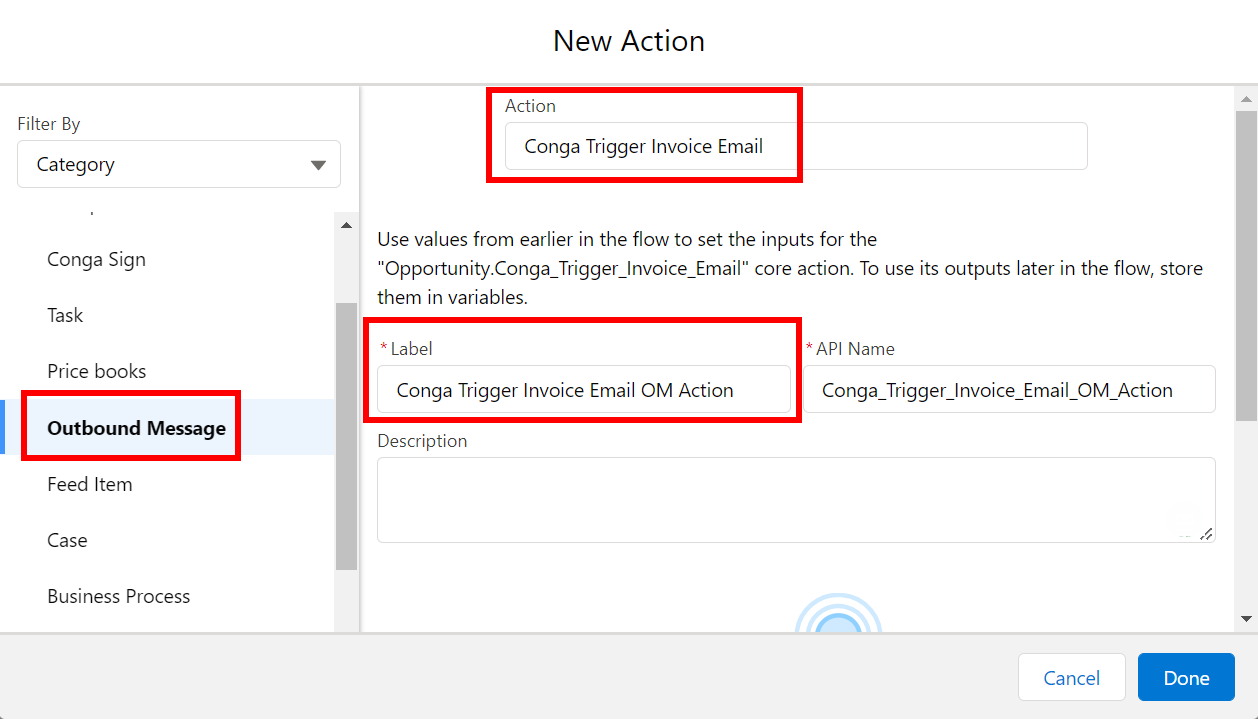
- Click Done.
- If building the flow in freeform, connect the Start elements to the Action element.
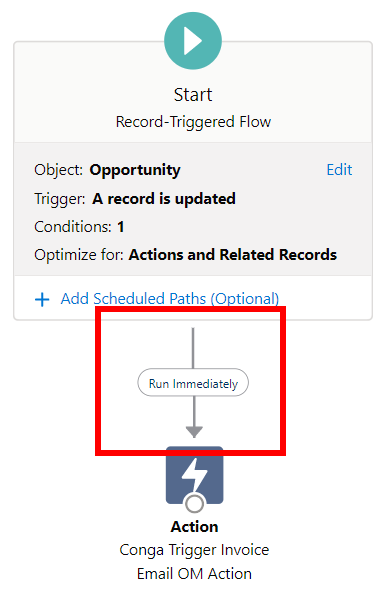
If building the flow auto-layout, connectors are automatically created on the canvas for you. - Click Save.
- Click Activate.
In the example above, the Salesforce Flow runs when the Opportunity Stage field is changed to “Closed Won,” which then initiates Conga Trigger. Conga Trigger creates an invoice document, attaches it to an email, and sends that email to the Opportunity’s Primary Contact.
After you build a flow, make sure to test the Conga Trigger solution.