Download PDF
Download page Managing Content Details View.
Managing Content Details View
You can manage the components of the Record Detail page, such as fields, sections, related items, etc. You can control which fields are displayed, the order in which they appear, and configure tabs to show associated fields. This section describes managing a record detail view page layout.
You can manage the components of the Record Detail page, including fields, sections, and related items. You have control over which fields are displayed, their order, and the configuration of tabs to show related fields. This section explains how to manage the the Record Detail page layout.
The Record Detail page consists of two main components:
- Details: Displays information for a single record, including all its field metadata.
- Sections: Presented as tabs, showing a list view for related entities.
To manage a record detail page layout
- Log in to the Conga Platform as an admin user.
- Click the App Launcher (
 ) icon from the top-left corner then go to Apps > CX Studio.
 - Open the page or object layout properties in which you want to add or update the record detail view properties. You can open the detail page properties window in the following ways:
- While Creating a New Page: Pages > New Page > select a template > Next > fill in details > Next.
- While updating an Existing Page: Pages > click page name link.
- While updating an Object Layout: Object Layouts > click the More (
 ) icon > Edit.
 - Editing a Page from RLP or a Supported Application (e.g., CLM): Open the page > click Edit Page button from the top right corner.
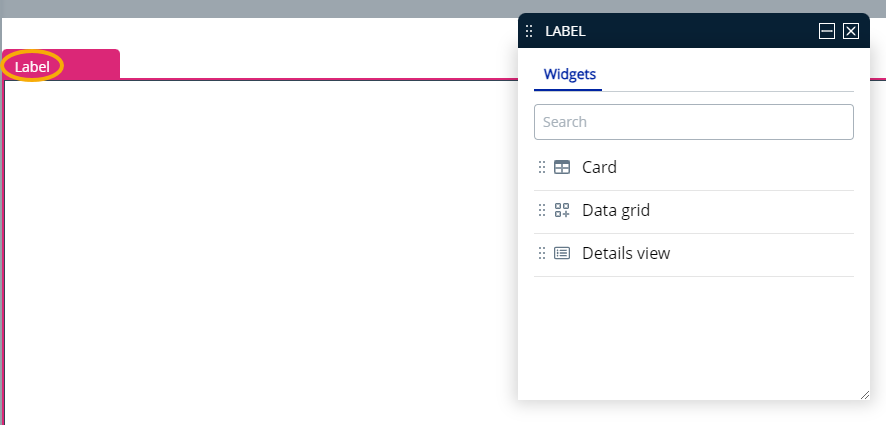
- The page has two main parts: the PageHeader pane for adding actions, and the Label pane for adding or updating content layout.
To adjust the detail page components and their properties, click in the bottom panel of the page. The Properties window appears.
The tabs in properties pane varies depending upon the page type. Widget can only be added to or modified for a page layout created from scratch in CX Studio.
- Select Details View option from the properties window and drag it into the label pane; it will show record details for the entity chosen during page creation.
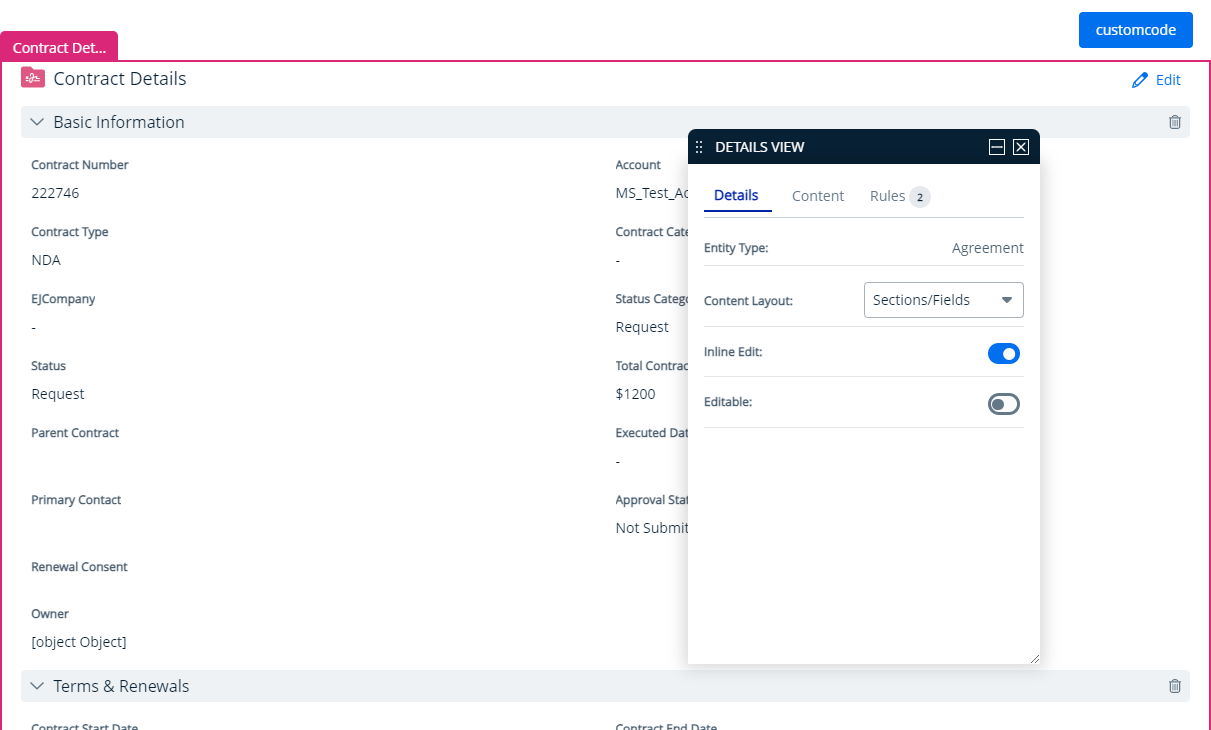
- To manage the sections, fields, and their properties on the detail page, click the section name in the pane. From the properties window, You can perform the following actions on the record detail page:
Options Description Details tab
Entity Type Shows the object selected at the time of page creation. Content Layout Allows selecting the layout of your content:
- Sections/Field: Select which sections and/or fields to include in the record detail pane layout.
- Tabs/Sections: Select which tabs and/or sections to include in the record detail pane layout.
Inline Edit Enable this toggle to to allow editing data directly within the field on the same screen, without needing to open a separate form or window.
Editable Enable this toggle to allow modifying the field, usually by opening a separate form or dialog to change the field’s properties or data.
Field Level properties To configure field level settings, go to the section and click on the field title you want to configure.
- To make a field mandatory, turn on the Required toggle.
- To allow users to modify the field, turn on the Editable toggle.
- To show an info icon next to the field name for additional information about the field's purpose or usage, turn on the Show Info Icon toggle.
By default, the description you add when creating a field in the schema manager is displayed. You can edit this description if needed.
To edit the description, click the Edit ( ) icon and enter or modify text in the Enter Info Text field.
Content tab Sections Allows to add a section for related lists and easily rearrange its position by dragging and dropping it above or below other sections.
You can create a new section or select an existing one from the list.
- To define a new section:
- Click Add Section. The Add Section window appears.
- Enter the Section Name as per your business needs.
- Click Add. The newly added section now appears under the list of sections.
- To add an existing section to the details page:
- Drag and drop the section in your details page layout. The section now appears in your details page layout.
- Click and drag a section name to Move it before or after another section in the list.
- To remove a section from the details page, select the section and click the Delete (
 ) icon.
Manage Fields Allows to control which entities are displayed on a detail page and in what order. Search for and drag-and-drop fields in the detail page layout.
Rules
Allows you to set visibility or validation rules for page tabs, sections, and fields within a detail page. To learn more about rules, see Applying Rules.
Widget
Allows to modify the page layout. Select a layout from the list and drag it into the pane to apply it.
- Click and drag a field name to Move it before or after another field in the section.
- Click Remove (
 ) to remove the field from a page.
 - Click Publish to apply changes to the record detail view.