The Conga Platform application allows you to save your filtered view of a record and set it as the default view, so there is no need to reselect the filters every time you open the grid view (list view).
To save your personalized view
Log in to the Conga Platform as an admin user.
Navigate to the page containing the grid view you want to filter.
Customize your view by applying filter criteria:
Filtering Options: Use the available filtering options to set criteria for your view. This might involve selecting specific fields, setting conditions, and choosing values for those conditions. For more details, see Filtering Records in the Grid View.
Managing View Settings: Apply the view setting to control which columns are to be displayed in the grid view. For more details, see Managing View Settings.
Rows per Page and Page Number: Specify the number of records you wish to see per page using the Rows per Page option. Enter the page number in the designated box to set the default page when applying the view.
Sorting: Apply column sorting for better navigation.
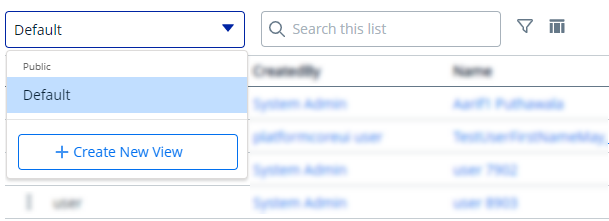
Go to the dropdown menu next to the search bar and click Create New View. The Save View popup appears.
Enter a name and description for your view.
You can save your view as either Private or Public:
Private: Select this to restrict the search view to yourself only. It remains private and accessible only to you.
Public: Select this to permit others to access and use your search view. Your search view will be made public, allowing others to view and use the same search criteria.
ClickSave to save your filtered view.
To access your saved view, click the dropdown menu next to the search bar.
Click the More () icon for the view from the list and select Set as default.
The grid view updates and displays records based on the saved filter criteria. The system retains the applied filter, showing it in the grid view upon screen switching and return.
To edit a saved view
Click the More () icon for the relevant view from the list and select Edit.
Make the necessary changes.
Click Update.
To delete a saved view
Click the More () icon for the relevant view from the list and select Delete.