The All Object Mappings feature simplifies the process of mapping source objects to target objects. It provides a comprehensive view of imported external objects and enables direct source-to-target mapping on a single screen. If a required target object is missing, users can create it seamlessly. It also automatically creates a default set of fields for target objects and facilitates precise source-to-target field mapping.
You must set up your data synchronization infrastructure before object mapping. For more details on configuring data sync infrastructure, see Getting Started with Data Sync.
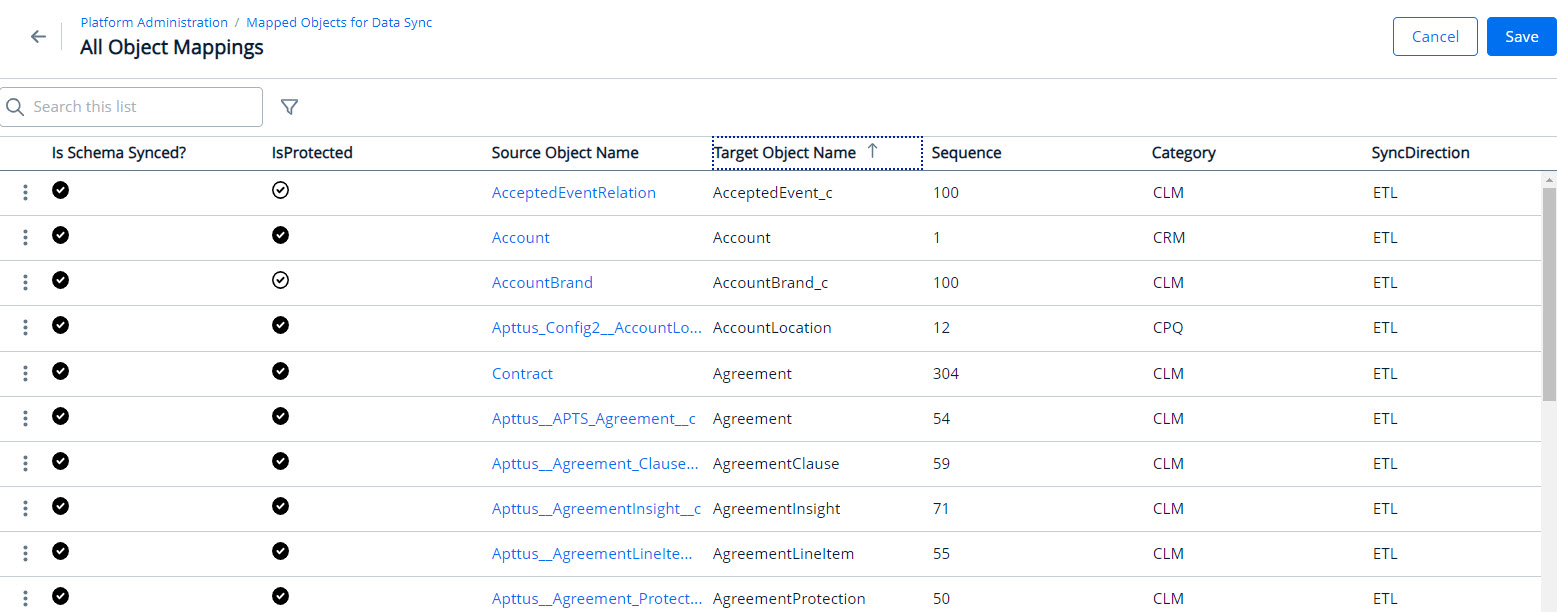
The All Object Mappings page displays the following information.
Column
Description
Is Schema Synced?
The current status of the schema synchronization.
Is Protected
Represents whether it is an out-of-the-box (OOTB) object or not.
Source Object Name
The source object name.
Target Object Name
The name of the target object that is mapped to the source object. If the source object and the target object are not mapped, it remains blank.
Sequence
When syncing data, this number indicates how important an object is. The system considers this number to decide which objects should be synced first.
Category
Indicates the application the object belongs to, such as CLM, CRM, CPQ, etc.
Sync Direction
Represents direction of sync:
Forward: Near real-time from Salesforce to RLS
Reverse: Near real-time from RLS to Salesforce
Both: Near real-time from Salesforce to RLS and vice versa.
ETL: Extract, transform, and load through data sync.
To map source object with target object
Log in to the Conga Platform as an admin user.
Click the App Launcher () icon from the top-left corner > Admin Console > Data Sync.
Click the More () icon on the Data Sync UI and select Mappings. The list of all mapped objects for data sync appears.
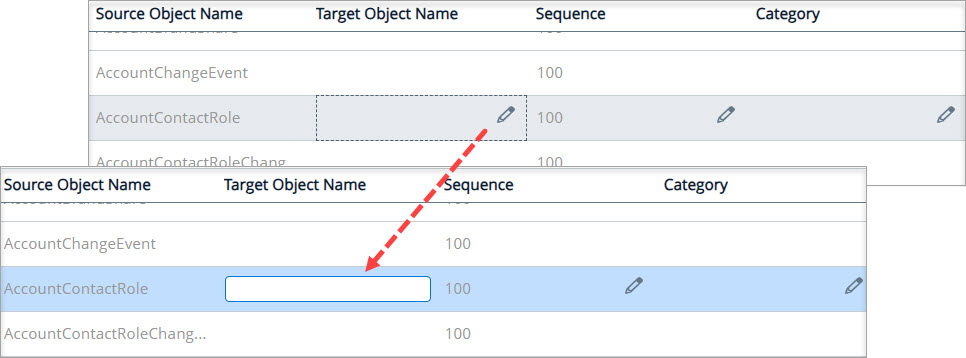
Navigate to the source object name that you want to link with a target object. The Pencil icon appears next to each item in the row.
Click the Pencil icon next to each field and enter the required information.
Click Save. The application displays an action message if the target object name you entered does not exist in the system.
From the action dialog, click OK. The All Object Mappings page displays the newly mapped configuration.
To map source field with target field
Log in to the Conga Platform as an admin user.
Click the App Launcher () icon from the top-left corner > Admin Console > Data Sync.
Click the More () icon on the Data Sync UI and select Mappings. The list of all mapped objects for data sync appears.
Click the Source Object Name for which you want to map fields. The All Field Mappings page appears.
Navigate to the source field name that you want to link with a sink field name. The Pencil icon appears next to each item in the row.
Click the Pencil icon next to each item and enter the required information.