Download PDF
Download page Importing Documents and Files.
Importing Documents and Files
To import single files and folders
Users can import files and folders for extraction according to import rules established by the administrator.From the Home screen or the Project Dashboard, click the Import Document button and select Single Document from the dropdown menu or click Intelligent Document Import from the Conga CLM user interface. This may be a dropdown menu item or a button on a tile. See your product's guide for details.
These actions raise the Import Document screen to the "Upload a file" step.

Caution
If you enter the import flow from an agreement page, note the document type (i.e., DOCX, PDF, etc.) before proceeding. This value is not persistent across all products and mismatching an existing document type with the selected search will result in an error.
Select Single file upload or Folder upload. You can also slide the Skip Existing Documents toggle on to prevent uploading duplicate files or off to permit it.

Upload a file or folder through the browser or drag and drop it from the desktop.

Note
You can upload single files of the DOC, DOCX, and PDF file types for direct import, or folders containing such files. Make sure the files are of the same document type (see step 4) before bulk uploading. When uploading from a local file system, you can upload a folder of up to 1,000 documents. When uploading from Conga CLM, you can see up to 1,000 documents, which you can upload in 100-document batches.
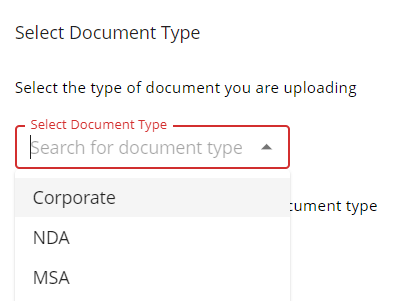
Select the document type from the list of available document types.
You can also select from any available worksheet to apply preconfigured worksheet rules to your import.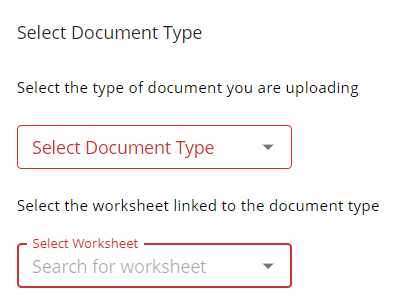
- Choose the processing option. You can select:
- OCR to import the document as searchable text
- Automated Extraction to submit the document for AI-only extraction, or
- Verified Extraction to submit the document for AI extraction with attorney review.
The administrator can restrict access to these options. If so, some may not be visible.
Review the advisory messages concerning your import carefully. OCR-only imports are quick and cheap, but no fields, clauses, or tables are extracted. Automated Extraction offers AI-only processing of documents, may cost more, but is fairly quick. Verified processing, on the other hand, is high-value and can take a considerable amount of time (possibly days) but provides very high accuracy.
Note
Verified Extraction is only available for a limited set of terms. If you receive an error after selecting Verified Extraction, try again using Automated Extraction.
Click the IMPORT button.
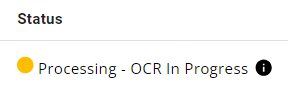
A message appears, confirming the submission and advising that you will receive email confirmation when document processing is complete and the document is ready for review.
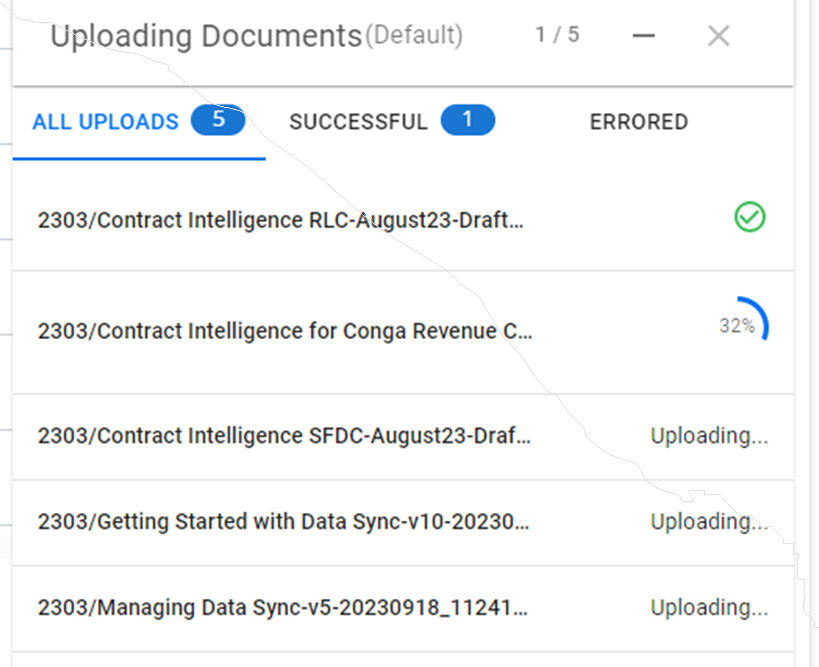
On folder uploads, an Uploading Documents pop-up displays uploaded files, files remaining to upload, uploading files' progress, and those files' success and error statuses.
Note
You can detect and skip duplicate documents from a single or bulk import. During import, a duplicate file check is made within each folder and across all folders and sub-folders. An upload popup dialog shows when a duplicate file is discovered, by name.
To import from Conga CLM
Prerequisite
You have performed the one-time setup and syncing of documents from Salesforce to the Conga Platform described in Managing Data Sync.
- In the Import Project window, you can select CLM document collections to import. You can filter these using filter criteria inscribed into several data types. You can also slide the Skip Existing Documents and Skip Older Versions toggles off to retain duplicate or legacy documents in your upload.
- In the Document Selection section, click the check boxes adjacent to the documents you will import or check the top box to select all documents.
- Select the worksheets and extraction types for each contract type you expect to import.
- Click IMPORT. You may receive a notice that the process is in progress.
- Document upload progress is reported in the Uploading Documents popup at bottom right.
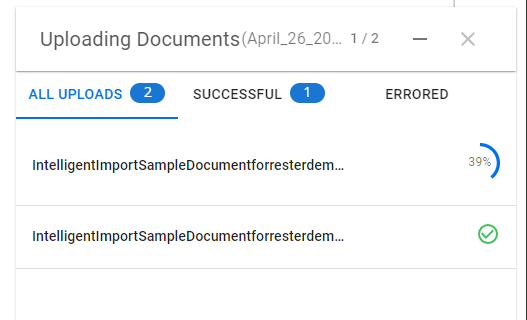
You can click the tabs to find out the progress of all uploads (default), successful uploads, and uploads with errors. - Success is indicated when all uploads are marked with a green check mark. If you receive errors, you can resubmit as described in Error Reprocessing.
To import from Microsoft Sharepoint
Prerequisite
You have performed the one-time setup from Microsoft Sharepoint to the Conga Platform described in Microsoft Sharepoint Integration.
- From the home page, click the folder icon in the left navbar to raise the Product Dashboard.
- In the Project Dashboard, click the link text of a project name.
- Click UPLOAD FILES.
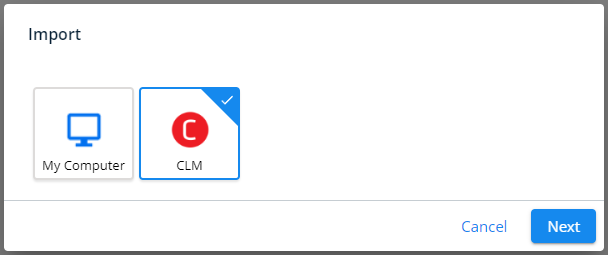
- Select Sharepoint from the Import popup and click Next.
- In the Import Project window, you can select Microsoft Sharepoint document collections to import. You can filter these using filter criteria inscribed into several data types.
- In the Document Selection section, click the check boxes adjacent to the documents you will import or check the top box to select all documents.
- In the Choose Processing Options section, select the document type, worksheets, and extraction types for your selected document.
- Click IMPORT. You may receive a notice that the process is in progress.
- Document upload progress is reported in the Uploading Documents popup at bottom right. You can click the tabs to find out the progress of all uploads (default), successful uploads, and uploads with errors.
- Success is indicated when all uploads are marked with a green check mark.
Behaviors and Limitations
Sorting is currently not available
An import request can only process one of the options below:
A single folder
A single file
A group of files
While viewing Sharepoint content, if multiple items are selected across pages, only the selections on the current page will process
If the user selects files, and then navigates in and out of folders and selects more files, only the current selection shown will process (for example, whatever the current folder contains)
All files are displayed regardless of type, so ensure that only .doc, .docx, and .pdf files are selected. An error displays if unsupported file types are selected.
Search results only return files and not folders
Error Reprocessing
During bulk imports, some files may have errors or may hang in the processing state for more than 24 hours. Rather than having these issues spoil the entire upload, you can reprocess a bulk upload during upload, OCR, or verification before the upload is ready for review.
To resubmit a bulk upload for error reprocessing
- Go to the Product Dashboard.
- Select the bulk import you will resubmit.
- Click the Bulk Resubmit (
 ) button.
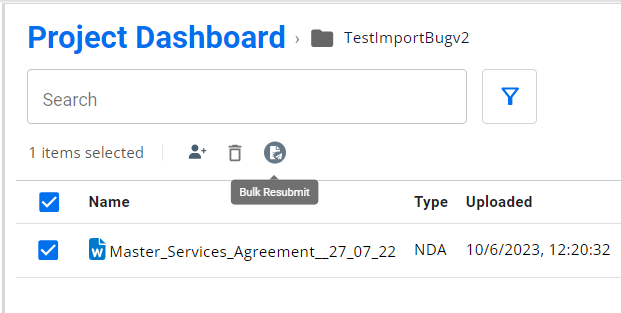
- Click CONFIRM.
- Bulk processing is reinitiated.