To import single files and bulk (ZIP) files

Users can import files  for extraction according to import rules established by the administrator. 

  1. From the Home screen or the Project Dashboard, click the Import Document button and select Single Document from the dropdown menu or click Intelligent Document Import from the Conga Contracts, Contracts for Salesforce, or Conga CLM user interface. This may be a dropdown menu item or a button on a tile. See your product's guide for details. 

    These actions raise the Import Document screen to the "Upload a file" step. 

    Caution

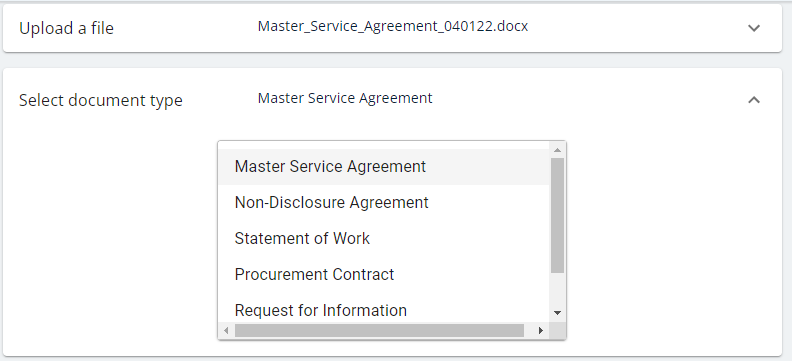
    If you enter the import flow from an agreement page, note the document type (i.e., DOCX, PDF, etc.) before proceeding. This value is not persistent across all products and mismatching an existing document type with the selected search will result in an error. 

  2. Upload a file  through the browser or drag and drop it from the desktop.

    Note

    You can upload single files of the DOC, DOCX, and PDF file types for direct import, or you can upload ZIP files containing files in those formats. Make sure the files are of the same document type (see step 3) before bulk uploading.  

  3. Select the document type from the list of available document types. 


  4. Choose the processing option. You can select:
    • OCR to import the document as searchable text
    • Automated Extraction to submit the document for AI-only extraction, or
    • Verified Extraction to submit the document for AI extraction with attorney review.
  5. Review the advisory messages concerning your import carefully. OCR-only imports are quick and cheap, but no fields or clauses are extracted. Automated Extraction offers AI-only processing of documents, may cost more, but is fairly quick. Verified processing, on the other hand, is high-value and can take a considerable amount of time (possibly days) but provides very high accuracy. 

    Note

    Verified Extraction is only available for a limited set of terms. If you receive an error after selecting Verified Extraction, try again using Automated Extraction.

  6. Click the IMPORT button.

  7. A message appears, confirming the submission and advising that you will receive email confirmation when document processing is complete and the document is ready for review

Error Reprocessing

During bulk imports, some files may have errors. Rather than having these errors spoil the upload, you can reprocess a bulk upload during upload, OCR, or verification before the upload is ready for review.

To resubmit a bulk upload for error reprocessing

  1. Go to the Product Dashboard.
  2. Select the bulk import you will resubmit.
  3. Click the Bulk Resubmit () button.
  4. Click CONFIRM.
  5. Bulk processing is reinitiated.