Download page Enabling Cart View Creation in CPQ Admin Console.
Enabling Cart View Creation in CPQ Admin Console
You need to configure the settings for creating a cart view in the New Admin Console of CPQ.
To create a Cart View in New Admin Console
Go to Custom Object Setting Group and click Display Type picklist field.
Add the picklist value Custom.
Create a tab for Application Features object.
Go to Application Features tab and then click the Cart Page record.
If you do not see any records under Application Features tab, then you need to click Load Defaults on CPQ Admin by navigating to All Tabs > CPQ Admin > Application Management > Load Defaults.
Edit the layout of the “Cart Page” record and add “Setting Groups” related list to it.
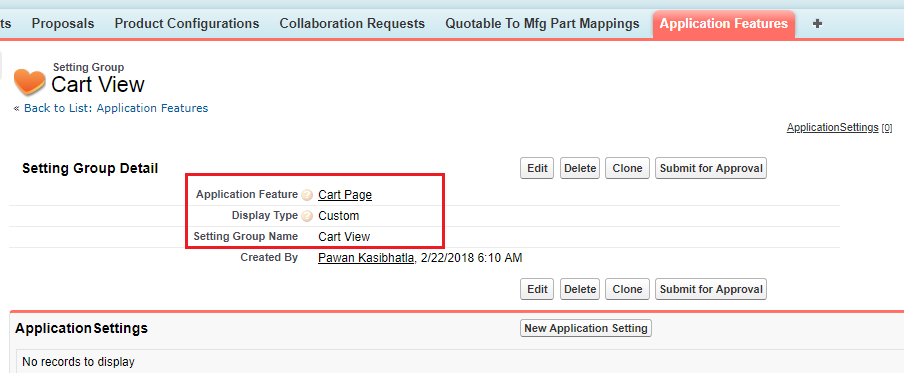
Click New Setting Group in the “Setting Groups” related list on the “Cart Page” layout. Fill the below details in the new setting group record for “Cart View” and save it.
After you create the “Cart View” setting group record, it will be available in the “Setting Groups” related list on the “Cart Page” layout as shown below:
Cart View page gets available on the CPQ Admin console. You can access this page from All Tabs > CPQ Admin > Application Management > Cart Page > Cart Views.
To create view for a flow, first you need to configure the flow for Cart Grid by adding “#cartgrid” after the flow name.
Only those flows which are configured for Cart Grid are available in the “Flow” field on the “Cart View” page.