Download PDF
Download page Managing Quotes.
Managing Quotes
You can create and request a quote for a customer using Partner Commerce before placing an order for better pricing and product configuration.
Pre-requisite:
- Ensure that Enable Request Quote flag is set to True by your administrator on the Storefront record.
After requesting a quote, you can perform the following:
- Generate a quote document so that you can email the proposal document to the customer.
- Present a generated quote with the requested products, services, and pricing to the customer via email, so the customer can view the quote.
- View and track quotes.
- Modify the quote by editing the header and line items in a requested quote. You can add, change, or delete items from the requested quote in draft stage only.
- View and manage details of a requested quote created by the customer or created for the customer.
Get notified when the quote is accepted by the customer so you can accept the quote on behalf of the customer.
Requesting a Quote
As a logged in user, you can add products to the cart and request a quote by clicking the Request Quote button on the cart page.
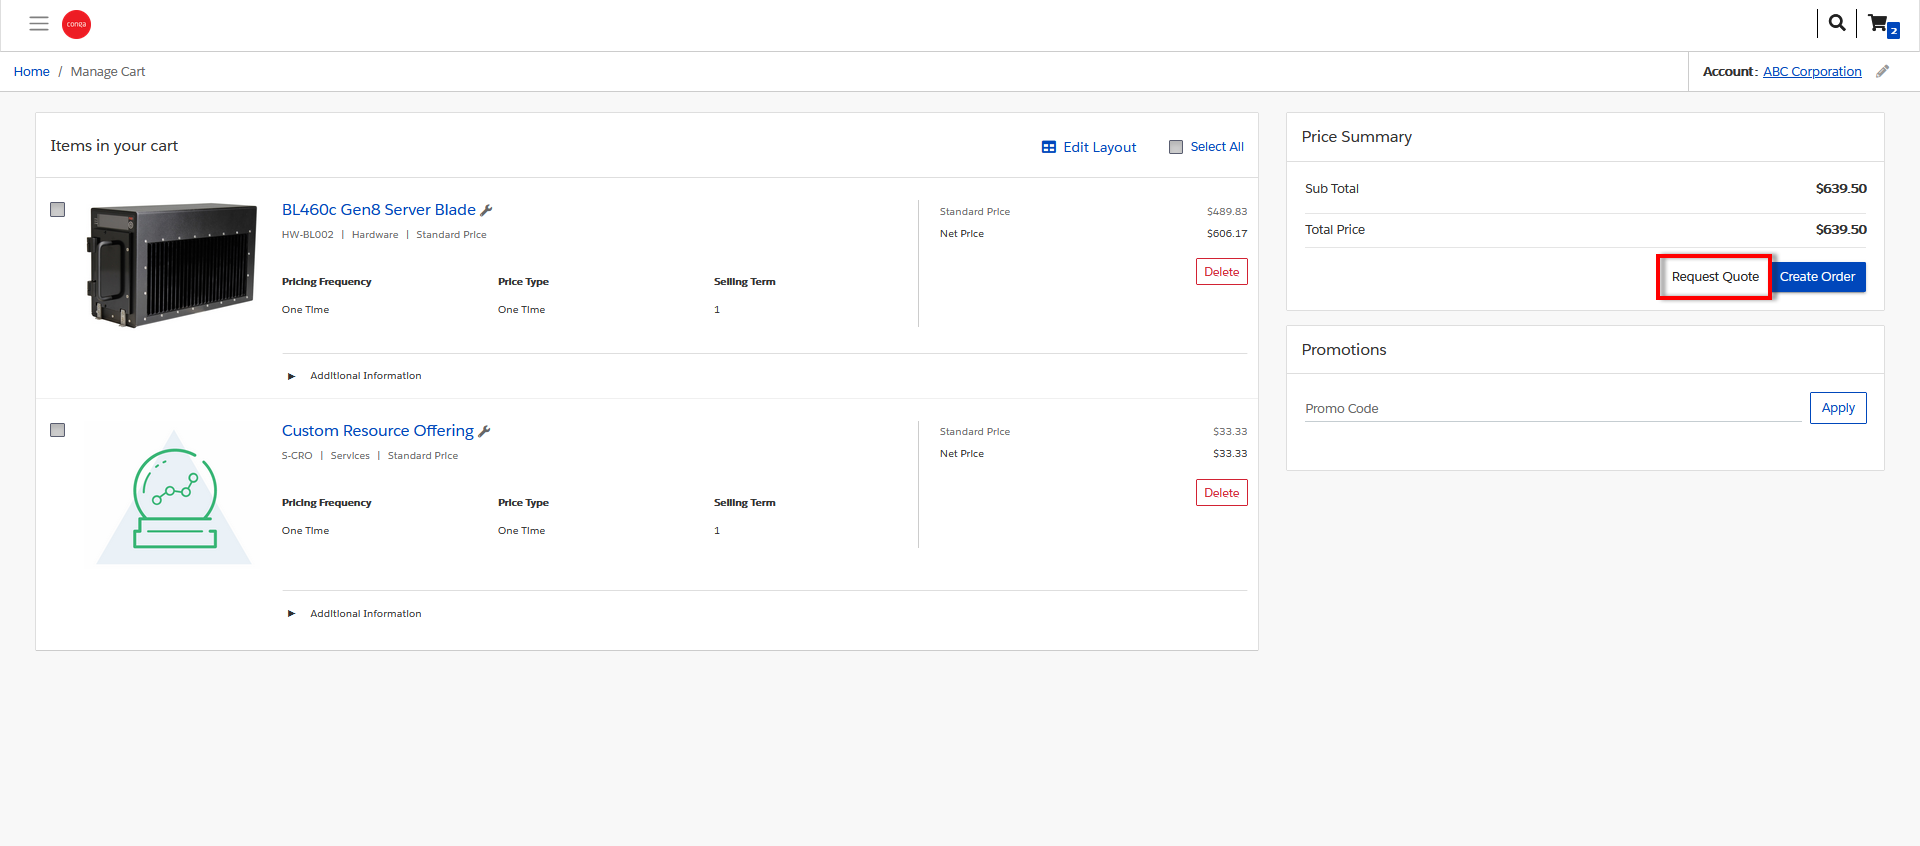
The Request Quote page appears.
To request a quote
Enter the following details for the quote on the Request Quote page:
- Enter a meaningful Quote Title.
- Enter an RFP Response Due Date by which you are expecting a response on the quote request.
- By default, the Primary Contact is auto-populated with your name. You can choose to change the primary contact to another contact associated with your account.
- By default, the Ship To and Bill To fields are auto-populated with your account along with the address.
- You can add Comments for the seller. For example: Discount needed or mention your budget for the purchase or seek more help with the products to buy and more.
- Click Request Quote. The Quote Request confirmation pop up appears. Click the REVIEW YOUR QUOTE button to view and track the status of your requested quote.
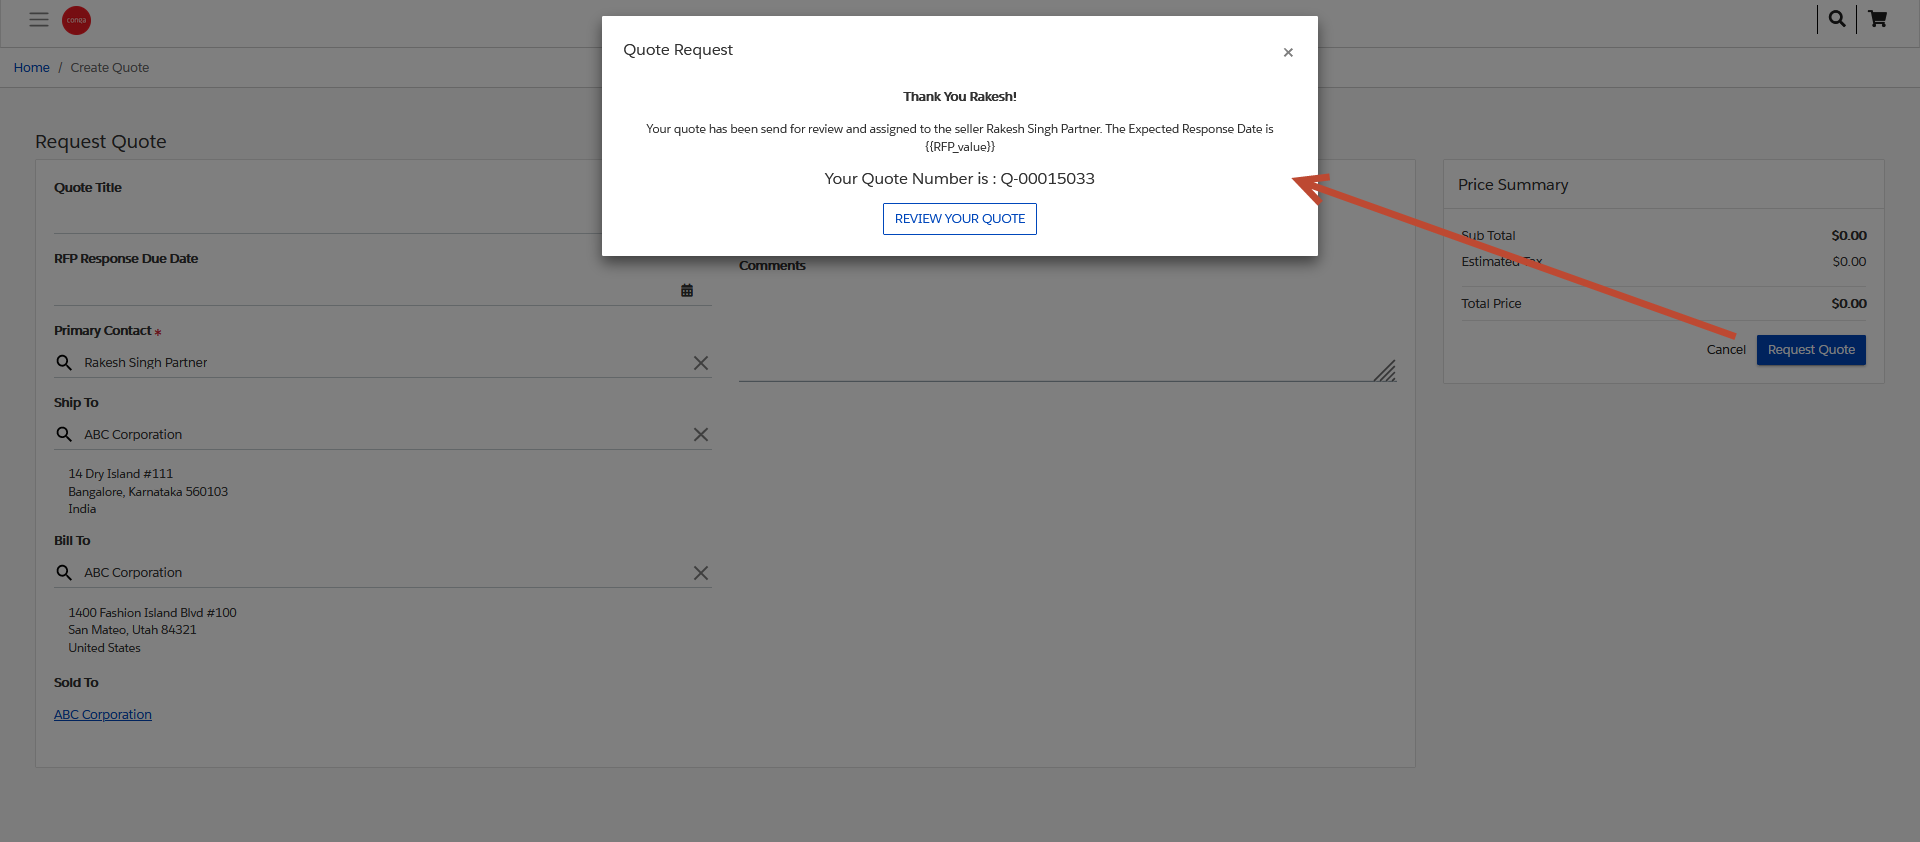
You can now either finalize to move the quote from the Draft stage to the Approved stage or generate a quote document to be presented to the customer for their review and acceptance.
Viewing and Modifying a Requested Quote
After requesting a quote, you can view and modify the requested quote and resubmit. To view all the quotes created by you and belonging to the same account, go to My Accounts > My Quotes page.
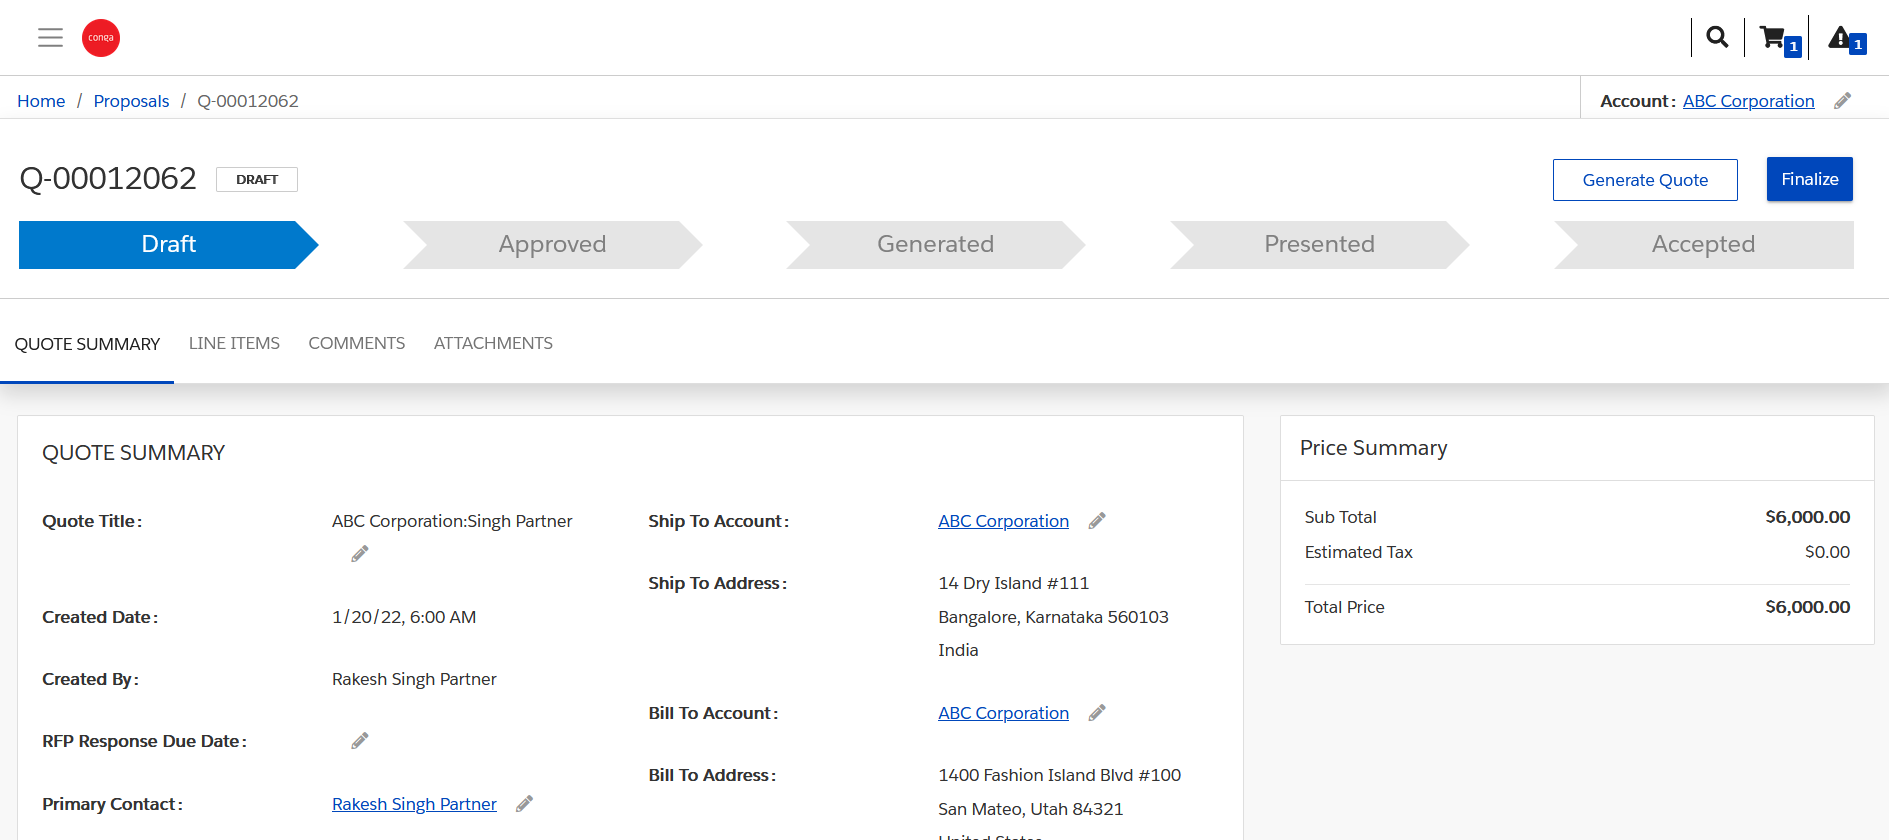
To view and modify a quote
- From the Quote Request confirmation popup, click REVIEW YOUR QUOTE button. The quote page appears where you can view and update the following:
- Quote Summary - You can update the Quote Title, RFP Response Due Date, Primary Contact, Ship To Account, and Bill To Account.
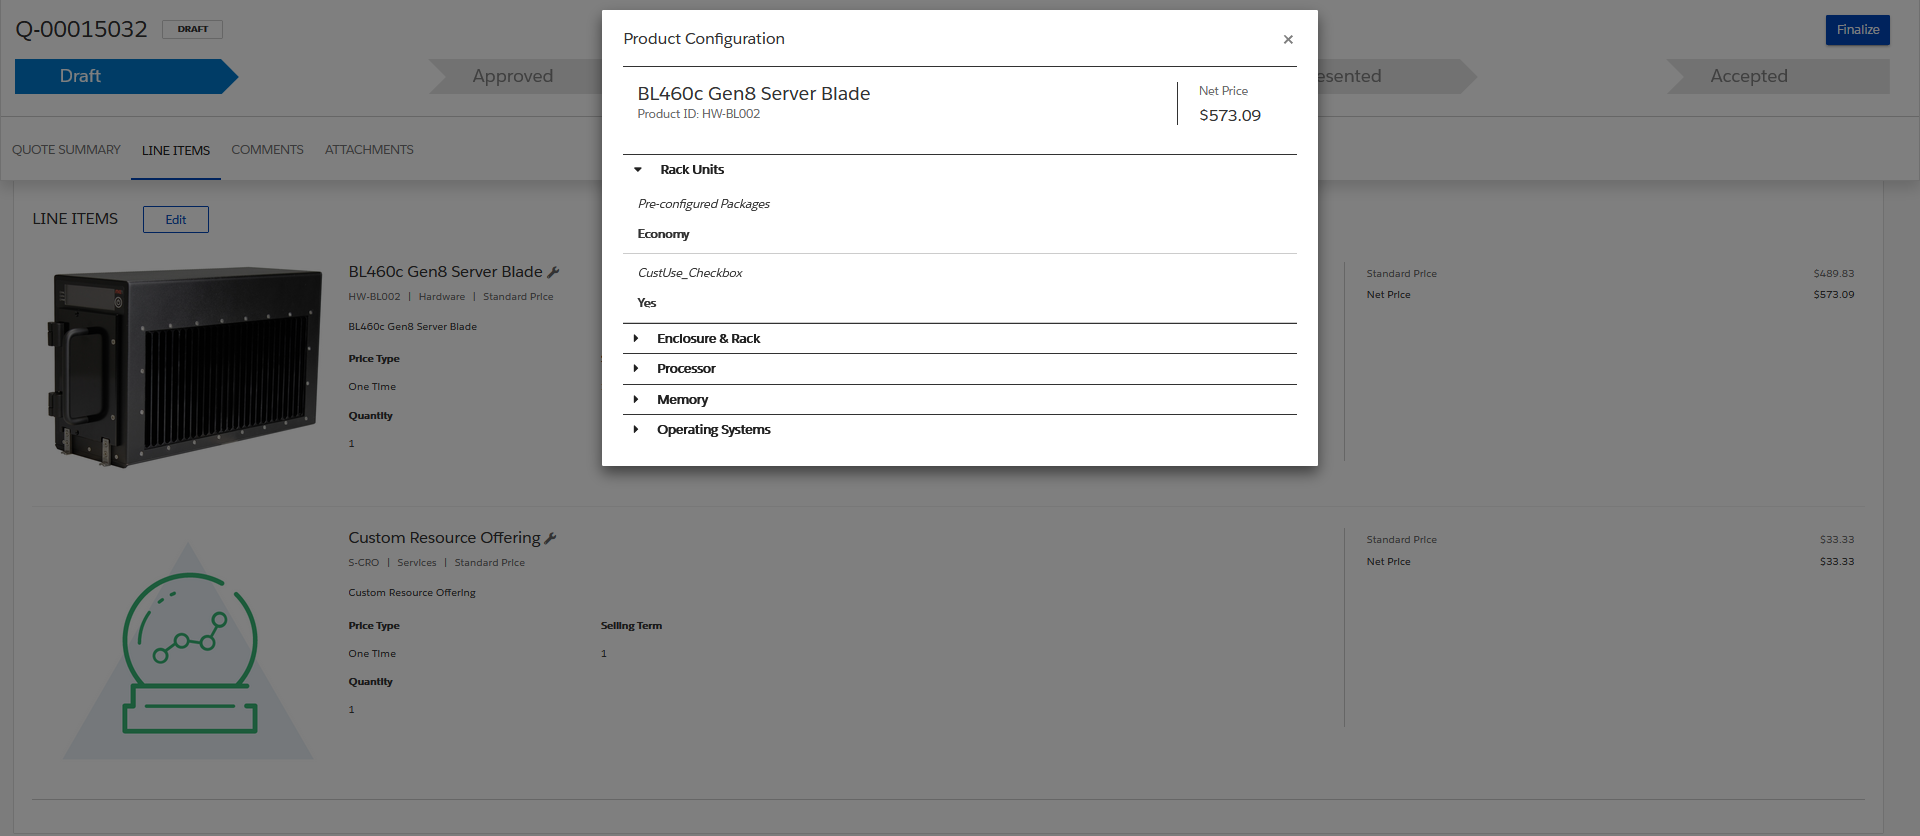
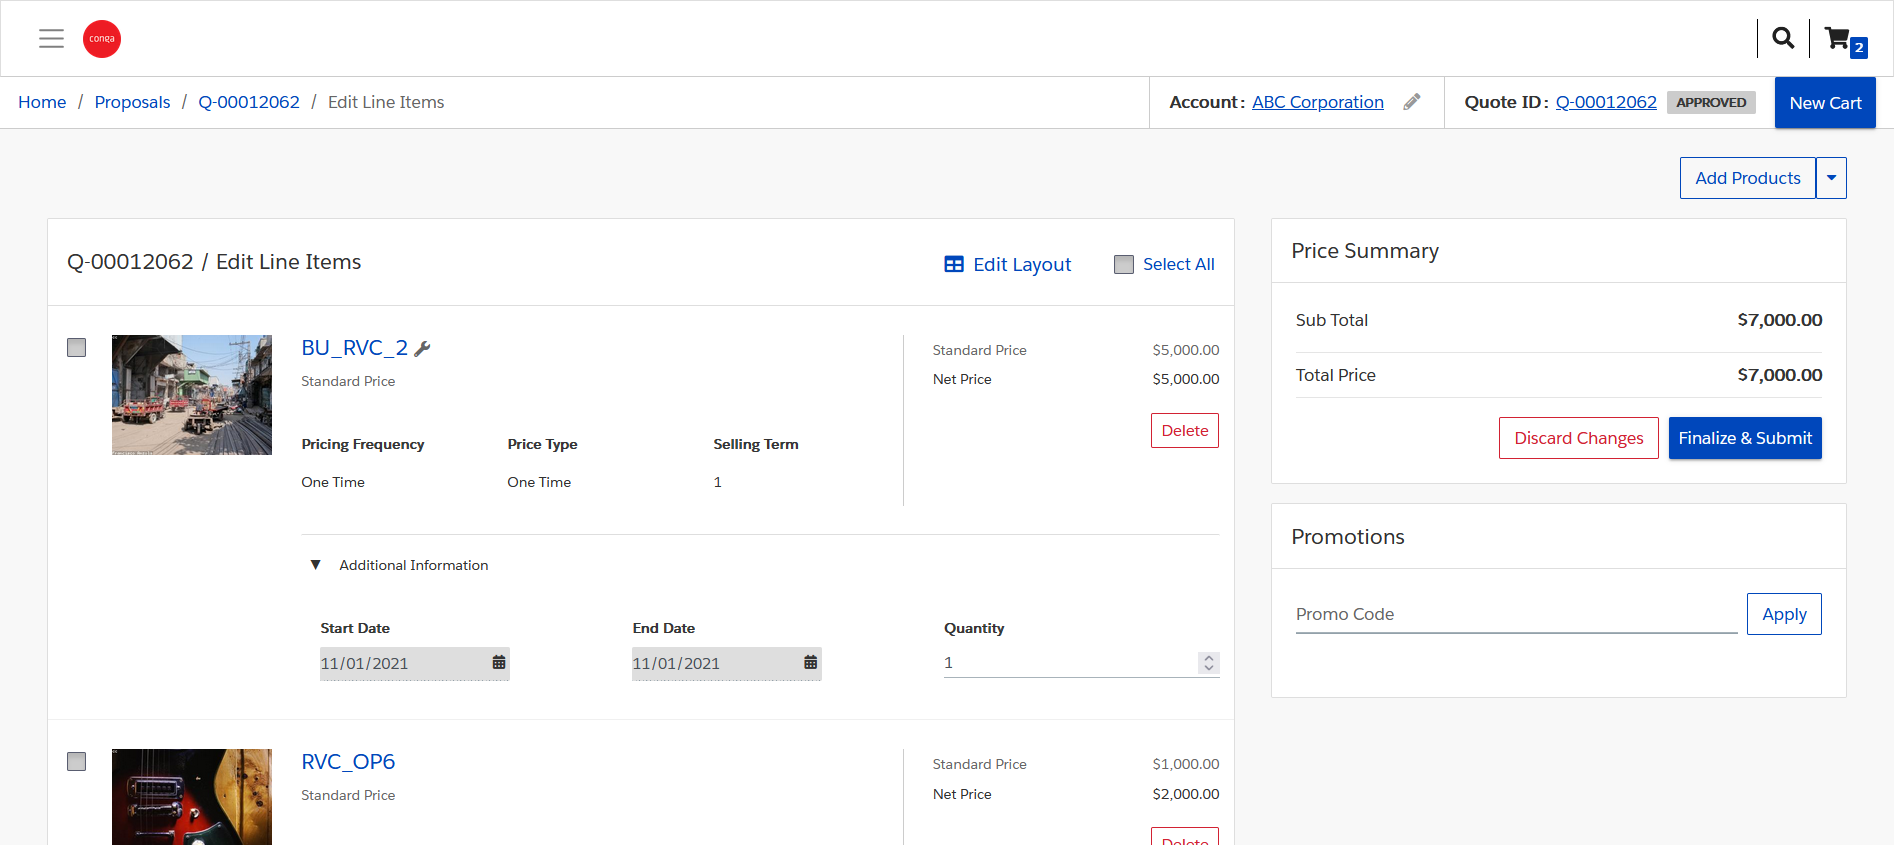
Line Items - You can edit the line items in a requested quote to add, modify or delete items. Clicking the wrench icon next to a line item opens the Product Configuration popup.
You can only modify the line items when the quote is in Draft stage.
- Comments and Attachments.
- After the changes are done, click Finalize and Submit. The Quote Request confirmation pop up appears.
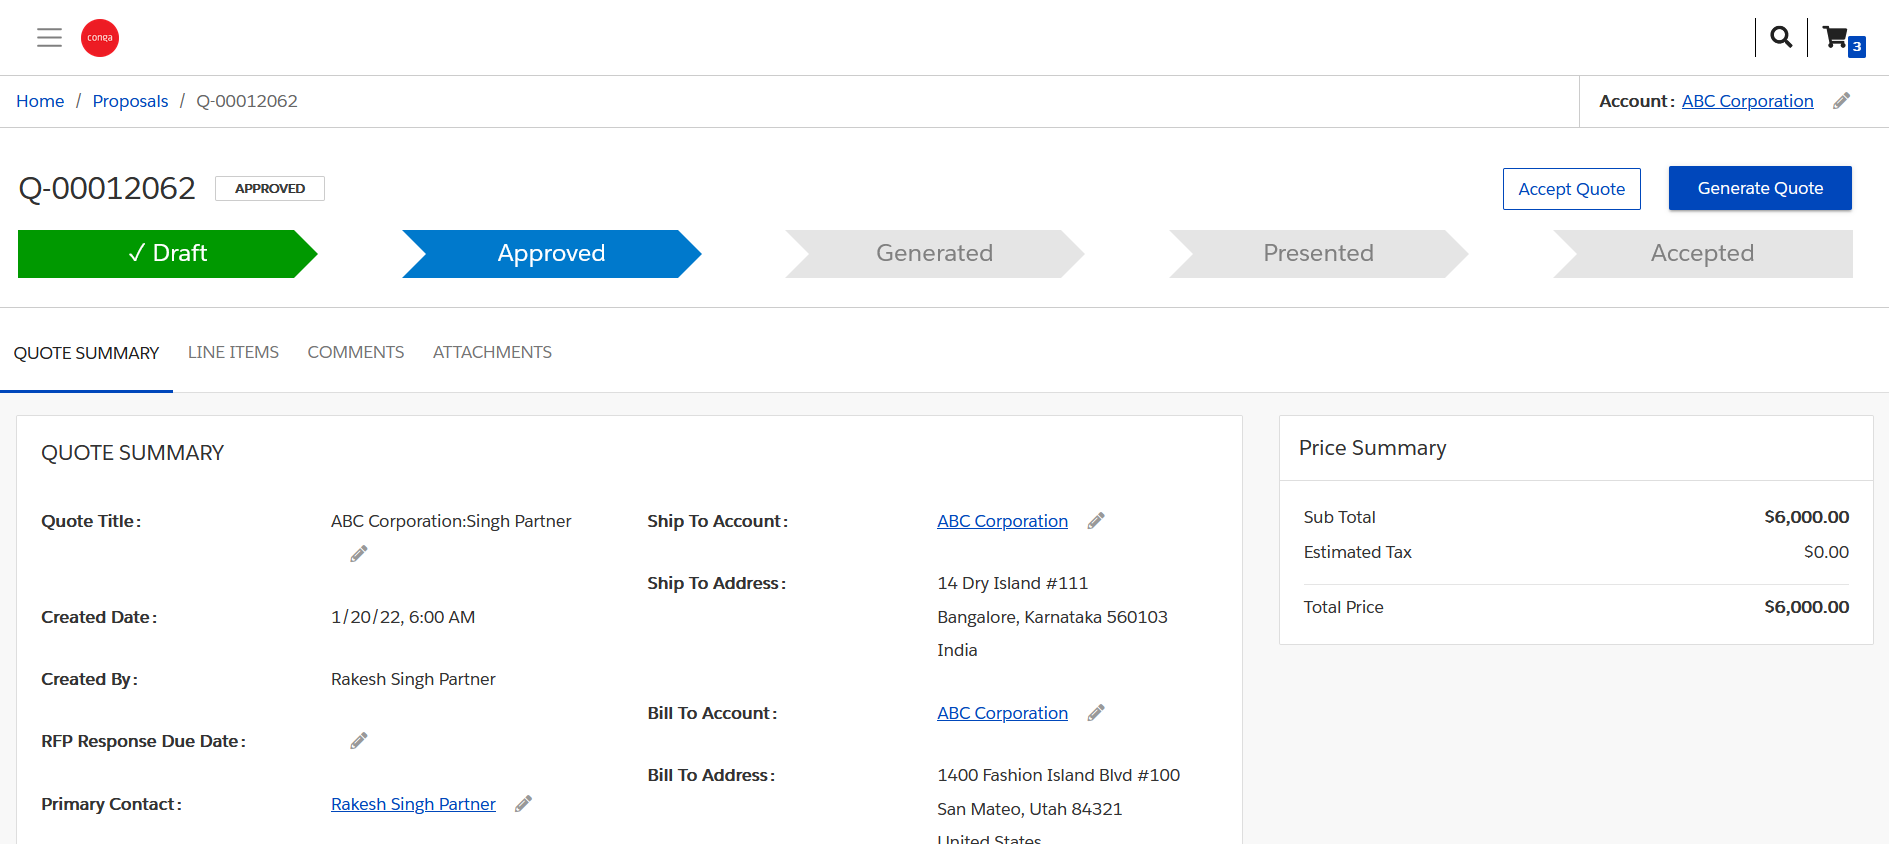
Click REVIEW YOUR QUOTE button on the quote confirmation pop-up. When the quote page appears, you can now either click Finalize to move the quote from the Draft stage to Approved stage or click Generate Quote to generate a quote document to be presented to the customer for their review and acceptance. Once approved, you can either click Accept Quote to accept the quote and place an order or click Generate Quote to generate a quote document to be presented to the customer for their acceptance.
Accepting a Quote
You can accept a quote, when the requested quote is in Approved, Generated, or Presented stage.
When the quote is in Approved stage, click Accept Quote. The quote is accepted and ready for placing an order.
After the quote is presented to the customer, when you receive confirmation, click Accept Quote. The quote is accepted and ready for placing an order.
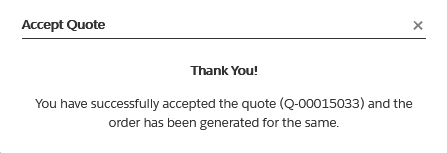
The Accept Quote confirmation popup appears.
Generating a Quote Document
As a partner sales rep, you can generate a quote document so that you can email the proposal document to the customer for their review and acceptance. The Generate Quote button is available for a quote in Draft or Approved status.
To generate a quote document
- Click Generate Quote button.
Select a template and format of the file to be generated. For example: DOC, PDF, or RTF.
The list of templates is retrieved from the APTS_Template object, where the business object is Proposal and the isActive flag is set to True.
Click Generate to initiate quote document generation. A confirmation message appears and the quote details page is displayed. The quote stage moves from Approved to Generated.
The Generate Document for Quote API is called from the CPQ Web Service.
You can now present the generated document to the customer for their review and acceptance.
Presenting the Quote
As a Partner user, you can present the generated quote to the customer so that the customer can view the generated quote. The Present Quote button is available in Generated status.
To present the generated quote
- Click the Present Quote button. The Present Quote pop-up appears.
- Send Quote To is populated with the primary contact on the quote. You can enter email address in the CC field to send the email to additional recipient.
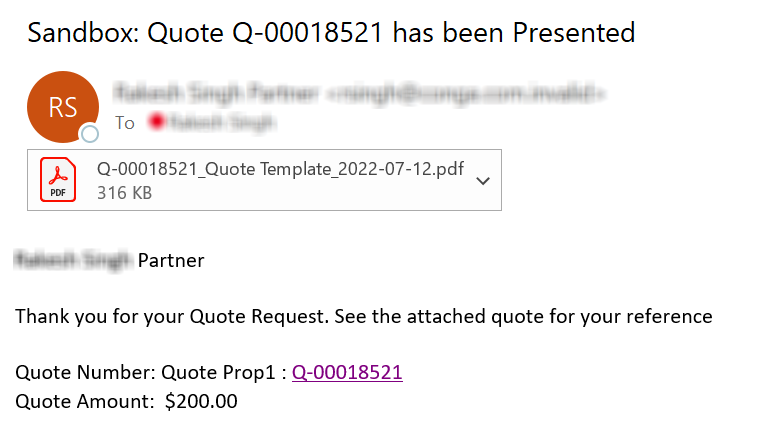
Click Present. An email notification is sent to the primary contact on the quote and also to user mentioned in the CC field.
The quote stage moves from Generated to Presented.
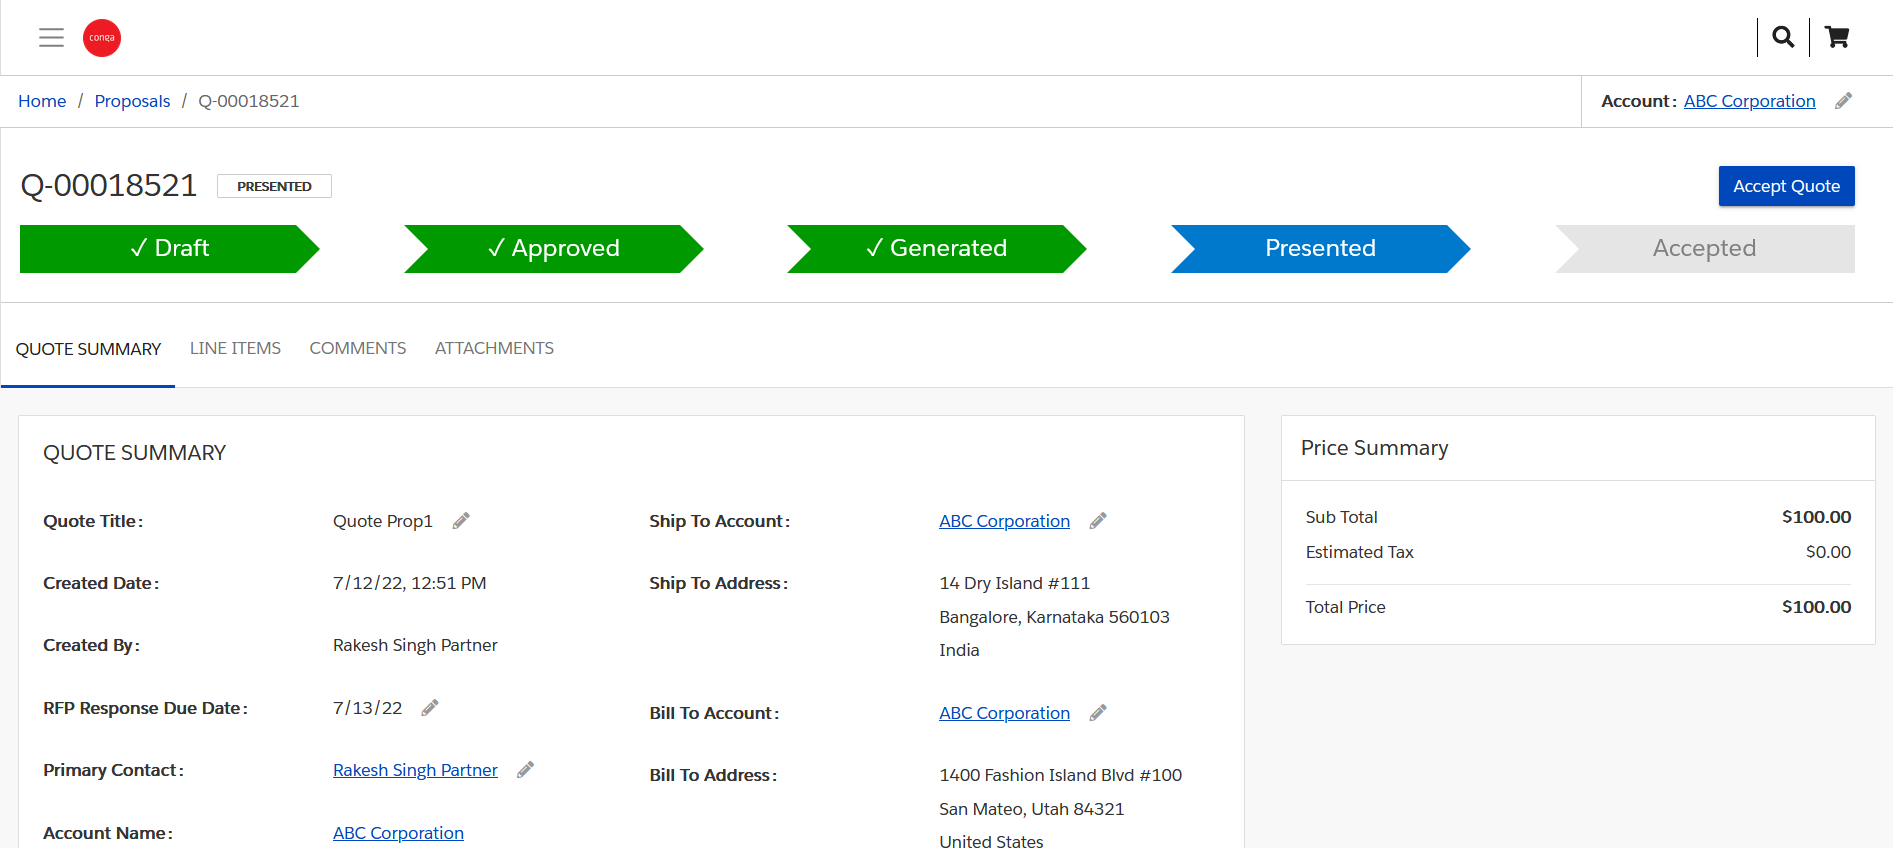
When you receive confirmation, click Accept Quote. The quote is accepted and ready for placing an order.
Email Notifications for Customer and Partner
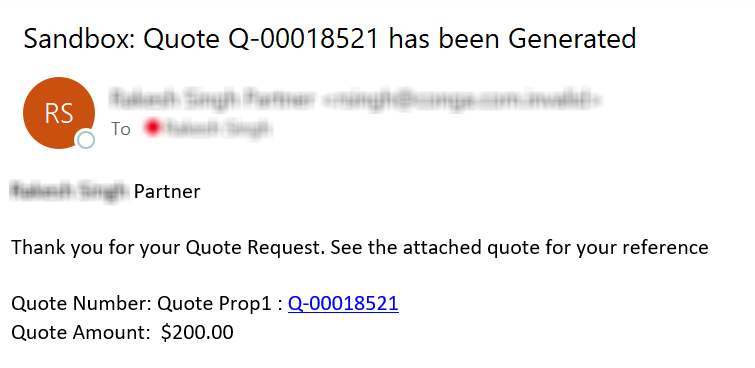
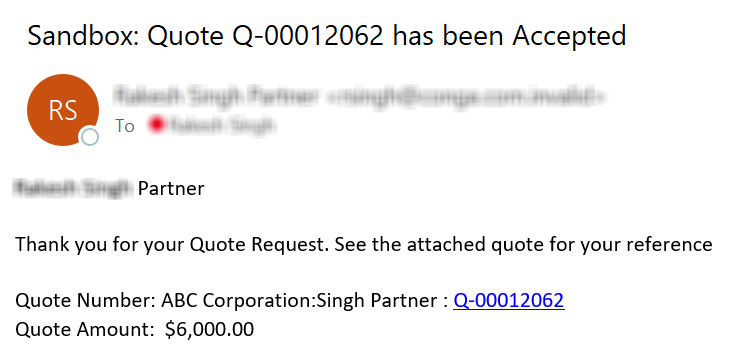
As a customer, you will be notified when the partner sales rep presents the generated quote to you. As a partner sales rep, you will be notified when the quote is accepted by the customer.
An email is triggered to the customer whenever the following state changes occur:
Generated
Presented
Accepted
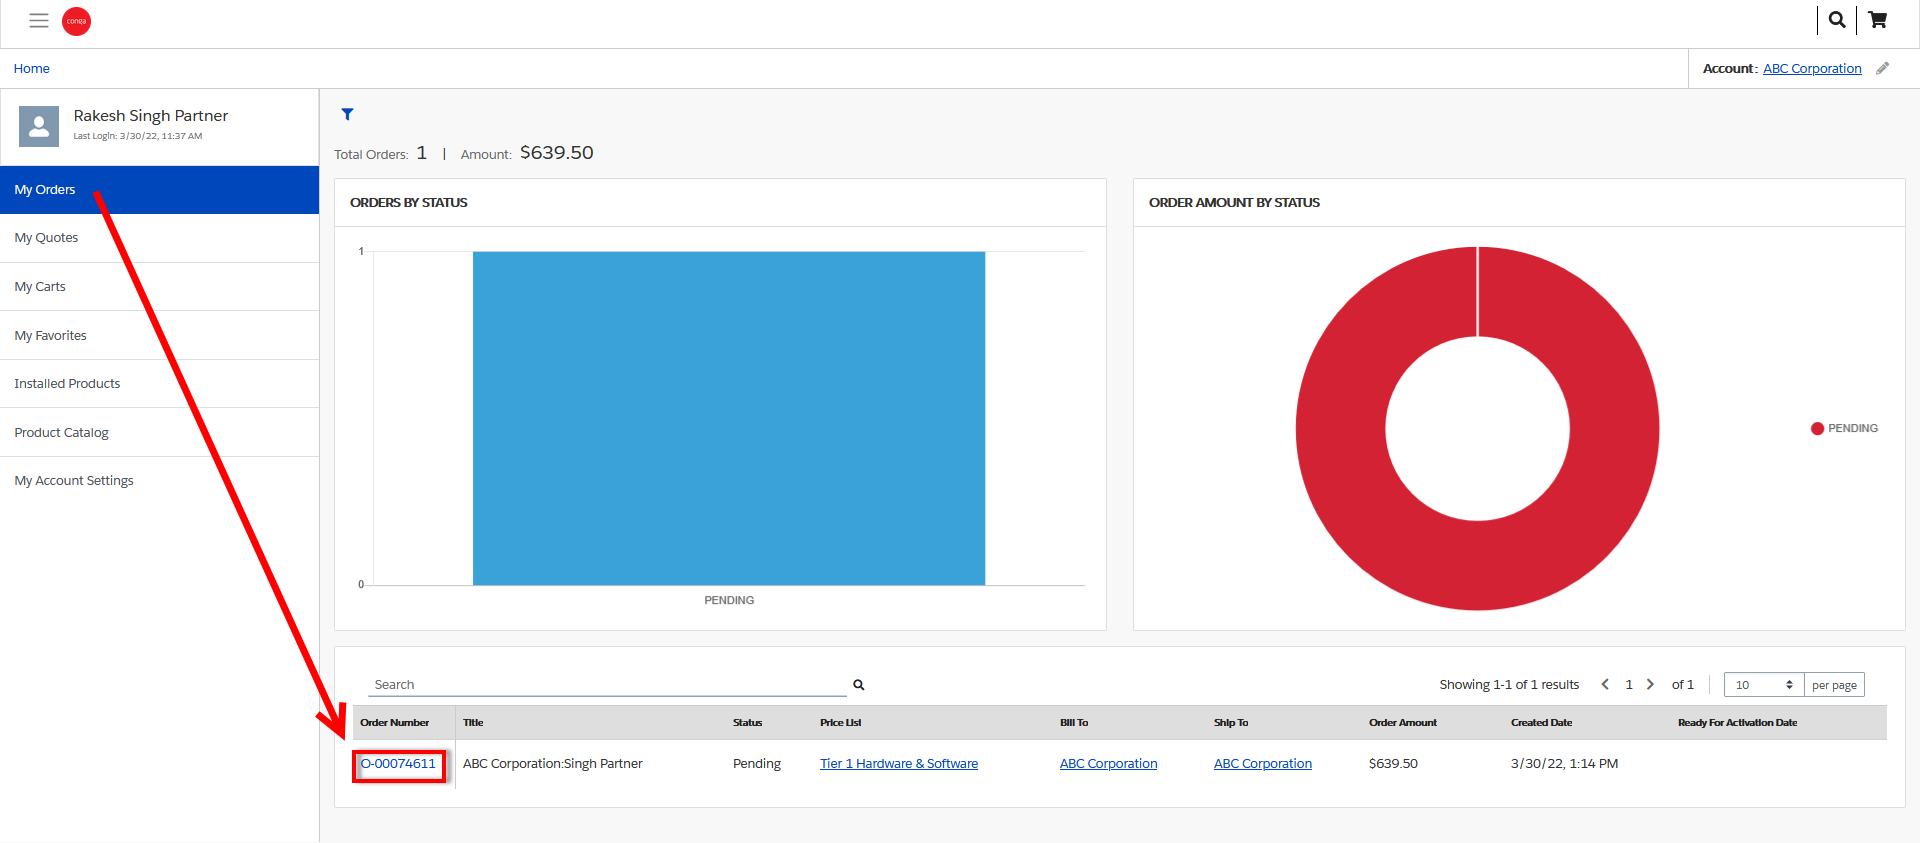
After the quote is accepted an order is generated for the quote. You can view and track the status of the order from My Accounts > My Orders.
While converting Quote to Order, you must associate the opportunity that is associated with the same Account.
