Download PDF
Download page Managing TurboEngines Callbacks.
Managing TurboEngines Callbacks
This section provides information on creating and importing callbacks and managing an existing TurboPricing callbacks.
Creating a Callback
- Log in to the Salesforce org.
- Click Switch to Lightning Experience.
- Open the Salesforce App Launcher (Lightning) and launch the TurboEngines Admin app.
- Click the Callbacks tab. A list of callbacks is displayed. If a callback is enabled, the project name is displayed in the Callback Name column.
- Click Manage under the Actions column for the required callback to configure it. The detail page of the selected callback with a list of projects related to the callback is displayed.
- Click Create to create a new project. The New Callback pop-up is displayed.
Enter a name for the callback project and click Create. A new project is created and you are redirected to the edit project page.
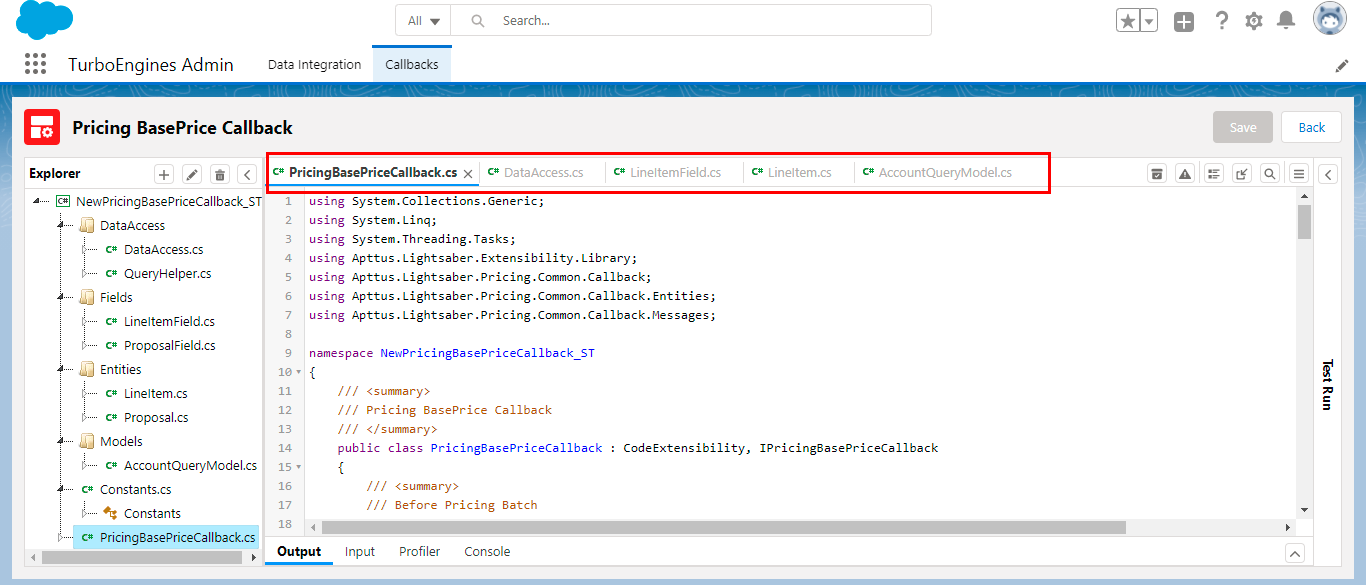
You can open multiple files from the explorer in the code editor.
You can collapse the code blocks by clicking the Collapse icon (
 ).
). 
The following table describes the icons displayed on the code editor.
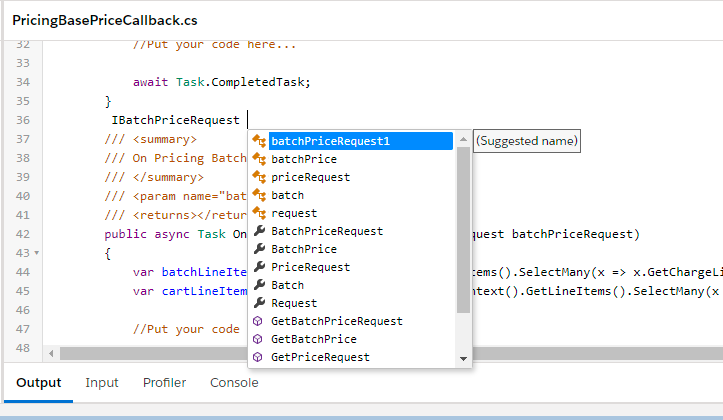
Icon or Feature Name Description Auto Complete Auto Complete Press Ctrl+Space to view the auto-complete suggestions on the project code (C#) editor.

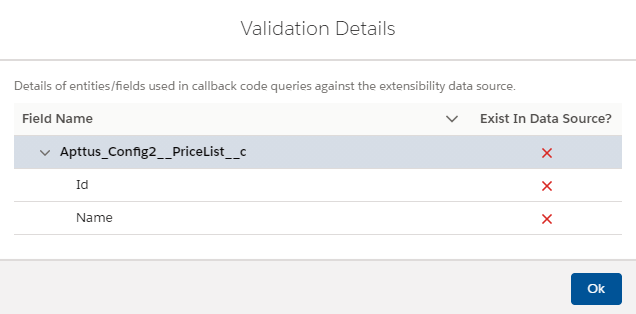
Validate QueryModel To verify if the master entities or fields used in callback code are available in the extensibility data source or not. 
Code Warnings Displays the code warnings as per the C# guidelines at the bottom. 
Format Formats and aligns the code (C#) in the editor as per C# coding standards.

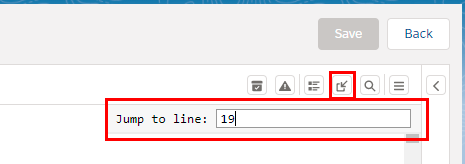
Go To Line (Ctrl+G) To jump to the specific line in the editor.

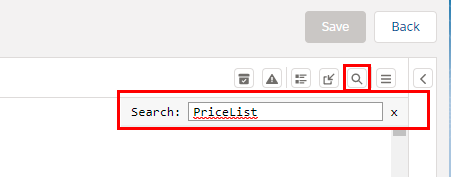
Find To search a particular term in the editor.

Code Difference To compare and find the differences between Last Saved Code or Last Imported Code and Current Code.
- Click the
 icon. A Code Difference pop-up window is displayed with details of Last Saved Code and Current Code.
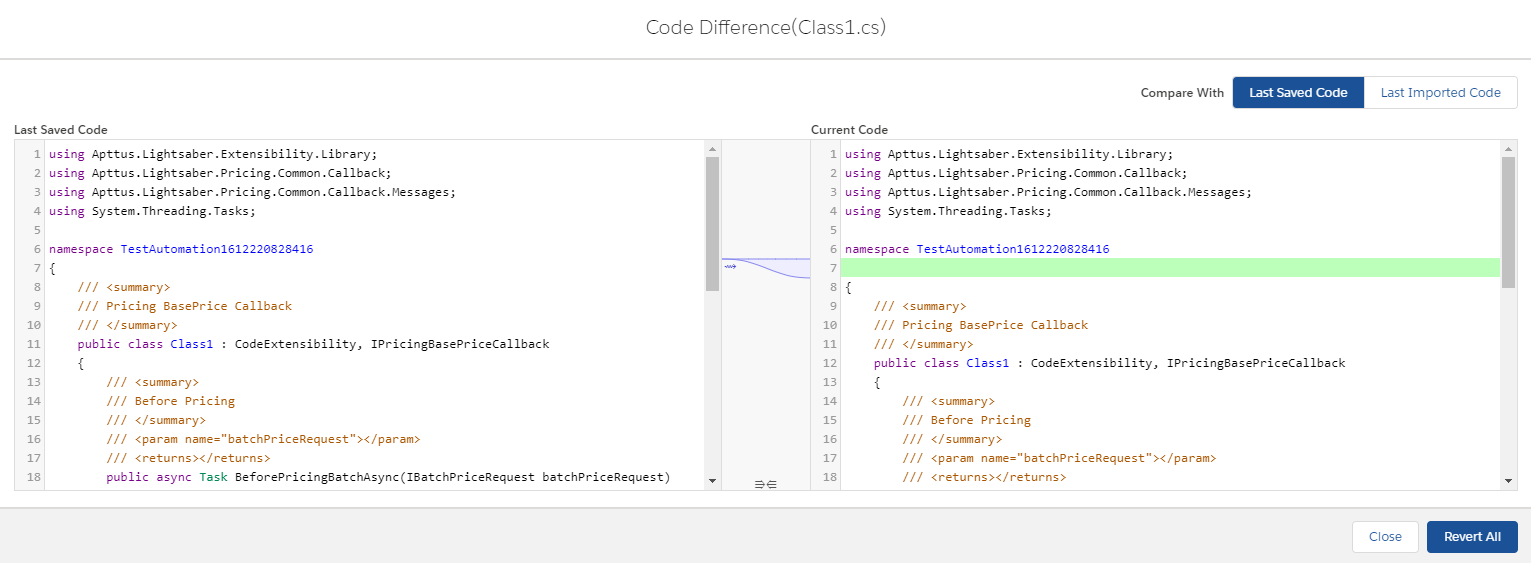
The code differences will be highlighted and can be identified easily. - To compare the current code with the last imported code, click Last Imported Code.
- To retrieve the changes, click Revert All.
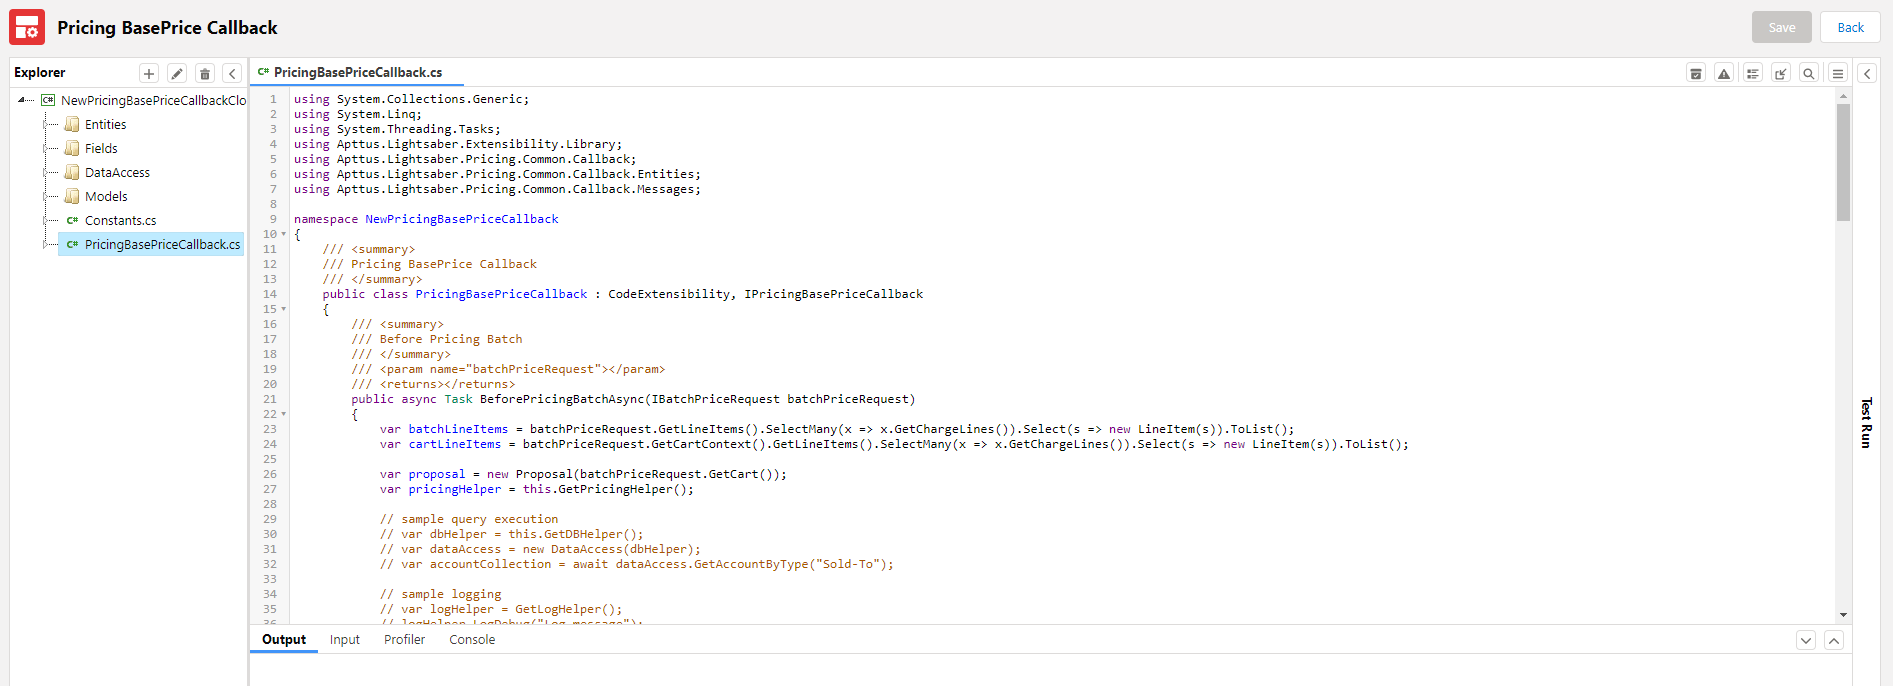
There is a sample template for you to create IPricingBasePriceCallback. Below is a basic implementation of IPricingBasePriceCallback. Once a project is created, it uses the callback template which has some pre-filled information for your reference. It enables the user to proceed with incorporating a custom logic.
using Apttus.Lightsaber.Extensibility.Library; using Apttus.Lightsaber.Pricing.Common.Callback; using Apttus.Lightsaber.Pricing.Common.Callback.Messages; using System.Threading.Tasks; namespace NewPricingBasePriceCallback_ST { /// <summary> /// Pricing BasePrice Callback /// </summary> public class PricingBasePriceCallback : CodeExtensibility, IPricingBasePriceCallback { /// <summary> /// Before Pricing /// </summary> /// <param name="batchPriceRequest"></param> /// <returns></returns> public async Task BeforePricingBatchAsync(IBatchPriceRequest batchPriceRequest) { await Task.CompletedTask; } /// <summary> /// On Pricing /// </summary> /// <param name="batchPriceRequest"></param> /// <returns></returns> public async Task OnPricingBatchAsync(IBatchPriceRequest batchPriceRequest) { await Task.CompletedTask; } /// <summary> /// After Pricing /// </summary> /// <param name="batchPriceRequest"></param> /// <returns></returns> public async Task AfterPricingBatchAsync(IBatchPriceRequest batchPriceRequest) { await Task.CompletedTask; } } }CODE- Click the
- Create a callback using the template.
- Click Save. If there are no errors, the code is saved successfully. If there is an error in the code, an error message is displayed. At the bottom of the editor panel, It displays the reason for the error. The user can click the error detail in the output tab and jump to a specific error line in the specific file. It helps the user in compiling the error.
Importing a Callback
The Import feature provides a mechanism to import the callback project (.zip file). Using this feature, you can move the callback code to a different environment if required.
- Log in to the Salesforce org.
- Click Switch to Lightning Experience.
- Open the Salesforce App Launcher (Lightning) and launch the TurboEngines Admin app.
- Click the Callbacks tab. A list of callbacks is displayed. If a callback is enabled, the project name is displayed in the Callback Name column.
- Click Manage under the Actions column for the required callback to configure it. The detail page of the selected callback with a list of projects related to the callback is displayed.
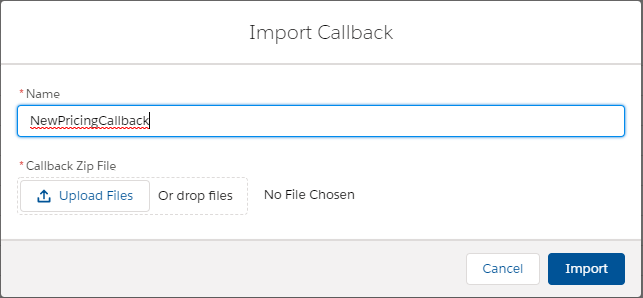
- Click Import. The Import Callback pop-up is displayed.
Enter a name for the callback project and click Upload Files or drop files to add the .zip file that you require to import.
Click Import. A new project is created and you are redirected to the edit project page.
Editing a Callback
- Log in to the Salesforce org.
- Click Switch to Lightning Experience.
- Open the Salesforce App Launcher (Lightning) and launch the TurboEngines Admin app.
- Click the Callbacks tab. A list of callbacks is displayed. If a callback is enabled, the project name is displayed in the Callback Name column.
- Click Manage under the Actions column for the required callback to configure it. The detail page of the selected callback with a list of projects related to the callback is displayed.
- Click the Edit icon (
 ) for the required callback. The edit project page is displayed.
 - Perform the required edits to the project. See Creating a TurboPricing Callback.
- Click Save.
Cloning a Callback
- Log in to the Salesforce org.
- Click Switch to Lightning Experience.
- Open the Salesforce App Launcher (Lightning) and launch the TurboEngines Admin app.
- Click the Callbacks tab. A list of callbacks is displayed. If a callback is enabled, the project name is displayed in the Callback Name column.
- Click Manage under the Actions column for the required callback to configure it. The detail page of the selected callback with a list of projects related to the callback is displayed.
- Click the Clone icon (
 ) for the required callback. The New Callback pop-up is displayed. The name of the callback is <original_callback_name>Clone.
 - Enter a new name if you want.
- Click Clone.
Downloading a Callback
- Log in to the Salesforce org.
- Click Switch to Lightning Experience.
- Open the Salesforce App Launcher (Lightning) and launch the TurboEngines Admin app.
- Click the Callbacks tab. A list of callbacks is displayed. If a callback is enabled, the project name is displayed in the Callback Name column.
- Click the Download icon (
 ) for the required callback. A <Callback Name>.zip file is downloaded to your system.
Enabling a Callback
- Log in to the Salesforce org.
- Click Switch to Lightning Experience.
- Open the Salesforce App Launcher (Lightning) and launch the TurboEngines Admin app.
- Click the Callbacks tab. A list of callbacks is displayed. If a callback is enabled, the project name is displayed in the Callback Name column.
- Click Manage under the Actions column for the required callback to configure it. The detail page of the selected callback with a list of projects related to the callback is displayed.
Click the Action icon (
 ) for the required callback and select Enable. The project is enabled.
When you enable a project, CPQ directly impacts pricing engine runtime because of real-time updates.
Disabling a Callback
- Log in to the Salesforce org.
- Click Switch to Lightning Experience.
- Open the Salesforce App Launcher (Lightning) and launch the TurboEngines Admin app.
- Click the Callbacks tab. A list of callbacks is displayed. If a callback is enabled, the project name is displayed in the Callback Name column.
- Click Manage under the Actions column for the required callback to configure it. The detail page of the selected callback with a list of projects related to the callback is displayed.
Click the Action icon (
 for the required callback and select Disable. The project is disabled.
Deleting a Callback
- Log in to the Salesforce org.
- Click Switch to Lightning Experience.
- Open the Salesforce App Launcher (Lightning) and launch the TurboEngines Admin app.
- Click the Callbacks tab. A list of callbacks is displayed. If a callback is enabled, the project name is displayed in the Callback Name column.
- Click Manage under the Actions column for the required callback to configure it. The detail page of the selected callback with a list of projects related to the callback is displayed.
Click the Action icon (
 ) for the required callback and select Delete. The Delete Callback pop-up prompting you to confirm deletion is displayed. Click Yes to delete the callback.
You cannot delete an enabled project. First, you need to disable the project and then you can delete it.
Version History
This feature allows the user to compare the different versions in order to identify the differences.
- Log in to the Salesforce org.
- Click Switch to Lightning Experience.
- Open the Salesforce App Launcher (Lightning) and launch the TurboEngines Admin app.
- Click the Callbacks tab. A list of callbacks is displayed. If a callback is enabled, the project name is displayed in the Callback Name column.
- Click Manage under the Actions column for the required callback to configure it. The detail page of the selected callback with a list of projects related to the callback is displayed.
Click the Action icon (
 ) for the required callback and select Version History. The detail page of the selected project with a list of versions related to the project is displayed.
- Click the checkbox of the desired version and click Compare. The code difference of the selected callback project is displayed.
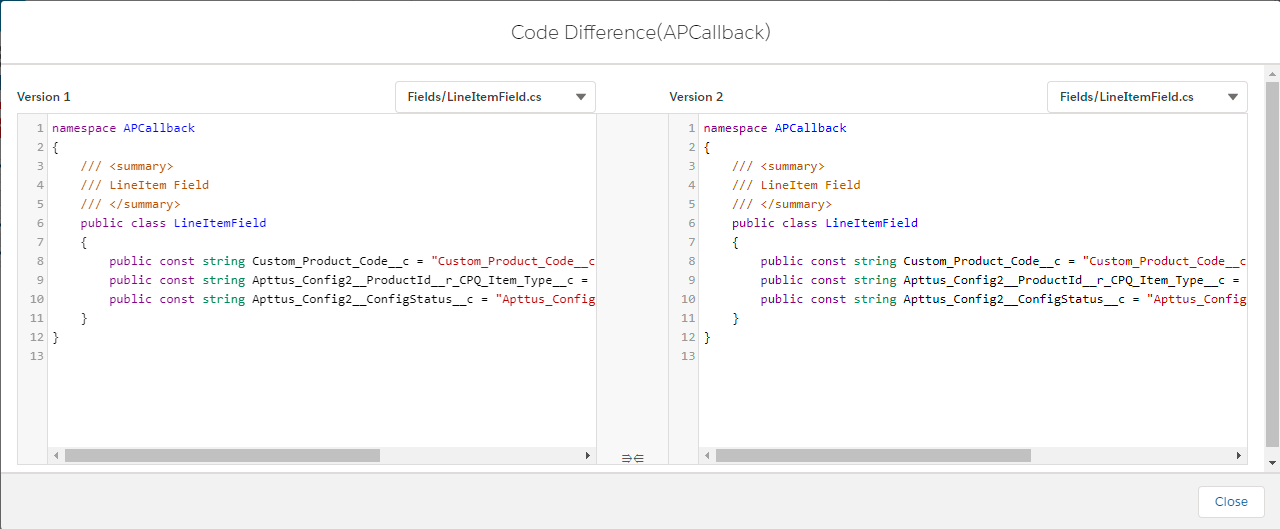
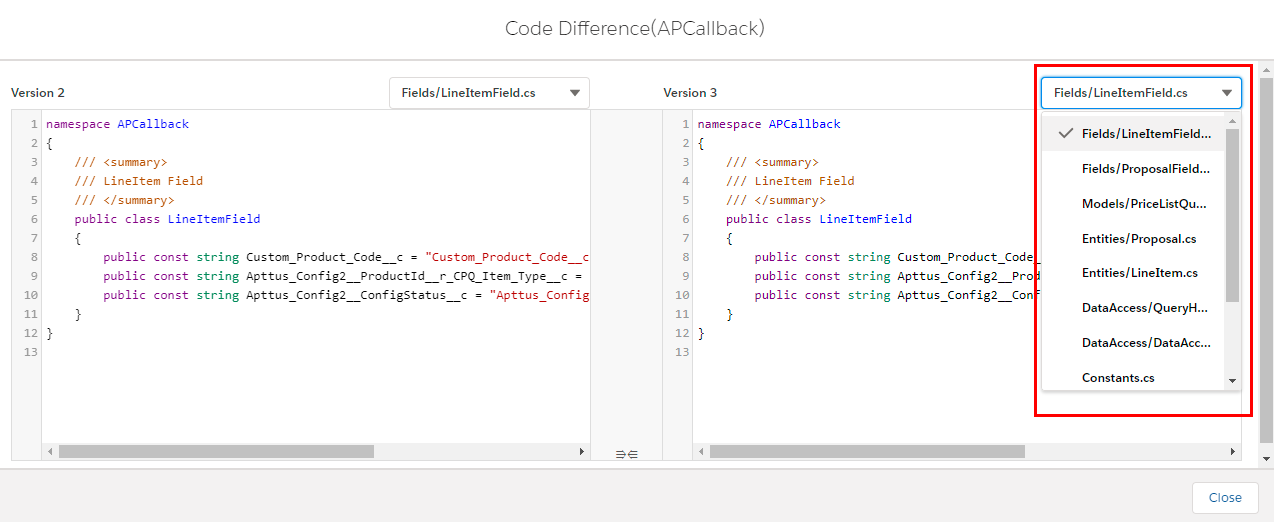
- In the Code Difference popup window, click the dropdown available at the top of the code editor to change the code (*.cs) type.
Validate QueryModel
This feature allows the user to verify if the master entities or fields used in callback code are available in the extensibility data source or not.
The user should follow such guidelines in order to use this feature accurately.
- The QueryModel class should be decorated with the attribute [Entity="name of the entity"].
- All the fields (select clause, where clause etc) used in the query must be specified in QueryModel class with the correct API names".
To verify the master entities or fields:
- Log in to the Salesforce org.
- Click Switch to Lightning Experience.
- Open the Salesforce App Launcher (Lightning) and launch the TurboEngines Admin app.
- Click the Callbacks tab. A list of callbacks is displayed. If a callback is enabled, the project name is displayed in the Callback Name column.
- Click Manage under the Actions column for the required callback to configure it. The detail page of the selected callback with a list of projects related to the callback is displayed.
Click the Edit icon for the required project. You are redirected to the edit project page.

Click the Validate QueryModel (
 ) icon. The Validation Details popup window is displayed.