The Conga-Dynamics 365 Data Sync Connector resides on your Dynamics 365 instance and is installed as a Dynamics solution. To install the connector, contact the Conga development team to get the appropriate files for your instance, including the solution and seeded Sync Groups.
Importing the Solution into Dynamics
To properly deploy the connector solution perform the steps in the following task.
To install the Conga-Dynamics 365 Connector package
Download Microsoft's Package Deployer tool. Follow the steps provided by Microsoft here.
Download the Dynamics Connector package (provided by the Conga development team).
Unzip the Apttus_Dynamics365Connector folder. Open the folder to view its contents.
Copy the PkgFolder and Dynamics365Connector.dllfile to the PackageDeployer tool folder.
To unblock the dll, right-click Dynamics365Connector.dll and open Properties > General. Select the 'Unblock' checkbox.
Launch PackageDeployer.exe and connect to the organization where you want to deploy the package.
Click Next to begin the process.
After successful installation, the steps are highlighted in green. The solution is installed.
You must supply admin credentials for the Microsoft Dynamics 365 instance to import the solution.
Post-Installation Setup for Data Sync Scheduling
After importing the solution, you must activate the default Power Automate flow to enable automation of data sync.
To activate the default flow for Power Automate
Log in to the Power Automate portal. (Your credentials will most likely be the same as your admin credentials for Dynamics.)
From the left pane, navigate to Solutions and click on the imported solution: Apttus.Dynamics.DataExchange.
Find and click on the ScheduledSync.FlowManagement flow.
From the Flow Detail page click Edit.
If there are no connections set up for the flow, you are prompted to provide a valid connection:
If a connection already exists, verify the valid (green) checkmark. Click the connection to continue.
If no connections are available:
Click on the plus (+) icon to create a new connection
Click Sign In.
After signing in, the connection is set up. Click the connection to continue.
On the next page click Save. Go back to the Flow Detail page (step 4).
Click Turn On. Verify that the status has changed to 'On'.
Automated scheduling of data sync also requires a proper connection to Power Automate. Refer to Configuring Data Sync Connections for steps. You can specify the frequency and interval for any sync group when you set up sync groups.
Opening the Connector App in Microsoft Dynamics
To get started with the connector, perform the following steps:
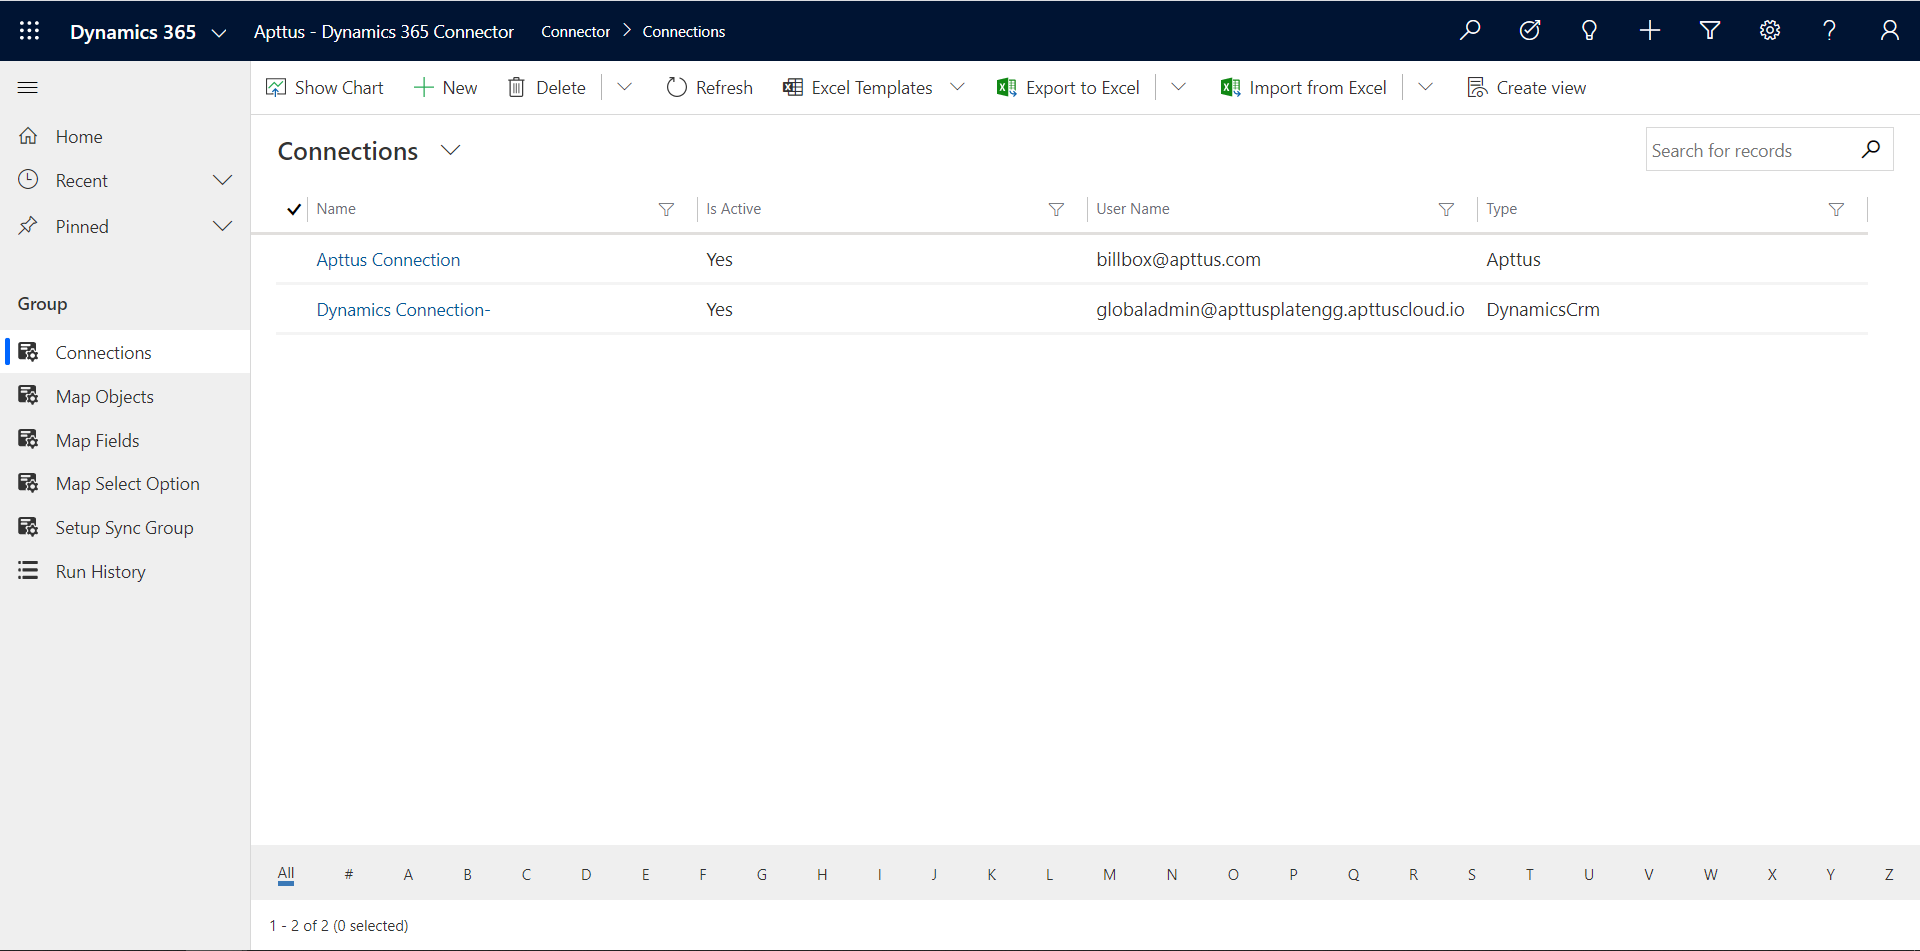
Log in to the Dynamics instance where you will run the connector.
Click the drop-down menu to launch the application. Select Conga - Dynamics 365 Connector. The connector app opens, displaying the Connections view.