This section contains frequently asked questions. It also provides the solution to frequently occurring errors. 


You can set up a user from the Adobe Sign Admin Settings tab.

For more information on setting up a user, refer to Configuring Adobe Sign Admin Settings.

You can merge data from Salesforce into your Document Cloud agreements using Merge Mappings.

For more information on Merge Mappings, refer to Configuring Mappings.

You can push data from signed Document Cloud agreements back to Salesforce using Data Mappings.

For more information on Data Mappings, refer to Configuring Mappings

You can add multiple signers in the document. The order of the signers can also be specified.

To add multiple signers,

  1. Click the Agreements tab.
  2. Select the agreement that you want to send for signature.
  3. Click eSignature. Ensure that you have attached at least one file in Notes & Attachments section.
  4. Select the attachment and template.
  5. Click Select.
  6. On the Document Cloud Actions page, click Add Recipient and add as many recipients that you want.
  7. Provide requisite information for other fields.
  8. To send the agreement for signature, click Send for Signature.
    -or-
    To save the agreement, click Save Agreement.

To check the status of the document that is send for signature, you must have configured the eSignature related list.

To check the status of the document,

  1. Click the Agreements tab.
  2. Select the agreement that you want to view the agreement status for.
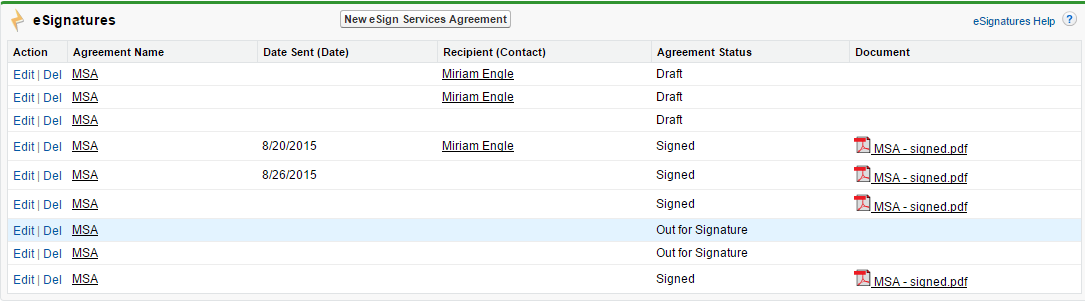
  3. Scroll down to eSignatures related list.
  4. You can view the status of the agreement under Agreement Status column.