Download PDF
Download page Configuring Turbo Asset-Based Ordering Specific Settings.
Configuring Turbo Asset-Based Ordering Specific Settings
This section provides information for setting up the Turbo Asset-Based Ordering in the org.
You must configure the Turbo service URL, admin settings and a CSP Trusted Site entry so SFDC can communicate with an external server. For more information, see Configuring Asset-Based Ordering.
Refer to the following topics for step-by-step instructions to complete the setup and configuration of Turbo Asset-Based Ordering:
To configure the service URL
- Go to Setup > Custom Settings.
- Go to Turbo Engine Admin Properties.
- Click Manage.
- Click New.
- Enter the following required properties:
- Name: LightsaberServiceUrl
- TurboEngines service Endpoint: Endpoint URL provided by Conga CloudOps. For example, https://<tenant code>.congacloud.io.
- Click Save.
- The endpoint URL is provided by Conga Cloud Ops.
- Do not enter the '/' symbol at the end of the TurboEngines service Endpoint URL.
To configure admin settings
- Log in to Salesforce.
- Click
 and click Admin. All the standard admin settings are displayed on the Admin home page.
 - Open the following admin settings and ensure that the Value fields are updated with the TurboEngine service Endpoint URL.
- APTS_PricingServiceOverrideURI (without https://)
APTS_PricingServiceUrl (with https://)
Do not enter the '/' symbol at the end of the TurboEngines service Endpoint URL.
- Click Save.
To configure the CSP Trusted Site
- Go to Setup > CSP Trusted Sites.
- Click New Trusted Site.
- Enter the following required properties:
- Enter a Trusted Site Name for the trusted site (for example, "TurboEngineAdminService").
- Enter the Trusted Site URL (this is the service URL from the previous task (To configure the service URL)).
- Click Save.
After completing all configurations, you must perform a health check and synchronization for all objects in the available consumer profiles using the TurboEngines Data Sync User Interface or the following APIs and ensure that the synchronization is successful.
To perform manual synchronization
- Login to Salesforce.
- Go to Salesforce App Launcher > TurboEngines Admin.

- Go to the Data Integration tab. From the list of Consumers, click Manage Sync to open the Admin UI. For more information on Admin UI, see TurboEngines Data Sync User Interface.
- Go to the Sync Settings page.
- Click Sync Now. The data sync process is begun and you are redirected to the Run History tab.
Review Run History to view sync details and any associated errors.
To perform health checks using REST APIs
Before performing the synchronization, you must perform a health check for the onboarded tenant.
To perform Synchronization using REST APIs
Whenever you create a new asset line item, you must synchronize that with Turbo.
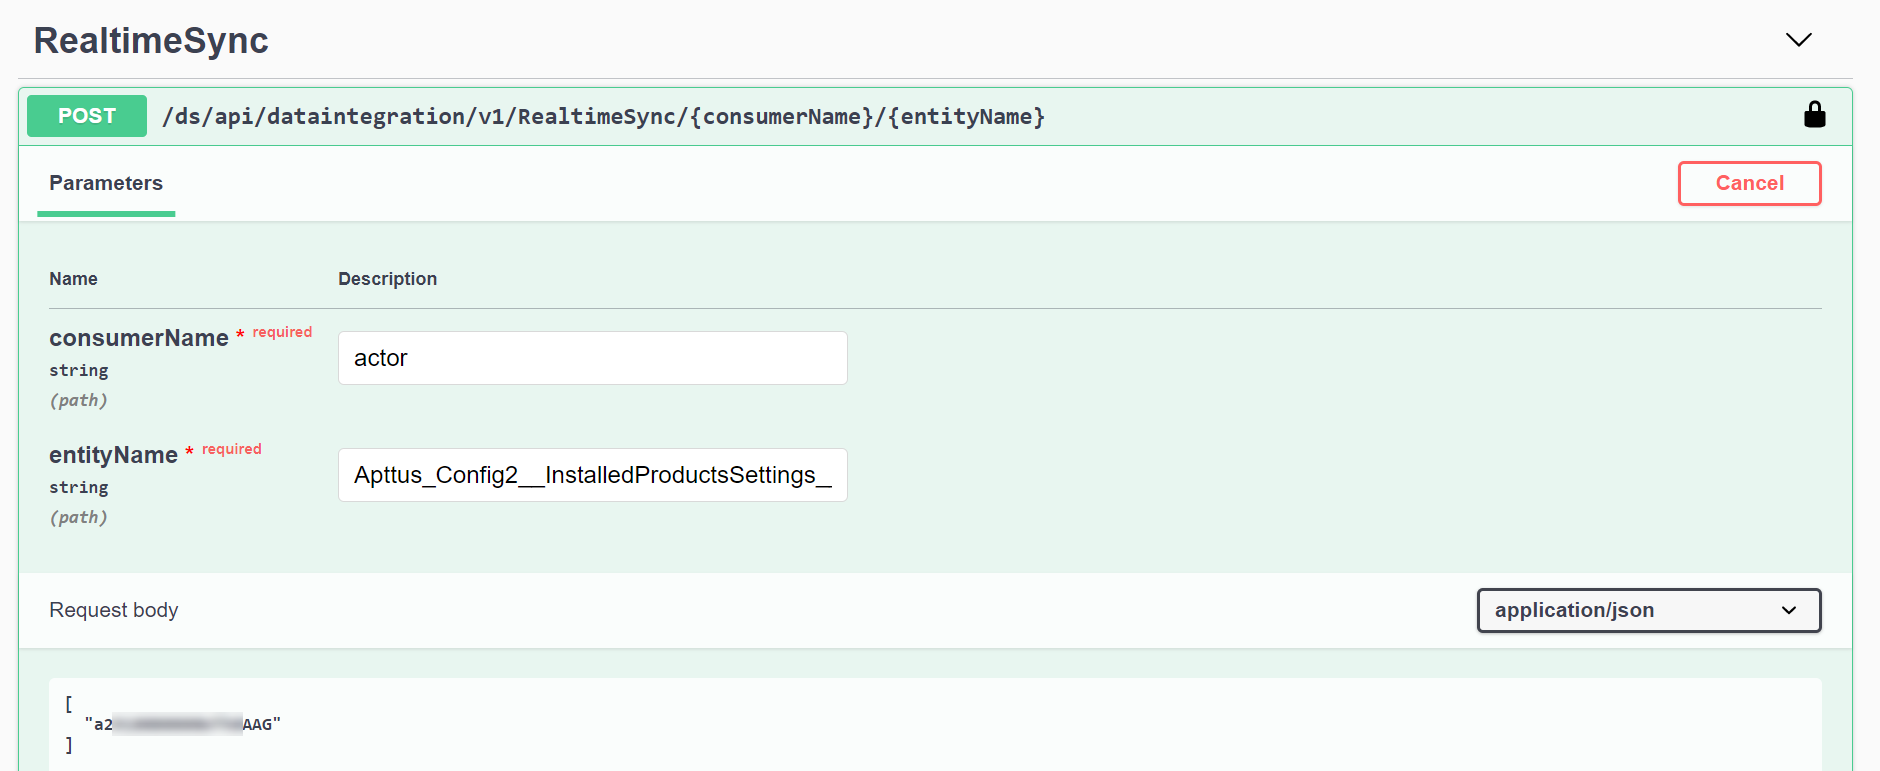
Invoke the following API to perform the real-time synchronization using data integration swagger.
| API Details | RealtimeSync /ds/api/dataintegration/v1/RealtimeSync/{consumerName}/{entityName} | ||||||
|---|---|---|---|---|---|---|---|
Parameters |
| ||||||
Request Body | The following example describes the synchronization of a custom setting called Installed Product Settings. Request Body:
CODE
| ||||||
Response Body | Response Body: You must get the following response after the successful synchronization.
CODE
|
