Add conditions to table columns when you want to remove columns from an Apttus-generated table based on specified criteria. This filters out columns in the table when the document is generated whenever any criteria defined for the table are met.
Hint: click on an image on this page to enlarge the view.
To define table column filters
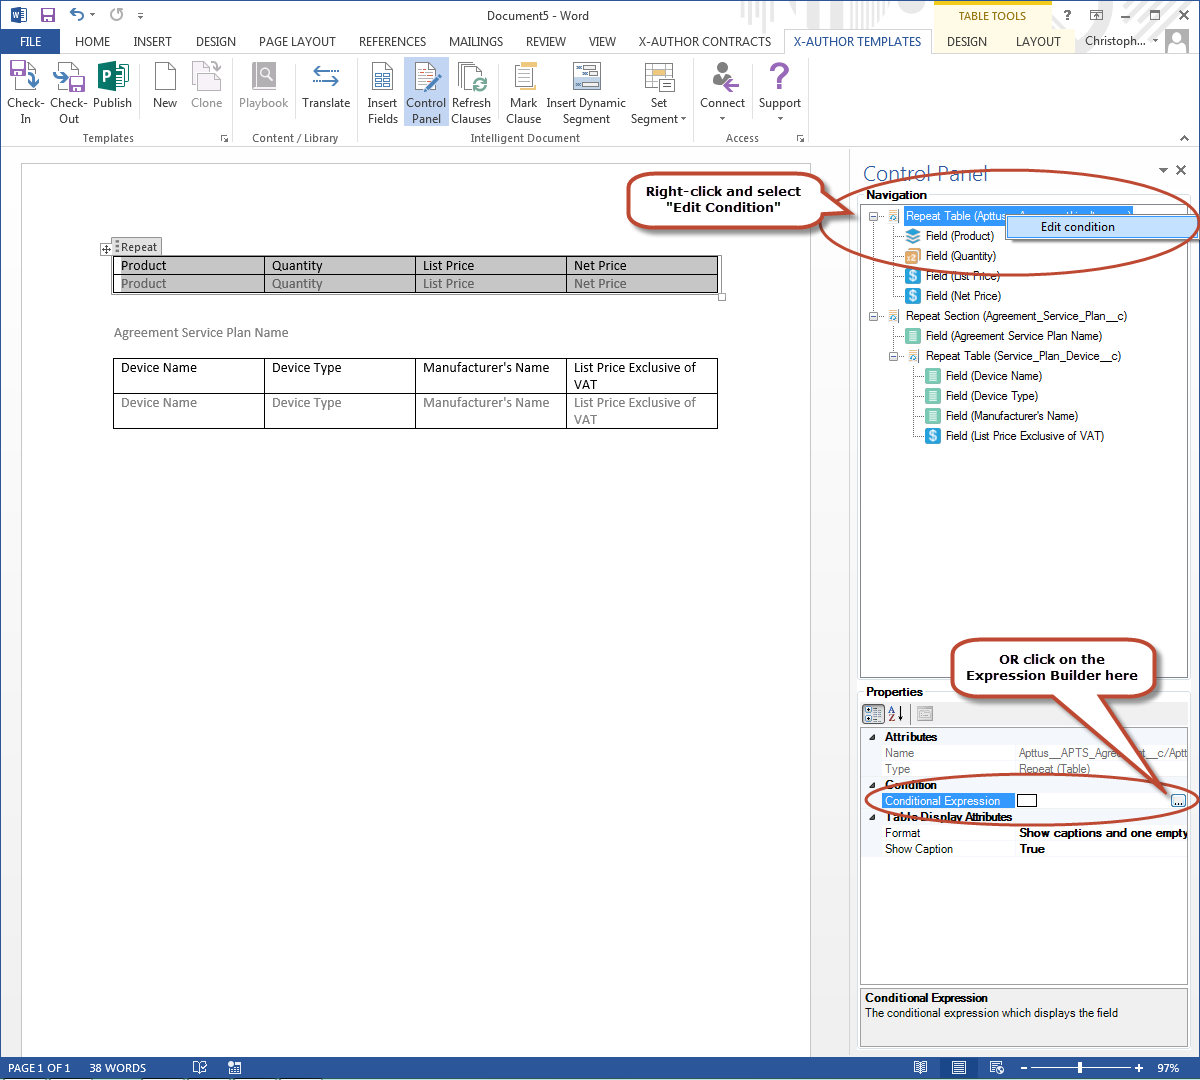
Open the Control Panel from the Intelligent Document menu in the X-Author Templates ribbon.
Right-click on the table in the Navigation pane that you want to make conditional and choose Edit Condition OR select the table in the Navigation pane and click the Expression Builder button in the Properties section below the Navigation pane.
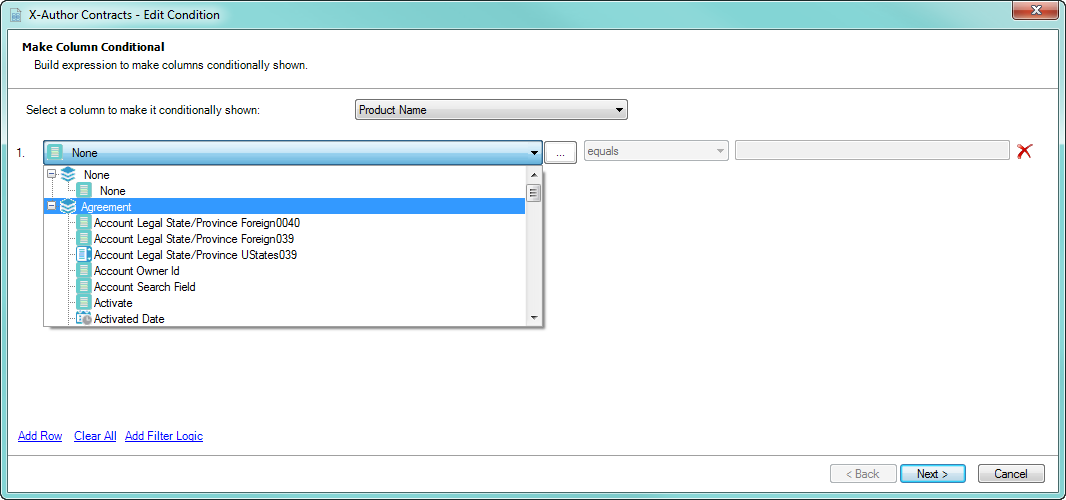
Select a column from the picklist at the top of the Expression builder that you want to make conditional.
To build an expression, define your criteria:
using the picklist on the left to choose an Agreement header-level field
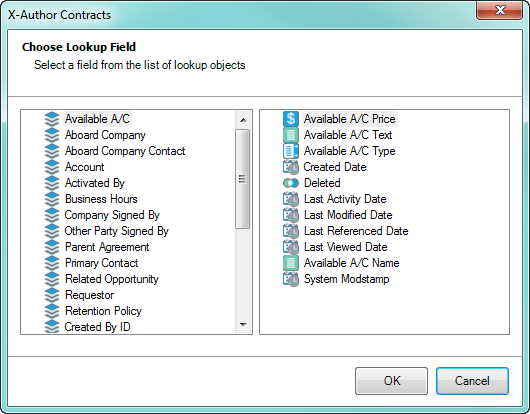
by clicking the Lookup button to the right of the picklist to choose from a list of object fields with a lookup relationship to Agreement
If you are defining column filters for a table inside a section which contains third-level fields, you can use header or second-level fields as criteria or any object fields with a lookup relationship to Agreement or the second-level object.
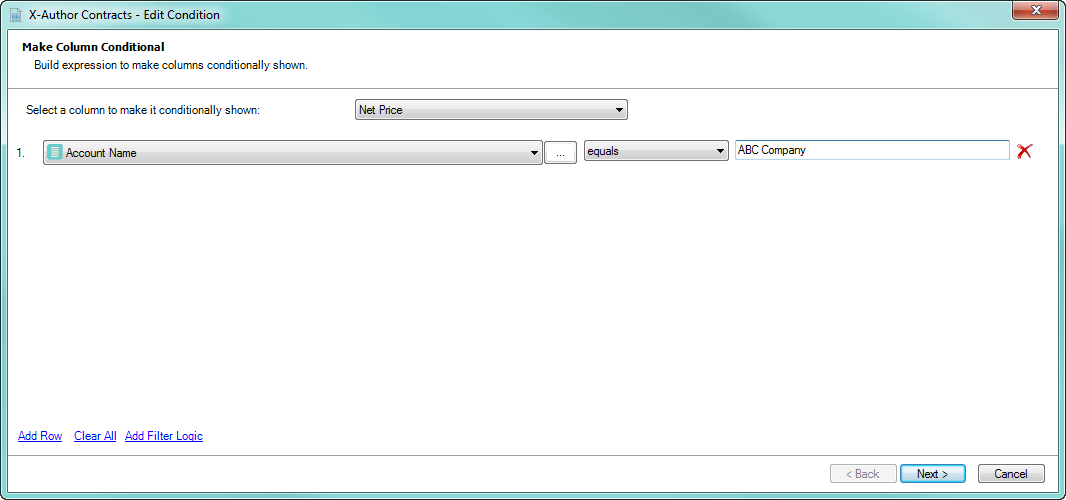
Complete your expression by adding an operator and a value (e.g., "Account Name equals ABC Company")
Click Add Row to create additional expressions for the same column. You can create up to a maximum of 9 filters for a single column.
By default, all expressions use AND logic, meaning all conditions are required for the rule to execute. Click Add Filter Logic to change condition logic to OR, or create your own custom condition (for example, (1 OR 2) AND 3 if you want to make only 1 of the first 2 conditions required).
Repeat steps 3 – 7 for each column you want to filter.
Click Next when you are finished to continue to the next screen in the Expression Builder to define any conditional rows in your table (see the next section for complete instructions).
Click Finish to save your table filters and return to your document.