Download PDF
Download page Importing Offline Agreement Documents.
Importing Offline Agreement Documents
X-Author Contracts enables you to import a document which has not previously been saved in Salesforce and attach it to a pre-existing agreement record. You can also select how you want date and time to be formatted in the footer of imported docs and how you would like an agreement number included in the header.
Like creating a new agreement, when you choose to associate the document with a pre-existing agreement record, it is added to either the Document Versions or Notes & Attachments related list for that agreement (depending on your versioning settings).
When you import a document, the date and time for when it is imported can be automatically added to the footer of the imported document. To automatically include the date and time when you import a document, you can configure a Comply System Property indicating you want the date included and the format in which the info should be displayed.
Another Comply System Property is used to indicate that you want the agreement number automatically included in the header and which field you want that value to come from.
When you use these settings, they add values to the header and footer of the document regardless of what other content was already in the header and footer.
You must be using Contract Management 7.0.228 or higher to import offline documents.
- From Setup, go to Create > Objects > Merge Event.
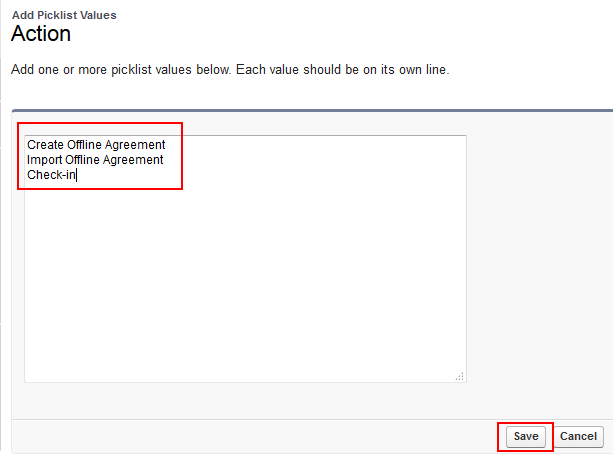
- Under Custom Fields & Relationships, click Action and for Picklist Values click New.
- Enter Create Offline Agreement and Import Offline Agreement on separate lines and click Save.
- From Setup, go to Create > Objects > Agreement Protection.
- Under Custom Fields & Relationships, click Action and for Picklist Values click New.
- Enter Import Offline Agreement and click Save.
Document protection can now be extended to documents that were imported.
- From Setup, go to Develop > Custom Settings and click Manage beside Comply System Properties.
- Click Edit and for Agreement Number Field For Imported Docs, enter the API name of the field you want to use. For instance, you could useApttus__Agreement_Number__cfrom the Agreement object.
- Click Save.
When a new document is imported into the system, it will include the agreement number in the top right corner of the header on each page, using the field selected above.
From Setup, go to Develop > Custom Settings and click Manage beside Comply System Properties.
Click Edit and for Footer Datetime Format For Imported Docs enter the format you want to use. For example:
 Only the following date and time formats are supported:
Supported DateTime Format Example MM/dd/yyyy 08/22/2006 dddd, dd MMMM yyyy Tuesday, 22 August 2006 dddd, dd MMMM yyyy HH:mm Tuesday, 22 August 2006 06:30 dddd, dd MMMM yyyy hh:mm:tt Tuesday, 22 August 2006 06:30 AM dddd, dd MMMM yyyy H:mm Tuesday, 22 August 2006 6:30 dddd, dd MMMM yyyy h:mm tt Tuesday, 22 August 2006 6:30 AM dddd, dd MMMM yyyy HH:mm:ss Tuesday, 22 August 2006 06:30:07 MM/dd/yyyy HH:mm 08/22/2006 06:30 MM/dd/yyyy hh:mm tt 08/22/2006 06:30 AM MM/dd/yyyy H:mm 08/22/2006 6:30 MM/dd/yyyy h:mm tt 08/22/2006 AM MM/dd/yyyy HH:mm:ss 08/22/2006 06:30:07 MMMM dd August 22 yyyy'-'MM'-'dd'T'HH':'mm':'ss 2006-08-22T06:30:07 yyyy'-'MM'-'dd HH':'ss'Z' 2006-08-22 06:30:07Z dddd, dd MMMM yyyy HH:mm:ss Tuesday, 22 August 2006 06:30:07 - Click Save.
- With the document open, connect to the Salesforce org where you want to create the offline document.
- Go to the X-Author Contracts tab and click Check-In. The Check-In dialog box is displayed.
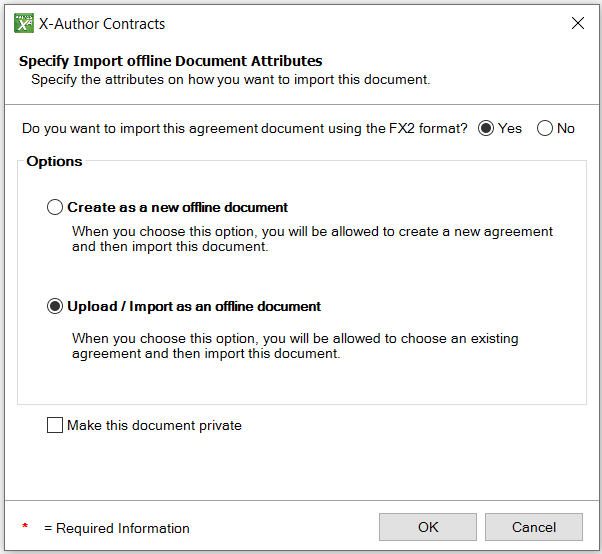
- Select Upload/Import as an offline document and click OK. Optionally, you can choose to make the offline document private. For more information on what this means, see Marking Agreement Documents as Private. Depending on the version of Contract Management installed in your org, you will see one of the two screens.
- (Contract Management 8.4.0319 or higher) Enter the Agreement Name or Number of the agreement you want the imported document associated with and click
 . Refine your search by also choosing an Owning User and/or a Primary Contact for the agreement.
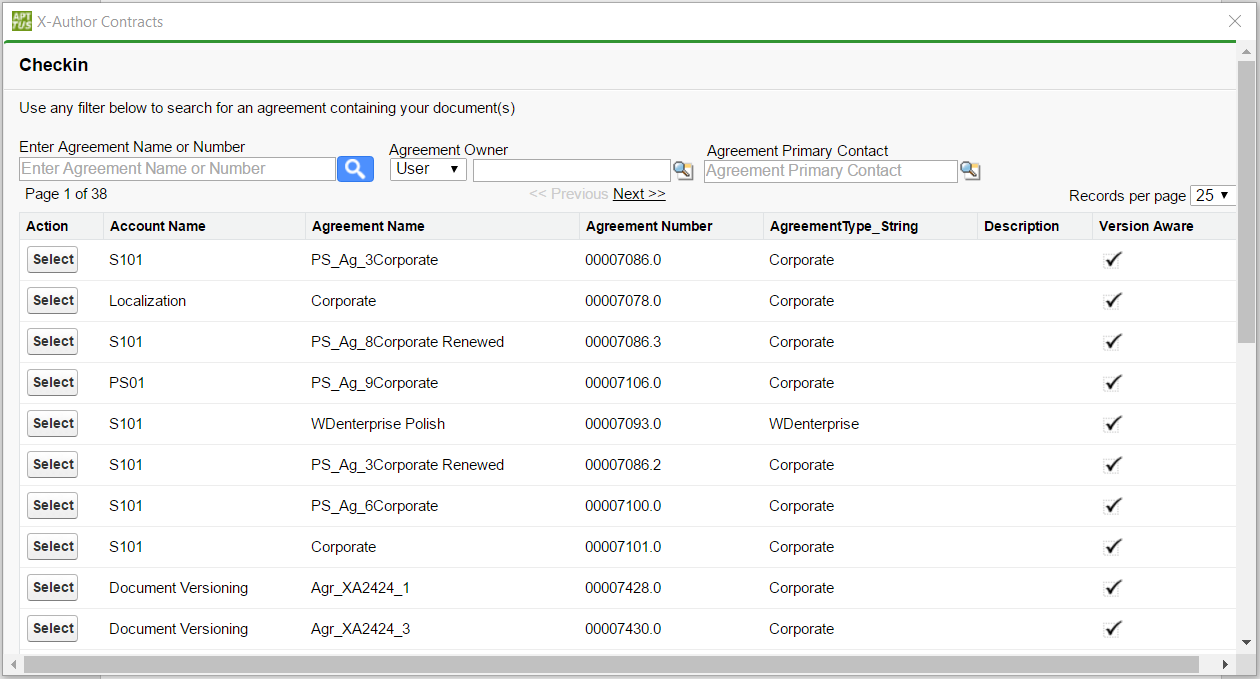
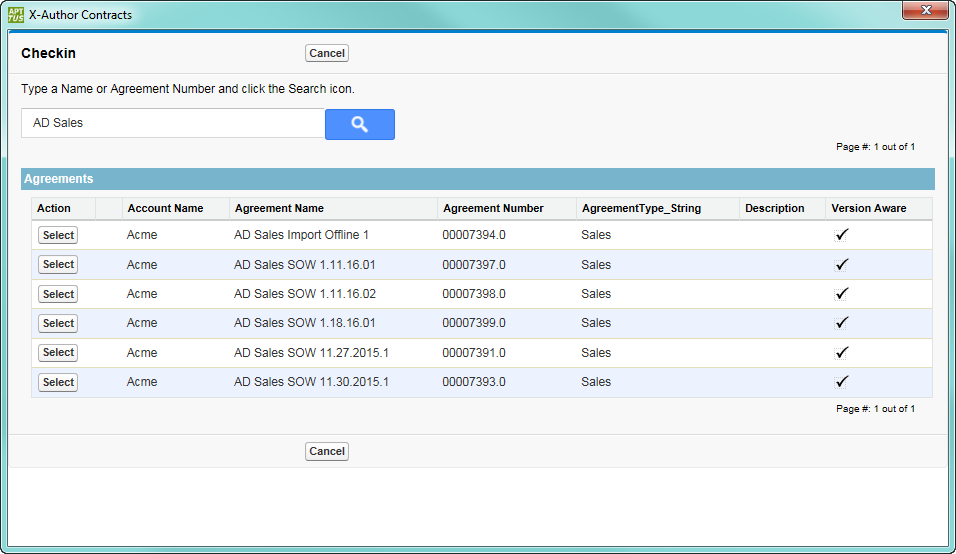
- (Contract Management 8.3.0310 or earlier) Enter the name or number of the agreement you want the imported document associated with and click .
- (Contract Management 8.4.0319 or higher) Enter the Agreement Name or Number of the agreement you want the imported document associated with and click
- To select an agreement, click Select. This displays all the existing major versions of the selected agreement.
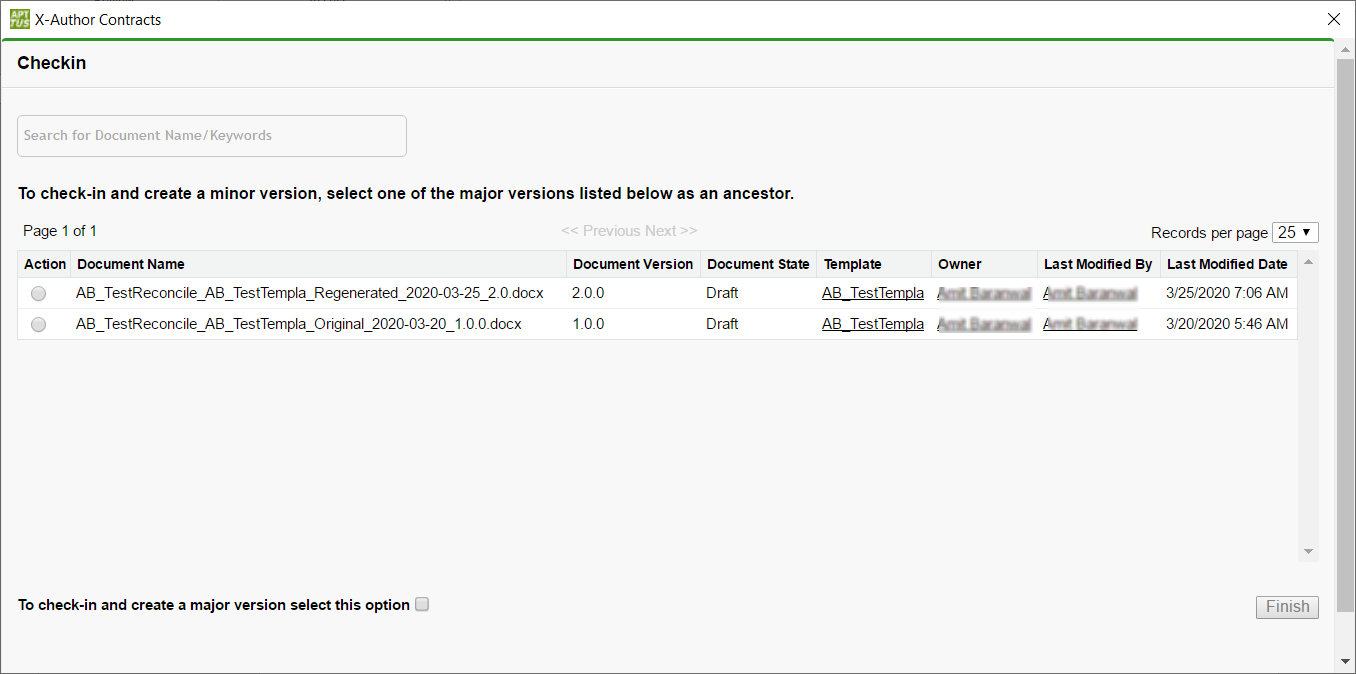
To create a new major version, select the checkbox. This creates a new major version under the Document Version Details related list in your Agreement record.

When you select this checkbox, all major versions listed on the screen are disabled.
To link the document with an existing major version, select an existing version. This creates a new minor version by incrementing the latest minor version by 0.1. For example, if available major versions are 1.0.0 and 2.0.0 and you select 2.0.0 which already has 2.1.0 and 2.2.0, then your new minor document version will be 2.3.0.
To link an offline document to an existing major version, you must enable the Ancestor Selection For Import Offline Comply System Property. For more information, see Comply System Properties topic in Contract Management on Salesforce Administrator Guide.
- Click Finish and the dialog closes. If your agreement record is Version Aware, the document is imported and attached to the Document Versions related list. Otherwise, it is imported and attached to the Notes & Attachments related list.
If you are using Offline documents (documents imported without Apttus properties, such as third party paper) with your agreements, you must ensure that any required documents are converted using OCR (Optical Character Recognition) prior import, or they will not be searchable.