This enables you to tag text in a pre-existing agreement document, or in one used to create an offline agreement, indicating you want to use the text to provide the value for an Agreement record field.
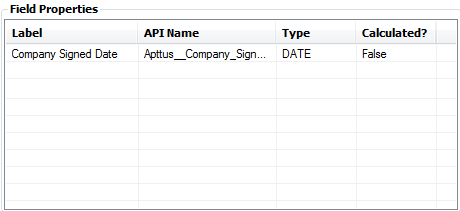
The Tag Smart Fields option is available when you open an agreement document that was created using an X-Author template or immediately after creating an offline agreement. Selecting the option opens a window which displays only smart fields for the associated agreement. Then you can use Reconcile Document functionality to populate agreement record fields from the text in the Word document. You must ensure that the text you tag matches the field type you associate it with. For instance, if you select a field that is not a date type and try to use it for the agreement signed date, you will be stopped from completing the drag and drop action. Fortunately, the Type attribute is displayed in the Field Properties window when you select a field or go to drag and drop a field.
Whether specifically tagging a single web URL or having it as part of a larger piece of content, you cannot tag document text that contains 'active' content, such as hyperlinks, bookmarks, or other Microsoft fields. If you do, the following system message is displayed: The current selection contains a field which may be Apttus smart field or Microsoft field. It can't be marked as smart. Please modify your current selection.
Only Agreement Header Level fields are supported currently.
- Complete To create an offline agreement or open a pre-existing agreement document kept in Salesforce.
- From the X-Author Contracts tab, select the Tag Smart Fields button to display the Tag Smart Fields window.
- Expand Agreement > Fields to display the available fields that can be used to tag text in the document as smart fields. This is limited to Header level smart fields for the agreement. No related list or child object fields can be selected.
- Highlight the text you want to associate with an Agreement record field and drag and drop it into the Fields window. If the text does not match the field type, a message box lets you know you cannot use the text for that smart field.
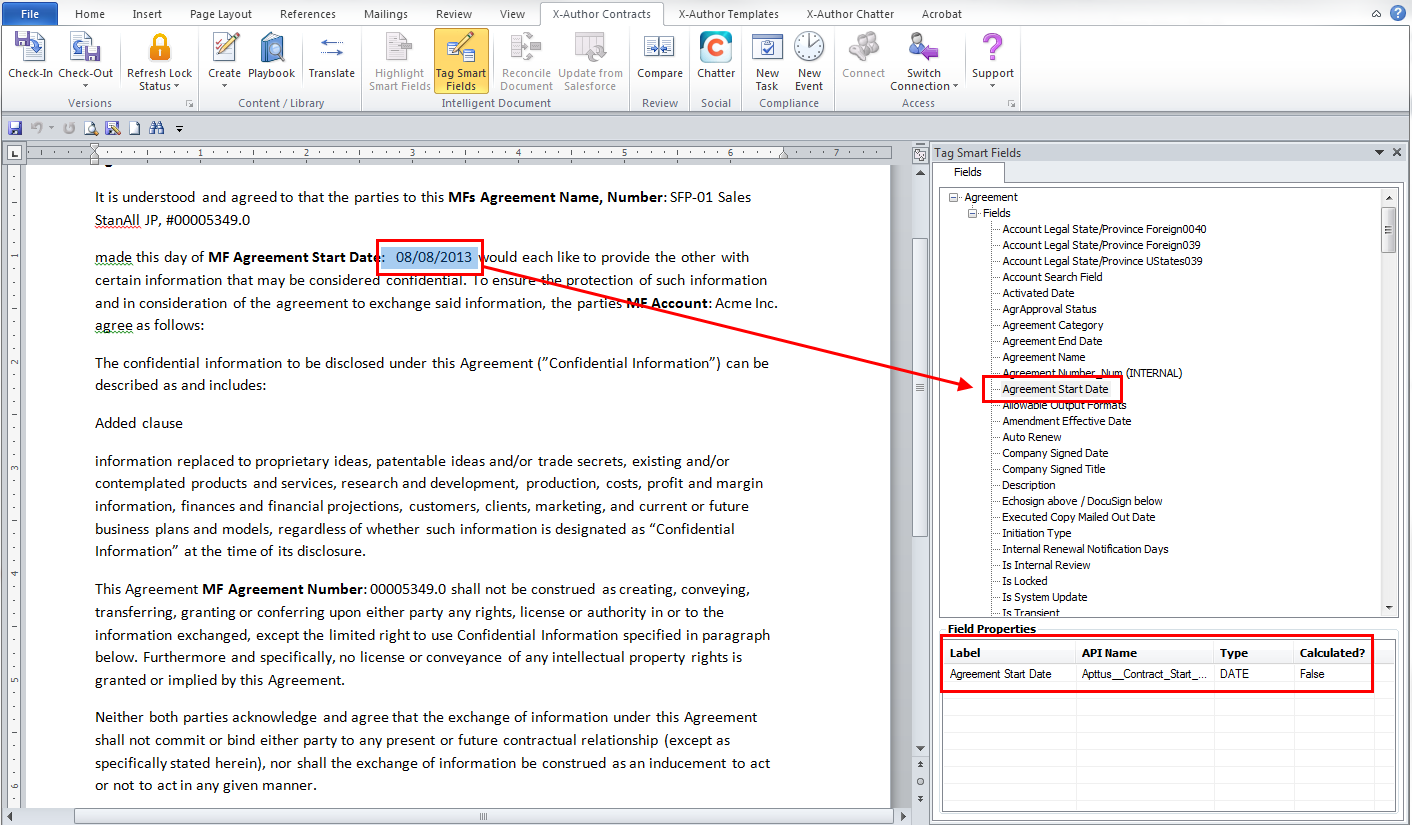
- After dragging and then dropping, if you click the text it will be highlighted in grey, indicating it is a smart field. You can continue dragging and dropping fields as necessary.
Once you have tagged the fields, click Check-In and in the Check-In dialog box, select the Reconcile Document option and then click Checkin. At this point, the tagged smart fields are validated and if any values do not match the values of the Agreement record fields, an error message is displayed. For more details, see the Reconciliation section in the user guide.
The Agreement record fields are updated in Salesforce and the document is updated in the Notes & Attachments related list for the agreement record.
You can return to the document again later to use Tag Smart Fields, to tag additional fields.