Download PDF
Download page To mark a clause in an agreement.
To mark a clause in an agreement
There are two ways to mark a clause in an agreement document:
- drag-and-drop document content onto the library node of the Mark Clause panel, to mark it as a "1-off" instance of a clause.
- drag-and-drop document content onto a clause from the clause list, to assign clause properties to the content or replace it with the content of the clause from the Playbook.
To mark a "1-off" Clause
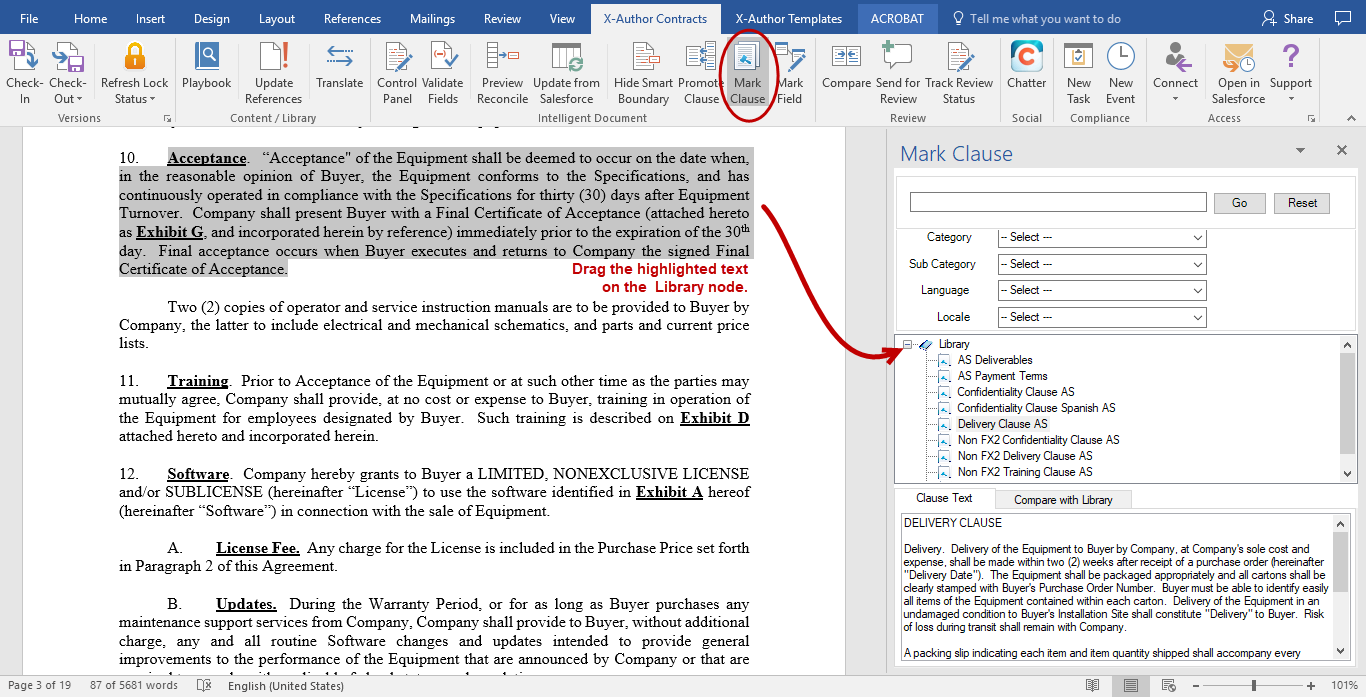
- From the X-Author Contracts ribbon, select Mark Clause. The Mark Clause panel is displayed.
- Highlight the content in the contract to be marked as a clause.
- Drag and drop the highlighted content onto Library node in the Mark Clause panel:
The Mark Clause form is displayed.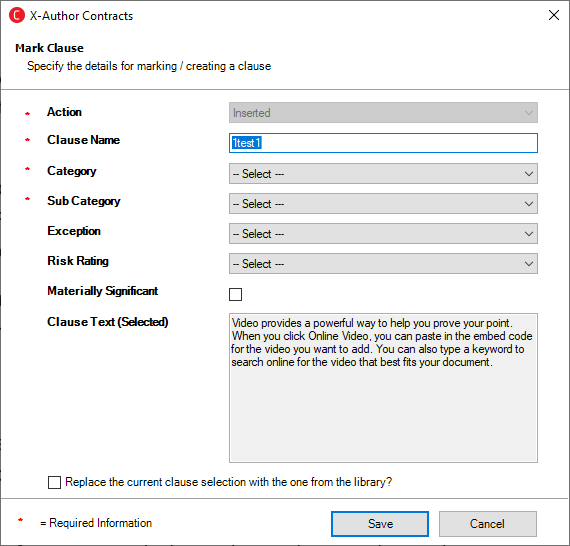
Fill in the following fields in the form (fields marked with an asterisk (*) are required):
Field Description Action This drop-down list shows various actions you can perform with the selected clause. By default, Inserted is chosen and is Read-Only. Clause Name Type a name for the 1-off clause. Category Select a Category for the 1-off clause.
Sub Category Select a Sub Category for the 1-off clause. This drop-down list is dependent on the Category drop-down list.
Exception Select a term exception record from the drop-down list to associate with your clause. Risk Rating Select an appropriate risk rating for your clause. Valid values are: - Green
- Red
- Yellow
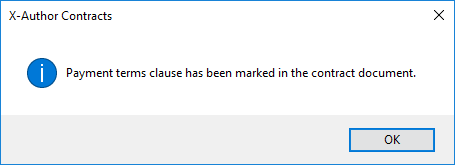
Materially Significant Select this check box if you want to make your clause materially significant. Clause Text (Selected) This text area shows the selected text which you want to mark as a clause. Click Save to mark document content as a 1-off clause. The clause is marked as smart in the document and a confirmation dialog is displayed.
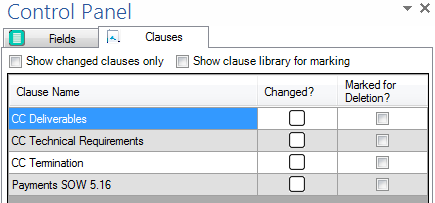
Any smart fields in the original content will be preserved in the newly-marked clause. The clause is displayed in the Control Panel when you have the document checked out.
- Check-In and/or Reconcile your document when you are finished.
To mark document content as an existing clause
- From the X-Author Contracts ribbon, select Mark Clause. The Mark Clause panel is displayed.
- Highlight the content in the contract to be marked as a clause.
Drag and drop the highlighted content onto the desired clause in the Mark Clause panel:
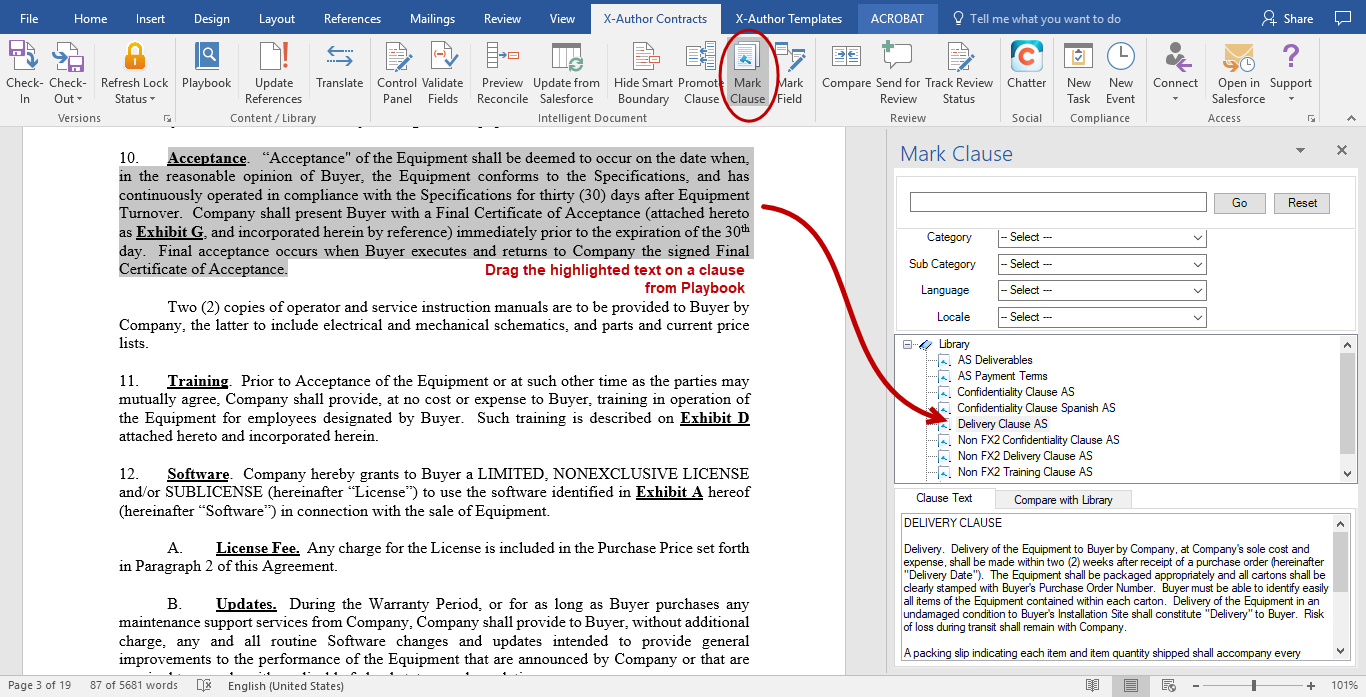
The Mark Clause menu user interface is enhanced to now show a flat list of clauses under Library node. Earlier the Mark Clause menu showed clauses in a hierarchy tree according to the Category or Sub-category.
The Mark Clause form is displayed.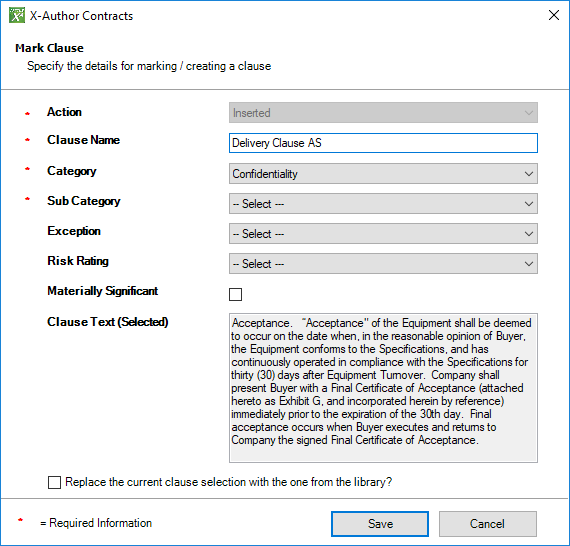
Fill in the following fields in the form (fields marked with an asterisk (*) are required):
Field Description Action This drop-down list shows various actions you can perform with the selected clause. By default, Inserted is chosen and is Read-Only. Clause Name Enter a name for the clause. This field is pre-populated with the name from the clause library. If you change the name, the clause will adopt the properties of the one in the library, but be displayed with this clause name in the document Control Panel.
Category Select a Category for the clause.
If the content to be marked was dropped onto a clause and the Category picklists in the Template and Agreement Clause objects in your org are the same, this field will be automatically populated.
Sub Category Select a Sub Category for the clause. This drop-down list is dependent on the Category drop-down list.
If the content to be marked was dropped onto a clause and the Sub Category picklists in the Template and Agreement Clause objects in your org are the same, this field will be automatically populated.
Exception Select a term exception record from the drop-down list to associate with your clause. Risk Rating Select an appropriate risk rating for your clause. Valid values are: - Green
- Red
- Yellow
Materially Significant Select this check box if you want to make your clause materially significant. Clause Text (Selected) This text area shows the selected text which you want to mark as a clause. Clause properties defined in this form will override any properties inherited from the associated clause, unless you choose to replace the selection with a clause from the library (see below).
- (Optional) Select Replace the current clause selection with the one from the library? to replace the clause content with content from the clause in Playbook. If you choose this option, the following dialog is displayed.
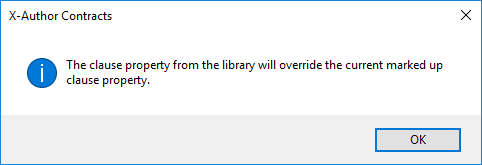
When click Save to mark a clause that replaces content with a clause from the library, if your marked content contains any smart fields, you will be prompted with the message, "The current selection contains Apttus fields which will be deleted and replaced with the contents of the clause. Do you wish to proceed?"
Click Yes to confirm replacement or No to cancel. - Click Save to mark the clause clause in your document. The clause is marked as smart and a confirmation dialog is displayed.
- Check-In and/or Reconcile your document when you are finished.
Recording Marked Clause Activity on the Agreement Record
With each action on the smart clause, such as insert, modify or delete, the Agreement Clause related list in your agreement record reflects these changes effectively. For more details, refer to Tracking Clauses in your Agreement.
Comparing Marked Content with the Clause Library
Prior to, or after you mark a clause in your document, you can compare the text of the marked clause with the content of the associated clause in Playbook. To compare content:
- Highlight the marked text (or text to be marked) and click on the associated clause in the Mark Clause panel.
- By default, the Clause Text is displayed in a tab below the Mark Clause panel.
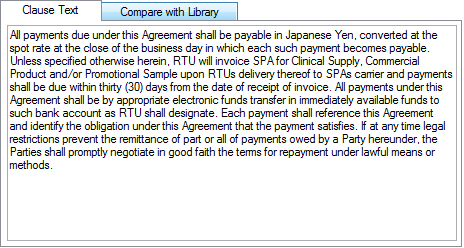
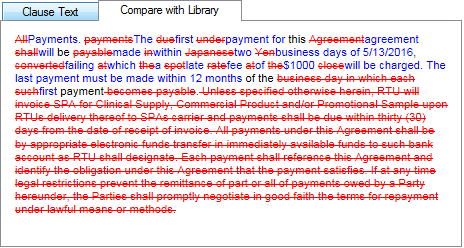
- Click Compare with Library to show diff text between the marked content and the clause from the Library.
Limitation on indented content: if the content you are marking has an indent (tab) at the beginning of the first paragraph and you mark the content as a clause, when you choose to Show Changes from the Control Panel, the text will no longer be indented. To correct this, prior to marking the clause, remove the indent from your text and use Tab to indent the text. From the auto-correct menu which appears, select "Change Back to Tab." You may then mark the clause as normal and the indent will be visible when you choose to Show Changes.