Download PDF
Download page Using the Playbook.
Using the Playbook
Playbook helps you to search for a template, clause, section or supporting documents that can be inserted into the template as inline text or smart content controlled text. By default, the Playbook pane is displayed on the right, within the main Word window, but it can be re-positioned, by clicking  and choosing Move. It can be closed by clicking Playbook again or clicking
 ![]() .
.
While searching for clauses in the Playbook pane, within Microsoft Word, you can select Show Filter to add search criteria. Filters let you narrow down your search by specifying search criteria like Type, Category, Sub-Category, Locale, and Language. You can also set default filter values to restrict the number of clauses shown in the clause list. Playbook for FX2 templates allows you to search for a template, clause, section or supporting documents that can be inserted into the template as inline text or smart content controlled text.
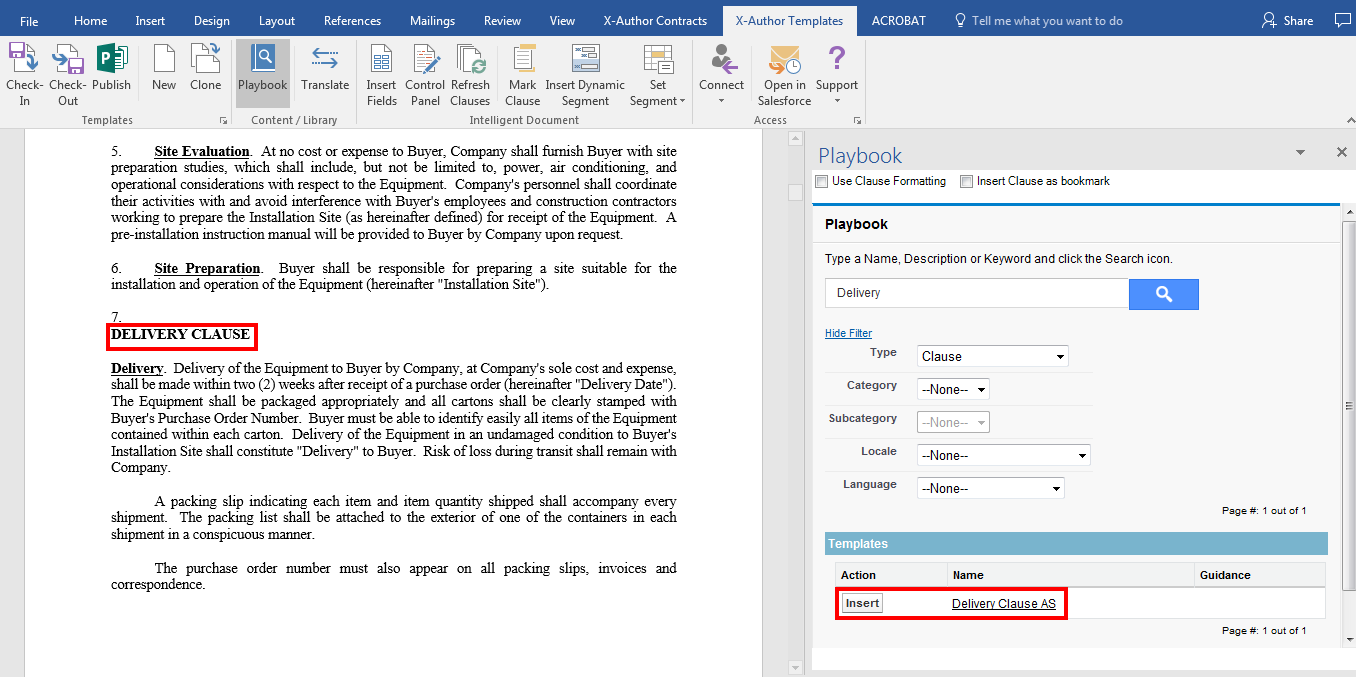
To insert a clause from the Playbook in a template
- Login to X-Author Templates in word and open an existing template using Check-Out.
- The template document opens in Word. Select an existing paragraph or place the cursor at an appropriate place to replace or insert a clause.
- Click on Playbook on X-Author Templates ribbon and search for the required clause you want to insert.
- Click Select and then click Insert.
- After you have inserted the clause, click Check-In.
You cannot insert a clause reference in FX2 Templates. You can only enter the clause as an inline text. You can still insert clause references into a pre-existing format Template.
While inserting a clause in an agreement template under a numbered or sub-numbered list, you must ensure that:
- The clause ending with numbered, sub-numbered, or bullet, should have one line space at the end of the clause.
- All other clauses (except clauses ending with numbered, sub-numbered, or bullet) should not end with an empty line.
Override Playbook Default Filter
You can set a default filter for the clauses shown in the Playbook clause list of X-Author, using the Comply System Property— Override Playbook default filter. In the scenarios where the complete clause list is lengthy, this feature is useful for showing only the relevant clauses in the clause list for an agreement. Default filters cannot be set for offline agreements.
You can set the field names for the filter criteria in the Override Playbook default filter custom setting. The clauses are filtered based on the value of the fields defined in the Override Playbook default filter setting. When a template is used to generate an agreement document, the default filter fields of that agreement inherit their values from the associated template's properties. The Playbook then filters and displays only the clauses that match the filter criteria.
To define Override Playbook Default Filter
- Go to Setup> Custom Settings> Comply System Properties.
- Click Edit.
- Enter the comma-separated values of Category, Sub-category, Language, and Locale in the Override Playbook default filter field and click Save.
For example, you have set the value of Override Playbook default filter= Category and Locale, and the values of Category and Locale in the template used for agreement generation are Spanish and Category 2. Now, when you Check-out an agreement and click Playbook in X-Author Contracts, Category and Locale filter values are set to Category 2 and Spanish. The clause list shows the clauses that match these filter criteria.
Clause Formatting on Insert Clause in FX2 Formatted Templates
For FX2 formatted templates, X-Author for Contracts has a feature that allows you to choose whether to adopt template formatting or retain clause formatting when a clause is inserted into a template. To use this:
- Login to X-Author Templates in word and open a pre-existing template using Check-Out.
- The template document opens in Word. Select a pre-existing paragraph or place the cursor in appropriate place to replace or insert a clause.
- Click on Playbook on X-Author Templates ribbon and search for the required clause you want to insert.
- On the top of Playbook Pane, select Use Clause Formatting checkbox.
- Click Insert.
- After you have inserted the clause, click Check-In.
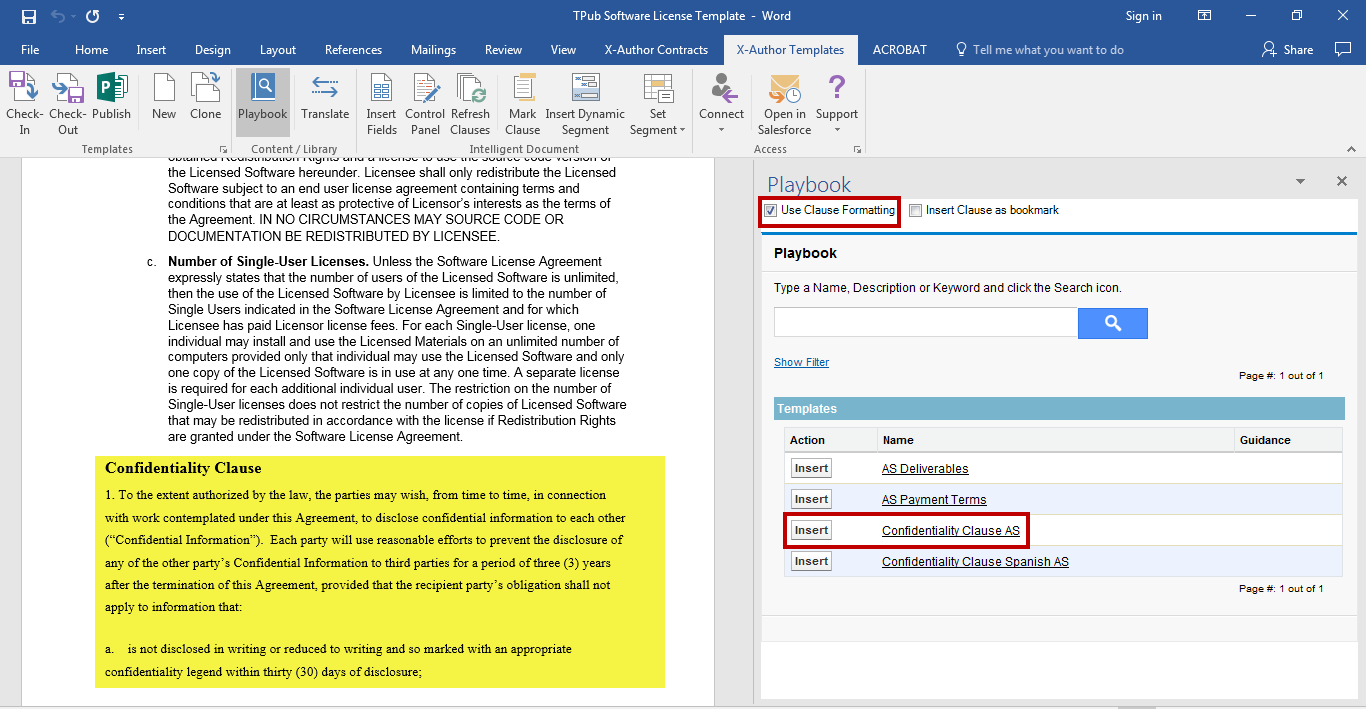
Note that the inserted clause (highlighted in yellow above) retains the formatting of the clause.
You cannot apply Use Clause Formatting for Document Assembly Ruleset clauses, since the same settings do not apply to inserted nested clauses within Document Assembly Rulesets component clause.