Download PDF
Download page Working with Save Maps.
Working with Save Maps
Use Save Maps to link your environment fields to Excel cells for data that will be saved back to your environment. Save Maps often rely on Display Maps (see Working with Display Maps). You use Save Actions in your app to implement Save Maps.
Saving Data to your Environment
X-Author for Excel supports updates, inserts, upserts, and deletes.
Updates
Save Maps can be designed to update records in your environment in three ways:
Records were retrieved from your environment and the data from one or more fields in that record were placed on the worksheet through a Display Map. Using the Add Display Map Fields function in a Save Map, user modifications to any cell can be updated on the record.
- Using the Add Other Fields function to save data from one or more fields that were not retrieved from your environment. It is not recommended to update fields to the environment using this function, but if you do update in this way, you must always include a Record ID in the same row as the fields you are updating.
Using the Add Matrix Map Section function in a Save Map, modifications to matrix map sections can be updated on the record.

Add Matrix Map Section is not supported in Apttus Omni.
Inserts
New records can be created in three ways:
- When a user adds a new data row using the Add Row menu button.
- When the App automatically adds a new data row using the Add row Action and pastes data into the new row.
- Using a Preloaded Grid (see Creating Preloaded Grids).
Deletes
Rows can be deleted from Display Map lists by the user clicking the Delete Rows from the environment menu button. To delete one or more records from a List, the Display Delete Row must be checked in User Menus and there must be a Save Map with at least one field in it.
Working with Save Maps
How many Save Maps you use is dependent on app design and how many save options you have for the user at runtime. Remember the following when working with Save Maps:
- There is no limit to the number of Save Maps you can have in an app. Multiple Save Maps allows you to control which fields are updated when the user clicks a menu button associated with a specific save process.
- A Save Map can include fields from any number of objects.
- A Save Map can be used across multiple worksheets (not workbooks).
To create a Save Map for Display Map Fields
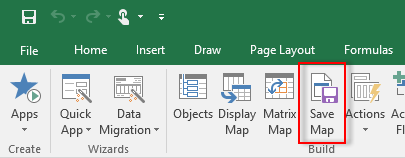
- From the X-Author ribbon, click Save Map.
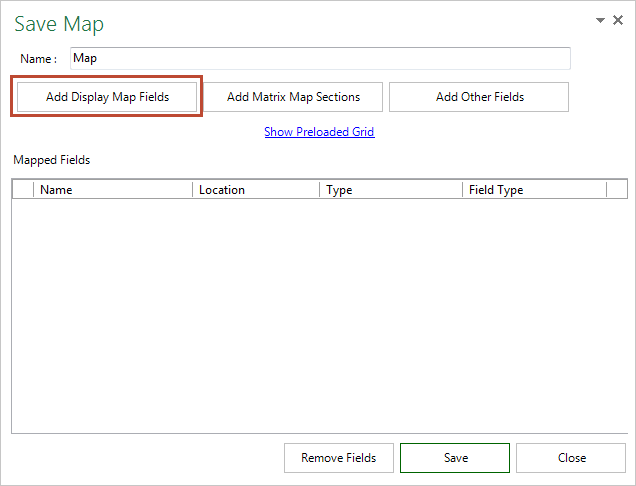
- Click Create. The Save Map panel opens in Excel.
- In the Name field, enter a name for your Save Map. Pick a name that makes it easy to distinguish from your other Save Maps.
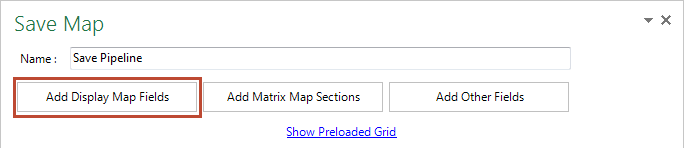
Click Add Display Map Fields.

Click on the
 arrow icon in the upper right-hand corner and choose an option to move or resize the Save Map panel.
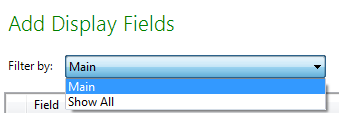
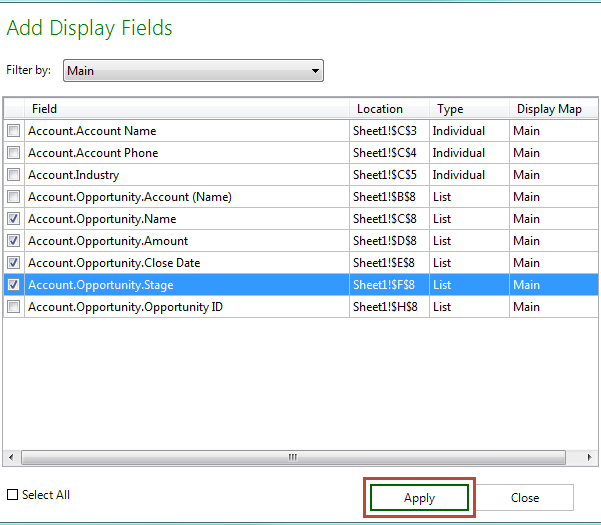
- Use the Filter by drop-down to filter the list of fields for a specific Display Map.
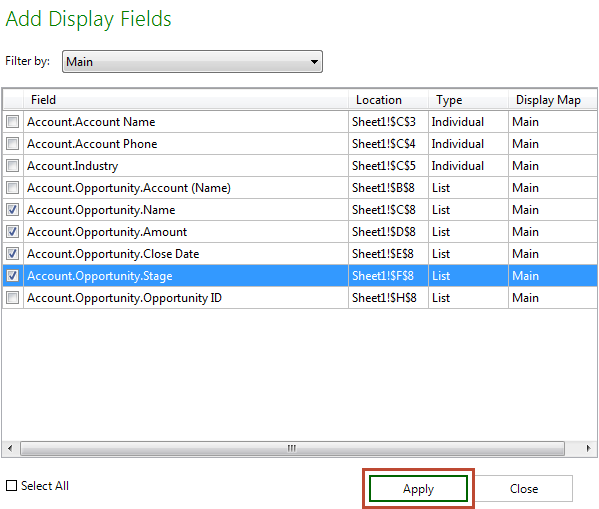
- Select the fields to add to your Save Map, and click Apply. Click Select All if you want to choose all Display Map fields.
- Click Save.
- Click Close.
- Click Save App.
Use Case: Sales Pipeline Save Map
Danny Designer is designing an app with Account, Opportunity and User objects for sales persons to use to manage their sales pipeline. He has created a Display Map to link data from his environment to the cells in the Excel workbook and now needs to create a Save Map for saving data back to his environment.
Danny takes the following steps to create a Save Map:
- Danny connects to his environment and opens the Sales Pipeline app.
- He clicks Save Map and clicks Create to start a new Display Map.
- Danny enters the name "Save Pipeline" and clicks Add Display Map Fields.
- Danny decides that all of the Opportunity fields should be enabled for saving back to his environment. He clicks Select All and clicks Apply.
- Danny clicks Save to save the map and clicks Close.
- Danny clicks Save App to save all changes to the app.
To create a Display Map for Other Fields
- From the X-Author ribbon, click Save Map.
- Click Create (or select an existing Save Map and click Edit).
- In the Name field, enter a name for your Save Map. Pick a name that makes it easy to distinguish from your other Save Maps.
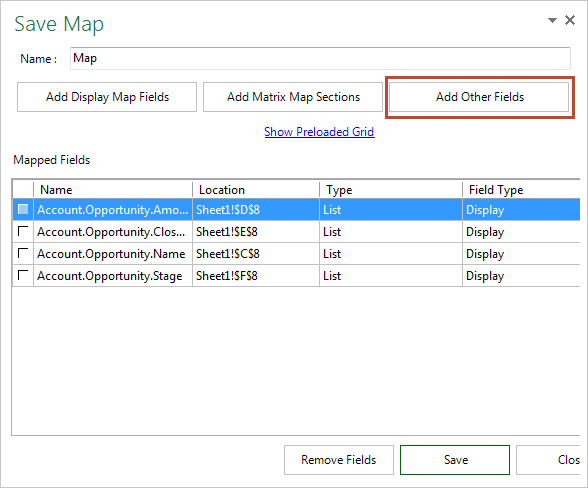
- Click Add Other Fields.
- Select Individual or List from the Type drop-down.
- Select the Vertical layout.
- Use the Search dialog or navigate the object hierarchy to locate fields. Add fields to the Save Map by dragging them from the panel and dropping them onto the Excel worksheet. You can search for specific fields using the Search box.
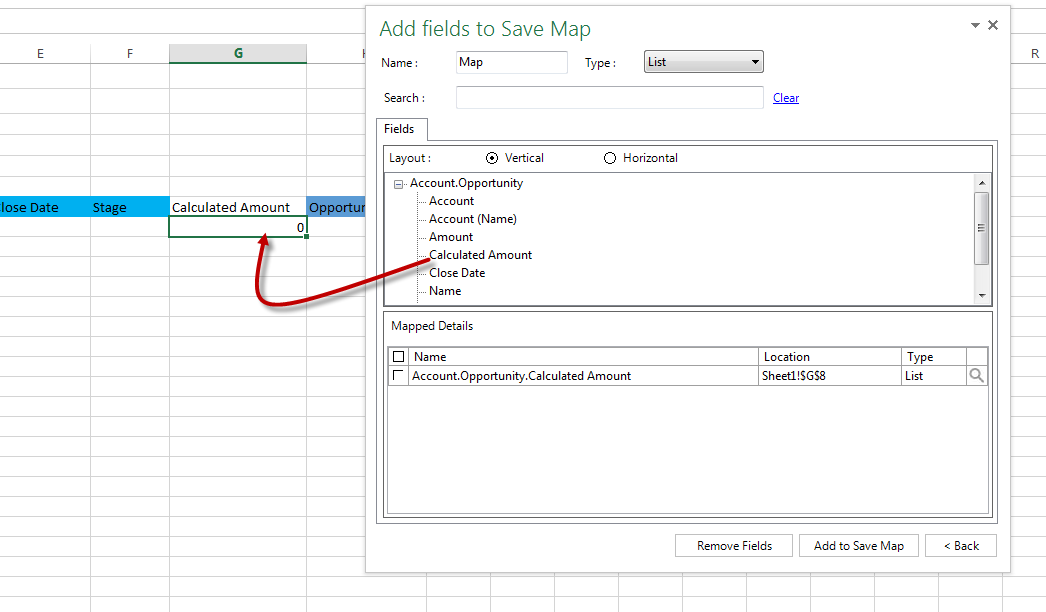
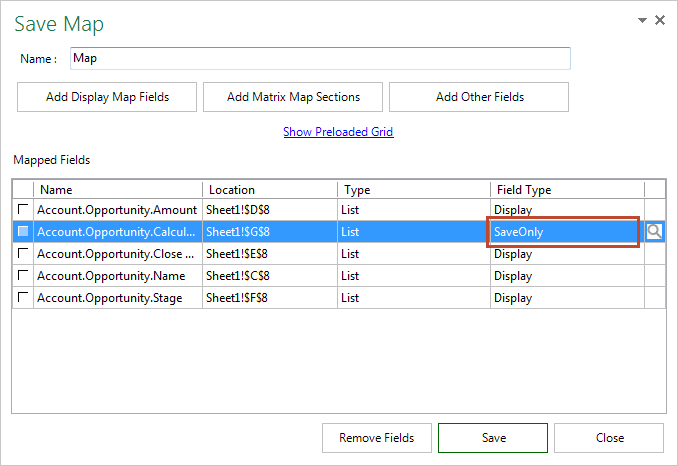
- After adding one or more fields, click Add to Save Map. The Save Map now displays the added fields in the Save Map panel and "Save Only" as the Field Type.
- Click Save and Close.
- Click Save App.
For information on adding Matrix Map sections to Save Maps, refer to Creating a Matrix under Advanced App Design.
To delete an existing Save Map
You cannot delete Save Maps that are used in a Save action.
- Click Save Map.
- From the list of existing Save Maps, select one and click Delete.
Creating Preloaded Grids
When your save requirements require something more complex than a list, you can use a Preloaded Grid with your Save Map. A Preloaded Grid can only be used to add new records. For example, you might have a six-row-by-three-column grid with three rows of formulas and an empty row between each. The formulas recalculate based on values elsewhere in the workbook. You want each of the three rows to be inserted as records each time the input values change and the user clicks Save.
To create a Preloaded Grid
- In a Save Map, click on Show Preloaded Grid.
- In the Preloaded Grid window, select the List Object for which you are creating the grid.
- Enter the number of rows for the Preloaded Grid.
- Click the check mark when finished. The object will now have an identifier in brackets for the number of rows added. To change the number of rows, enter in a new number in Preloaded Rows.
- Click Save.